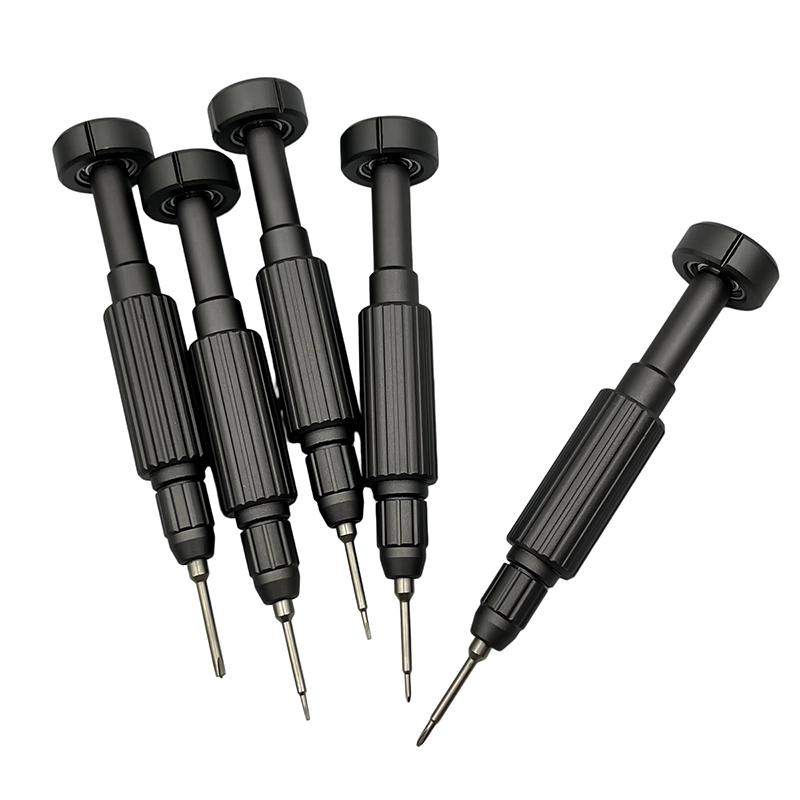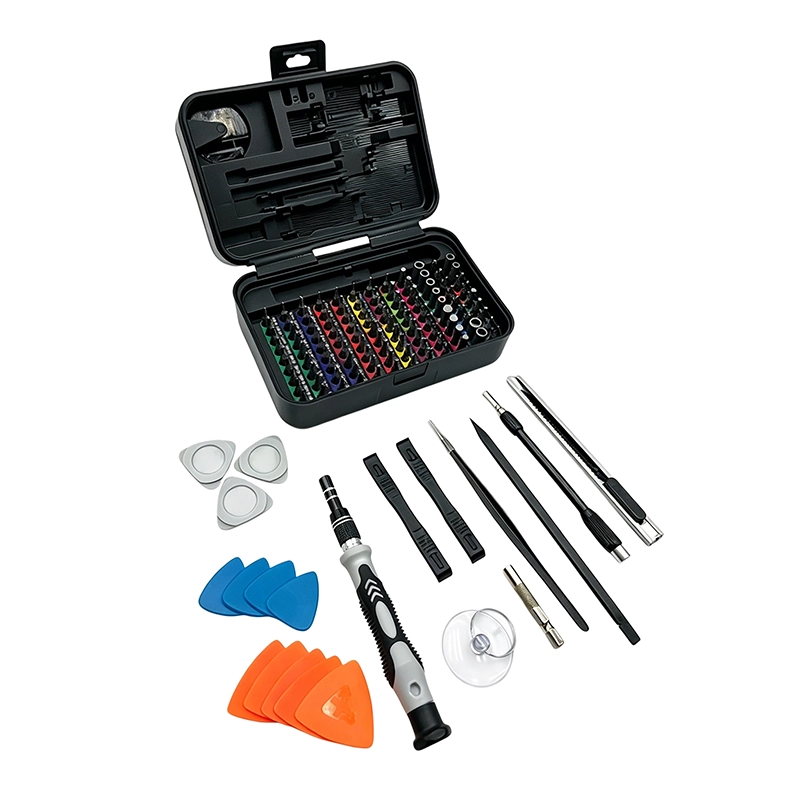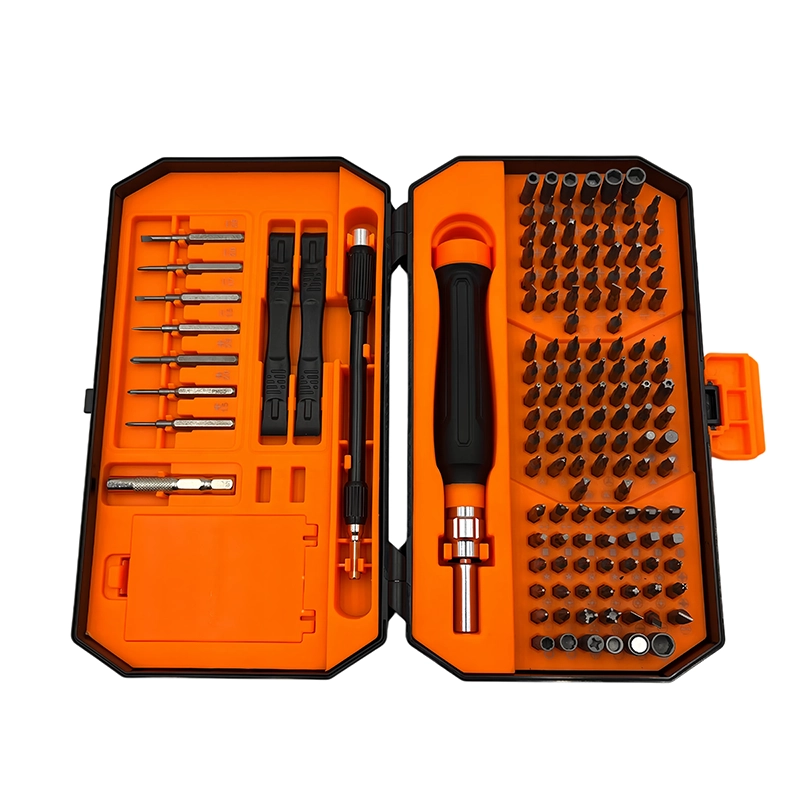
Choose a manual set from the robot’s frame, servo, controller, sensor, and enclosure fastener list. The useful kit combines exact hex and cross-head profiles, suitable shaft reach, clear labels, and direct hand control for plastic bosses and board standoffs. Disconnect power, support moving joints, and record screw length and location before rebuilding the mechanism.
Hobby robot screwdriver set
A manual driver platform configured around the fasteners and access points of small robot frames, actuators, sensors, controllers, battery covers, and printed enclosures.
What makes this manual screwdriver task different?
A hobby robot mixes mechanical frame joints with delicate electronics and moving assemblies. A fastener near a servo horn has different loading from a controller-board standoff, while a 3D-printed enclosure may have limited thread strength. The kit must cover actual profiles without encouraging one tightening method everywhere. The first decision is therefore not how much force the handle can deliver, but whether the service task, device condition, and operator authorization are clearly understood. Keep the manufacturer’s instructions, the actual fastener, and the surrounding parts in view before selecting a bit.
A manual driver gives useful tactile feedback only when the workpiece is supported and the tip remains fully engaged. For robotics clubs, makers, educators, kit brands, and prototype teams, that means treating access, visibility, screw identity, and reassembly records as part of the tool choice rather than as optional bench habits.
Which technical factors matter most?
Map profile, size, length, material, and access for each subassembly. Evaluate handle clearance around wheels and linkages, extension rigidity, and the ability to feel a threaded insert or plastic boss begin correctly. Retaining compounds and specified torque should come from the component maker, not a generic habit. Evaluate the complete installed system: handle, cap, holder, bit, fastener, access path, and work support. A premium material name or a high accessory count cannot compensate for partial recess contact or an unsafe service sequence.
For manual screwdriver set for hobby robot assembly, any drawing, service manual, torque specification or safety rule takes priority over general hand-tool guidance. Record the exact model, the condition described by a typical failure is tightening a 3d-printed boss like a metal bracket or placing a frame screw through a wire path. misaligned structures are sometimes forced square by final tightening, which stores stress and makes later service difficult. and the configuration used by robotics clubs, makers, educators, kit brands, and prototype teams. A revision can change fastener length, cable routing, sealing or authorized access, so the retained record must identify the actual article-specific task.
What workflow keeps the repair controlled?
1. Remove or isolate the battery, block moving parts, record connector polarity and joint positions, and separate mechanical work from exposed-board work. This preparation stage prevents the screwdriver from becoming the first tool used on an unidentified joint.
2. Build a fastener map by frame, actuator, controller, sensor, and enclosure; test each bit and note positions that require an extension or ball-end tool not present in the kit. Place each removed fastener into a position-based map immediately rather than relying on memory or one mixed container.
3. Start all frame screws loosely, square the structure, route wires away from joints, then seat fasteners in sequence and perform a low-risk motion inspection before powered testing. Final inspection should confirm the joint, surrounding parts, and complete device function required by the manufacturer; a closed case alone is not proof of a successful repair.
How should buyers compare a manual screwdriver set?
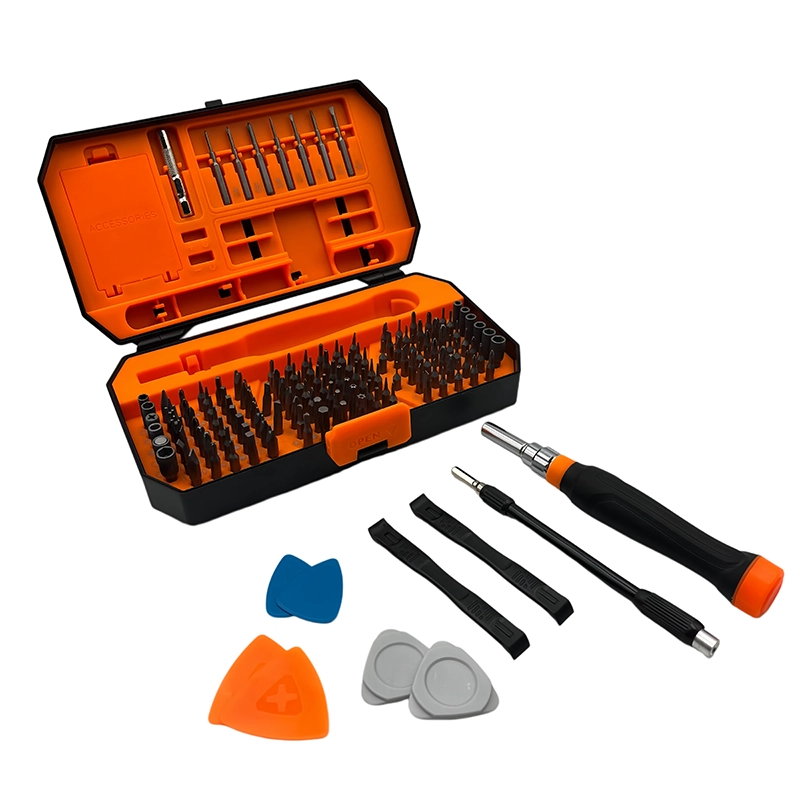
Compare candidates on verified profile fit, working reach, installed-bit stability, handle access, cap behavior, storage, labels, replacement support, and performance on representative fasteners. Educational and retail robot kits benefit from a task-based bit map, numbered assembly stages, spare fastener identification, and an honest list of additional tools. An OEM manual set should be sampled on the real robot, including its tightest access point and weakest boss.
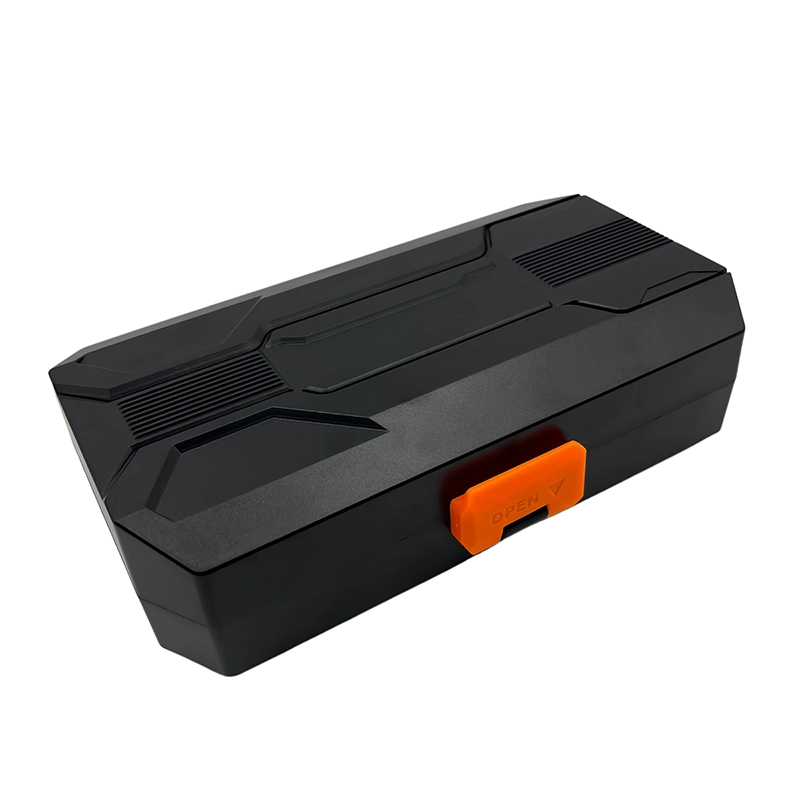
For a wholesale or private-label manual screwdriver set for hobby robot assembly project, freeze the bit map and case layout around this recommendation: Educational and retail robot kits benefit from a task-based bit map, numbered assembly stages, spare fastener identification, and an honest list of additional tools. An OEM manual set should be sampled on the real robot, including its tightest access point and weakest boss. Link the physical 148-in-1 manual screwdriver set sample, specification, product images, packaging text and the task-specific inspection criteria to one revision so the claim remains tied to the configuration that will ship.
What failure signs mean stop rather than push harder?
A typical failure is tightening a 3D-printed boss like a metal bracket or placing a frame screw through a wire path. Misaligned structures are sometimes forced square by final tightening, which stores stress and makes later service difficult. The operator should preserve the remaining screw geometry and surrounding device instead of converting uncertainty into more force.
Stop when an insert rotates, a printed boss whitens or cracks, a joint binds, a wire is trapped, or a screw cannot be started with light hand force. Correct alignment or replace the damaged part before powered testing. Document the condition when the job is handed off. A clear stop rule protects the customer’s device and gives a qualified technician better options than a head damaged by repeated attempts.
How does this apply in a real repair?
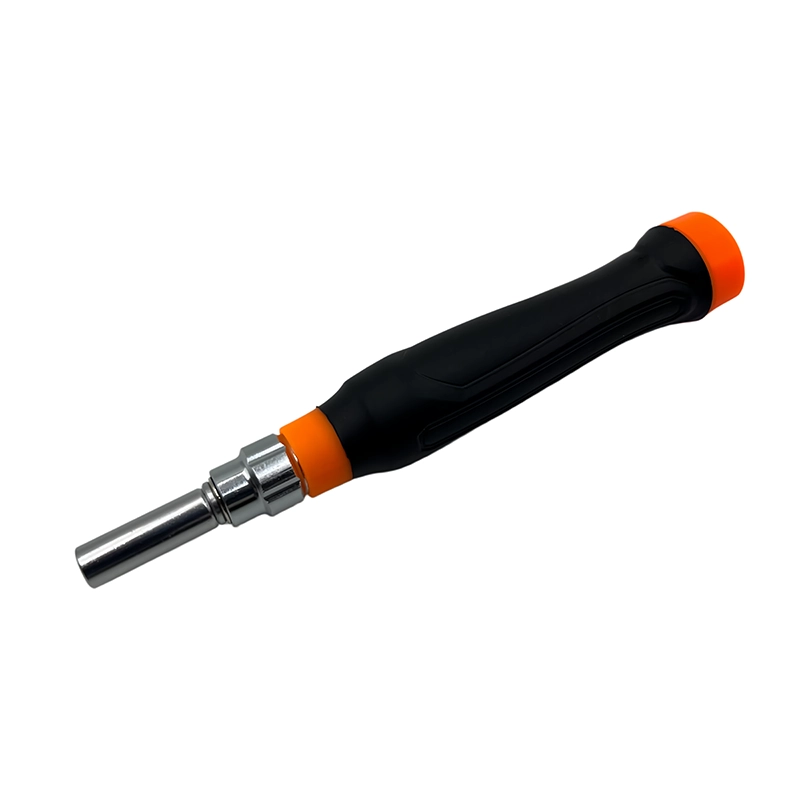
For a two-wheel robot, loosely assemble the chassis and motor brackets before aligning the axle path. Use the smaller driver for controller standoffs and sensor mounts. After wiring, rotate joints by hand and inspect cable clearance before connecting the battery. Use the actual device instructions and representative hardware to confirm the method. Similar-looking screws can have different length, pitch, shoulder, coating, sealing, or grounding roles.
The buying decision for manual screwdriver set for hobby robot assembly should cover map profile, size, length, material, and access for each subassembly. evaluate handle clearance around wheels and linkages, extension rigidity, and the ability to feel a threaded insert or plastic boss begin correctly. retaining compounds and specified torque should come from the component maker, not a generic habit. without encouraging force outside the defined task. Keep an exception path for the condition in stop when an insert rotates, a printed boss whitens or cracks, a joint binds, a wire is trapped, or a screw cannot be started with light hand force. correct alignment or replace the damaged part before powered testing.; that path may require a different bit, opening tool, specified torque method, rated electrical tool, battery process or qualified specialist rather than a larger general-purpose set.
What does the XOENAEN catalogue add to the decision?
The current XOENAEN catalogue includes the 148-in-1 manual screwdriver set, the real product reference used for manual screwdriver set for hobby robot assembly. Its photography and model record can anchor the buyer brief for for a two-wheel robot, loosely assemble the chassis and motor brackets before aligning the axle path. use the smaller driver for controller standoffs and sensor mounts. after wiring, rotate joints by hand and inspect cable clearance before connecting the battery. Catalogue evidence does not establish universal device compatibility; the actual fastener, access path, stop rule and order-specific sample still determine approval.
Robotics tool choice must follow joint function. Structural alignment, actuator retention, board mounting, and printed-enclosure closure look similar at the screw head but have different acceptable loads and stop signals. Share target devices, fastener photos, required profiles, access constraints, market, quantity, packaging, and verification needs through the XOENAEN project enquiry so the product and evidence can be aligned before production.
Robot assembly driver needs
| Option or condition | Best use | Main caution |
|---|---|---|
| Frame and bracket driver | Access and leverage for structural screws | Can overload printed or plastic parts |
| Precision manual set | Feedback around boards and small inserts | Slower on repeated frame screws |
| Powered driver | Efficient after joint validation | Can cross-thread inserts before the operator reacts |
- Create a robot bill-of-fasteners
- Separate structural and electronics tasks
- Confirm hex and cross-head profiles
- Check access around joints
- Protect wires during tightening
- Document printed-part stop limits
- 148-in-1 manual screwdriver set product page →
- Browse manual screwdriver products →
- Plan an OEM or private-label project →
- Review XOENAEN manufacturing and quality →
- Read XOENAEN tool FAQ answers →
- Related guide: manual-driver-for-diy-circuit-projects →
- Related guide: manual-driver-for-3d-printer-electronics →
- How XOENAEN presents quality evidence →
What bits are needed for a hobby robot?
Use the robot’s actual bill of fasteners. Small hex, Phillips, and specialty profiles vary by kit and component supplier.
Can I use the same torque on the frame and controller board?
No. Structural brackets, plastic bosses, threaded inserts, and board standoffs require different controls and component guidance.
Why start frame screws loosely?
Loose starts allow the frame to align before final seating. Fully tightening one corner early can twist the structure.
Should the battery stay connected during service?
No. Isolate or remove power according to the robot and battery instructions before mechanical or wiring work.
What if a threaded insert begins to rotate?
Stop immediately. Continuing can enlarge the cavity and make a repair or part replacement more difficult.
How should a school robot kit store bits?
Use labeled positions and a checkout check so missing or damaged bits are found before the next class.