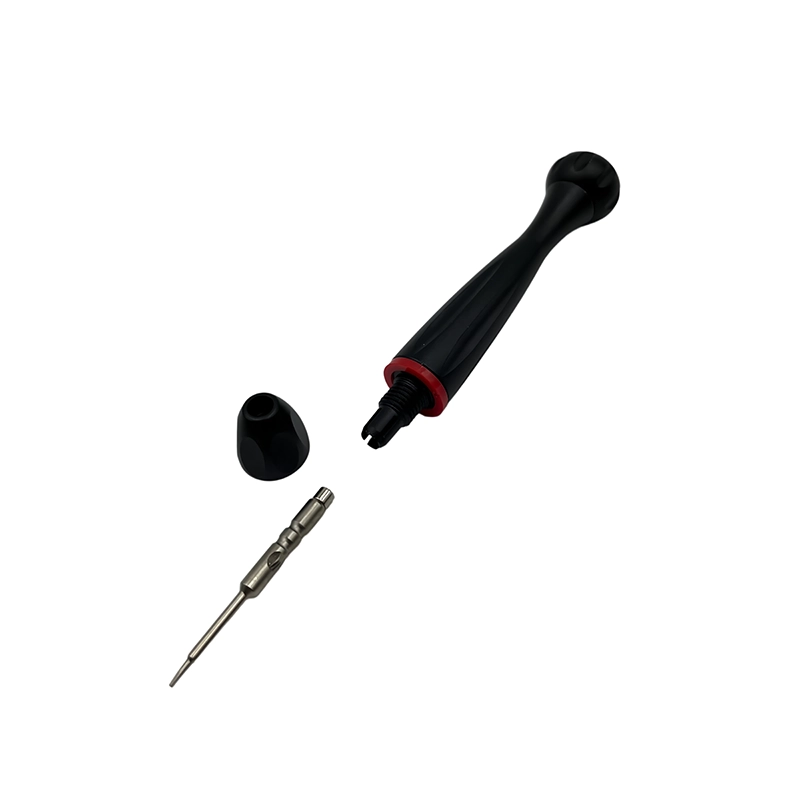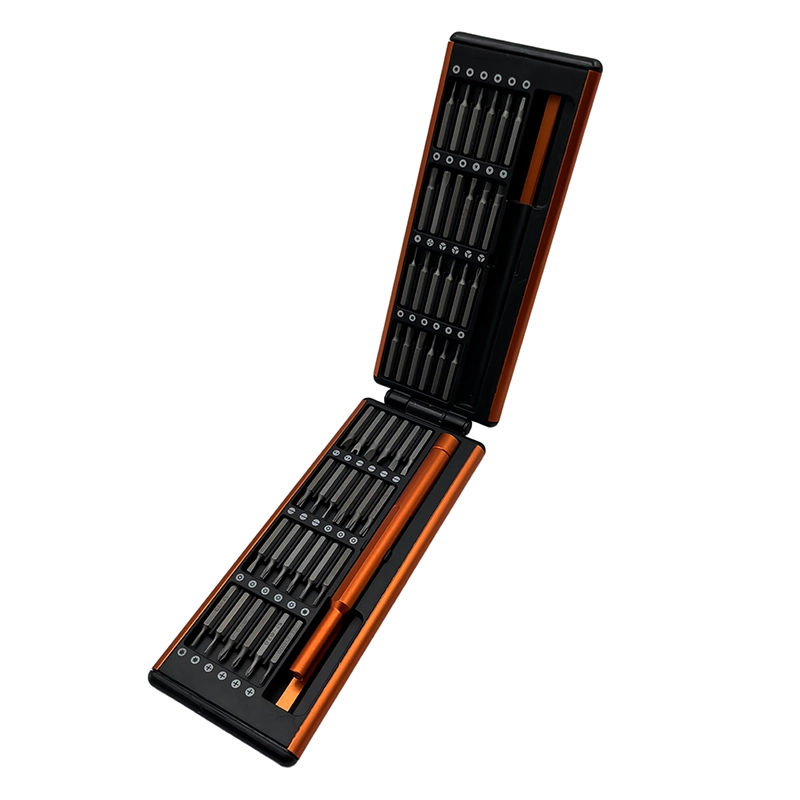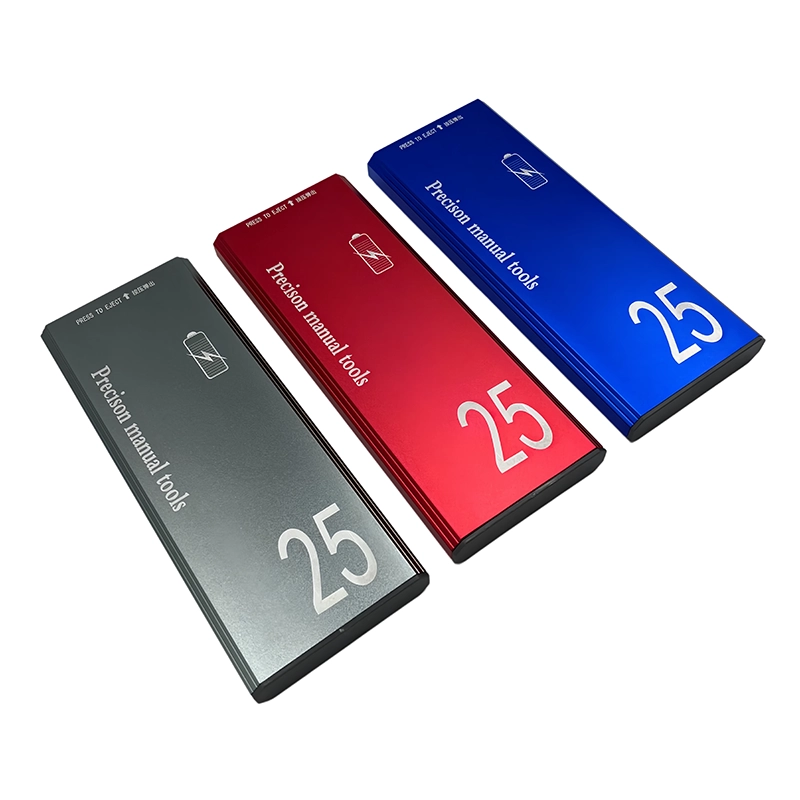
For synthesizer keybed and control-panel service, support long panels and keybeds before releasing the final fasteners. Verify mains isolation, panel support, knob and washer order, ribbon cables, keybed alignment, and cosmetic finish before turning. Stop when the panel is unsupported, a mains area is exposed beyond authorization, or keybed references are unclear. Keep every screw mapped by position and follow the exact product or assembly instructions.
synthesizer keybed and control-panel service manual screwdriver workflow
synthesizer keybed and control-panel service manual screwdriver workflow is the controlled method used to identify the fastener and joint, choose a fully fitting manual bit, preserve removed-hardware positions, recognize a stop condition, and verify the restored assembly without substituting extra leverage for product-specific instructions.
What must be known before synthesizer keybed and control-panel service?
Synthesizers and stage keyboards use long chassis panels, keybeds, displays, controls, ribbon cables, and many visually similar screws. Panel flex and keybed alignment can change when fastening order is lost. The first planning decision for synthesizer keybed and control-panel service is therefore not the size of the case or the advertised piece count. It is the boundary of the job: which assembly may be opened, which energy sources must be isolated, what information must be preserved, and which condition requires escalation. Read the current maker instructions for the exact model, because a nearby model can use another screw length, cable path, seal, or release order even when the exterior looks familiar.
Write the question “How should a manual screwdriver be used around synthesizer keybeds, displays, knobs, and control-panel boards?” at the top of the work record for synthesizer keybed and control-panel service. That wording keeps the task connected to a customer decision instead of a generic claim about tools. Record device or assembly identity, revision, visible condition, power state, fastener map, and the expected completion check. A bench photograph is useful only when it is labeled and linked to the correct unit; it should complement, not replace, a position map and a count of loose components.
How should synthesizer keybed and control-panel service be staged step by step?
Disconnect mains and external supplies, support the instrument, photograph control and cable layouts, map screws by bottom, rear, panel, and keybed layer, close in stages, and test every key and control. Treat that sequence as a set of gates for synthesizer keybed and control-panel service. At each gate, reconcile the screw count, verify that no wire, spring, seal, washer, or spacer has moved unexpectedly, and photograph only the details the next step could conceal. Use separate labeled zones for removed layers. If the assembly contains both plastic-forming and machine screws, keep them physically separated even when their heads accept the same bit, because thread identity belongs to the receiving feature rather than to the head profile.
Before closure in synthesizer keybed and control-panel service, reverse the removal map rather than relying on a pile of parts. Start each fastener by hand with the surfaces naturally aligned; a screw must not be used to drag a cover, board, bracket, or insert into position. Leave multiple screws loose until alignment and cable clearance are visible, then use the specified sequence. Finish with the functional, visual, electrical, sealing, or movement check relevant to the assembly and document any condition that differs from the original baseline.
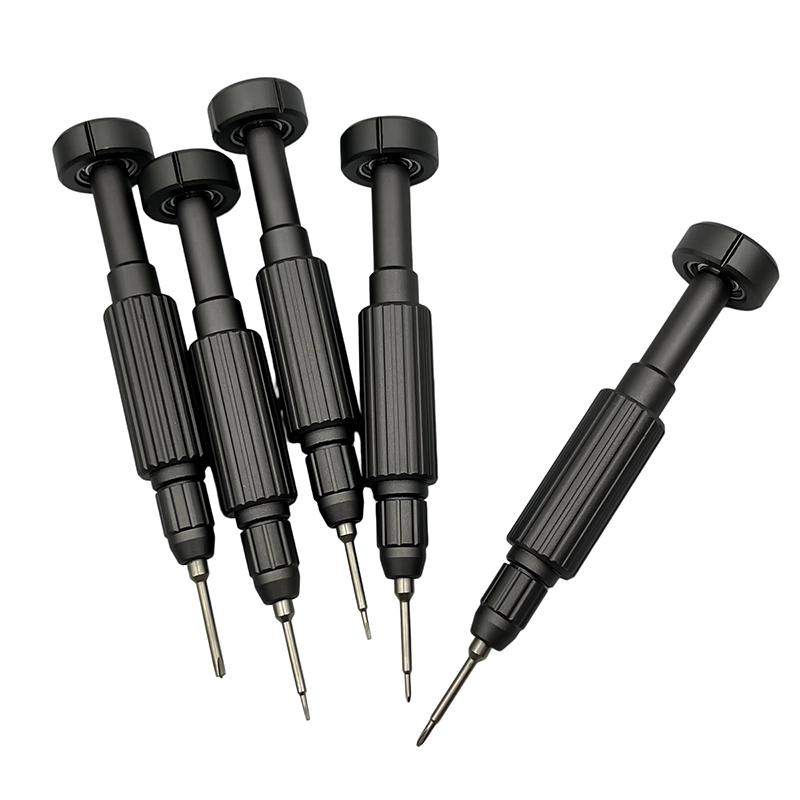
How does a real example change the plan for synthesizer keybed and control-panel service?
During a display-board replacement, support the top panel, preserve knob washer order, route ribbons without sharp folds, and test display, controls, and the full keybed before final release. This example makes synthesizer keybed and control-panel service concrete because it names the object, the information to preserve, and the check required before closure. A credible field example should not imply an unpublished test result or a customer endorsement. It should explain the observable condition and the reasoning path: identify the joint, select the matching tool, support the work, map removed items, watch for the stop condition, and confirm the assembly’s intended function after restoration.
If the example is repeated during a sample review for synthesizer keybed and control-panel service, use representative fasteners and access geometry from the intended product. Record whether each candidate bit seats fully, whether the holder remains straight, whether the case makes the correct bit easy to identify, and whether the operator can stop before damage. Repeatability means that the written method can be followed by another trained person and produces comparable observations; it does not justify a certification, service-life number, or compatibility claim beyond the evidence collected.
Which joint and tool factors control synthesizer keybed and control-panel service?
Screw length, chassis layer, panel support, ribbon-cable latches, knob hardware, keybed reference points, grounding contacts, and exterior finish protection guide bit and handle selection. In synthesizer keybed and control-panel service, these factors interact. A correct profile can still fail when a worn bit sits shallowly, a long shaft is tilted, or a high-leverage handle conceals the first sign of binding. Conversely, a compact handle cannot rescue a mismatched recess. Inspect both the bit and fastener under adequate light, clean only by an approved method, seat the bit without torque, and reject rocking, bottoming, or contact with adjacent surfaces before applying hand force.
Manual feedback is valuable during synthesizer keybed and control-panel service, but it is not a torque measurement or proof of clamp load. Friction, coating, reuse, contamination, plastic relaxation, washer condition, and operator posture can all change perceived resistance. Use the specified tightening method whenever a maker or engineering drawing provides one. Where no value is published, restore the known hardware to its mapped location and documented seated condition; do not invent a universal “finger-tight” number or claim that one handle setting suits every material.
Which options should buyers compare for synthesizer keybed and control-panel service?
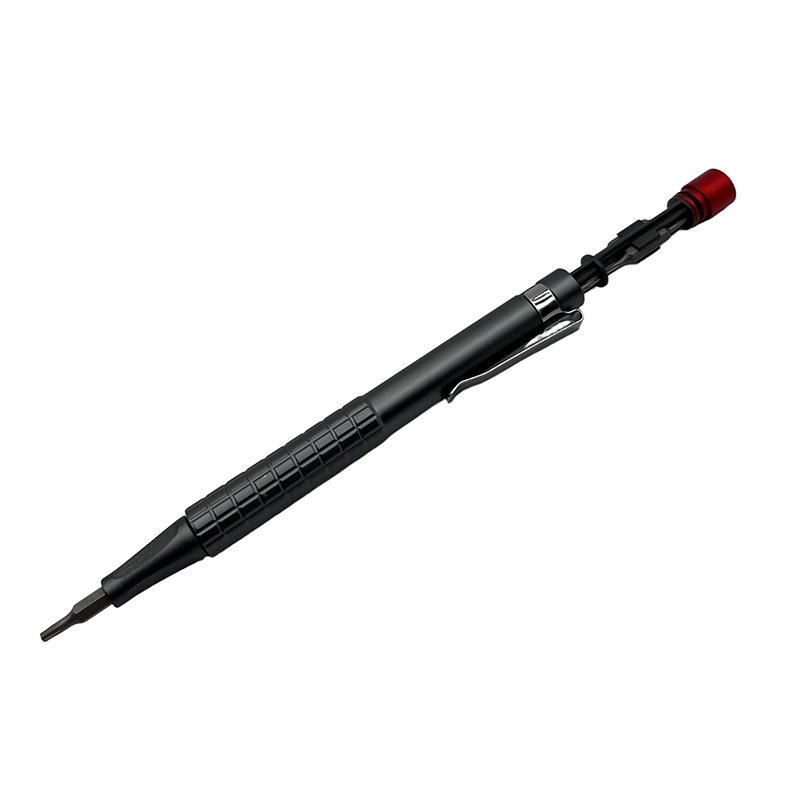
For synthesizer keybed and control-panel service, compare the first option “Precision panel driver,” used for Displays, boards, and small controls, with “Full-size chassis driver,” used for Bottom and rear-panel screws. The first carries this limitation: Limited on large chassis screws. The second carries this one: Can overload board standoffs. A third reference, “Nut driver or wrench,” is associated with Potentiometer and jack hardware and must be judged against the warning that Requires finish-safe clearance. These are decision categories, not universal performance rankings.
A buyer checklist for synthesizer keybed and control-panel service should require the exact target fasteners, profile and size map, short and long access needs, holder runout or stability, handle leverage, visible bit labeling, case retention, replacement-bit availability, and sample acceptance method. Add mains isolation, panel support, knob and washer order, ribbon cables, keybed alignment, and cosmetic finish to the application trial. Count only delivered pieces and verify every material or compatibility claim against the released SKU. A supplier sample should reproduce the intended task; turning an unrelated demonstration screw does not establish access, fit, control, durability, or safe use in the customer’s assembly.
What failure pattern should stop synthesizer keybed and control-panel service?
An overlong bottom screw can contact a board or keybed, and a long unsupported panel can bend as the last fastener releases. The explicit stop condition for synthesizer keybed and control-panel service is: the panel is unsupported, a mains area is exposed beyond authorization, or keybed references are unclear. A stop is a quality control, not an incomplete repair. Preserve the evidence by leaving the fastener and surrounding parts unchanged, note the direction and stage at which the condition appeared, quarantine damaged bits or unknown screws, and seek the maker’s procedure or an authorized decision. Repeated attempts erase geometry, mix wear patterns, and can turn an identifiable mismatch into an extraction problem.
Distinguish symptom, observation, and cause when reporting a problem in synthesizer keybed and control-panel service. “The screw did not move” is an observation; corrosion, adhesive, wrong profile, cross-threading, hidden retention, and an incorrect service assumption are different hypotheses. Record the bit identity, seating depth, applied method, work support, and visible condition without claiming a root cause that was not demonstrated. This separation gives an OEM, repair lead, or supplier enough information to decide whether the next action involves another tool, another process, or no further disassembly.
What should an OEM brief require for synthesizer keybed and control-panel service?
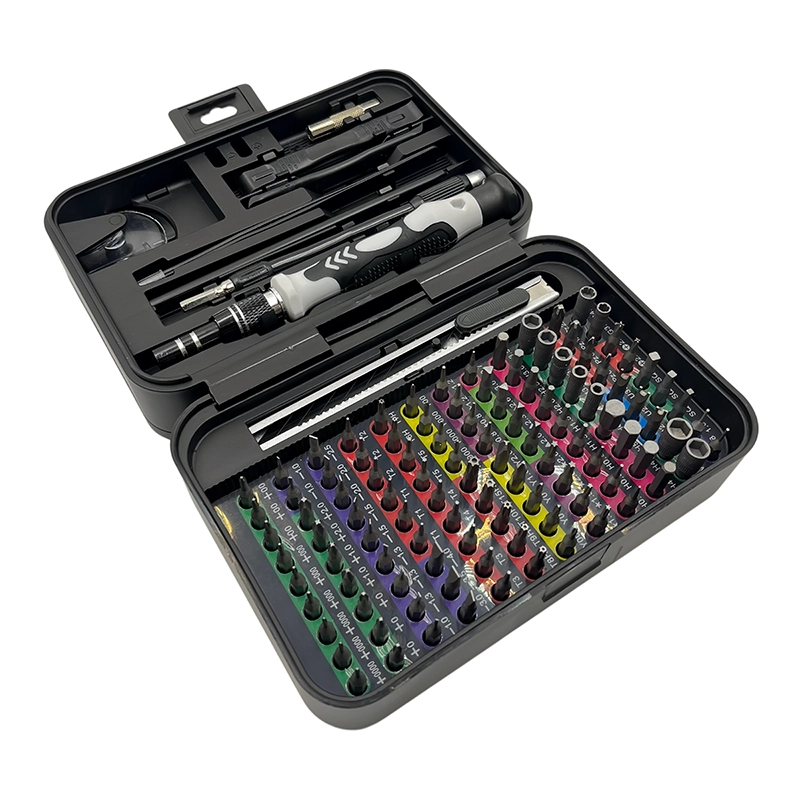
Keyboard-service kits should combine accurate bits, long-panel mapping, protective work surfaces, cable records, and separate tools for knobs or nuts. Convert that requirement into controlled fields for synthesizer keybed and control-panel service: target market and user, representative devices or fasteners, bit map, materials tied to the released SKU, handle and holder requirements, accessory list, case layout, markings, packaging languages, sample method, acceptance criteria, order quantity, and revision control. Ask the supplier to identify assumptions and exclusions. A private-label color or logo should be approved only after the working platform and product contents have been frozen.
Catalog evidence for this synthesizer keybed and control-panel service guide is limited to the current XOENAEN record for the 148-in-1 manual screwdriver set. That record establishes that the named platform exists in the present catalog; it does not prove that every device, fastener, material, or scenario discussed here has been factory-tested with that set. During sourcing, compare the catalog configuration with the buyer’s own fastener matrix and application sample. Any changed bit map, material, marking, case, or package should receive a new documented approval rather than inheriting evidence from a previous revision.
When is synthesizer keybed and control-panel service complete and verifiable?
Completion for synthesizer keybed and control-panel service requires more than reinstalling the visible screws. Reconcile all parts, confirm natural alignment and uniform seams, check that cables and moving parts remain clear, verify the required safety or functional state, and record any replaced fastener or deviation. Where the product maker specifies calibration, leak testing, electrical safety verification, or software checks, those steps remain part of completion and may require qualified equipment. A clean exterior cannot substitute for those controls, and this guide does not expand a user’s authorized service boundary.
The length and flexibility of a synthesizer chassis make fastening sequence a structural alignment control, not just an assembly convenience. The practical engineering insight for synthesizer keybed and control-panel service is to preserve information and geometry before adding force. This guide was prepared from the present XOENAEN catalog record, the cited official safety or quality resources, and the specific mechanical factors stated in each section. No unpublished certification, laboratory result, customer case, or universal compatibility claim is assumed. The recommended decision is to validate the selected manual screwdriver platform with the exact fasteners and assembly conditions before purchase, repair rollout, or mass-production approval.
Manual Screwdriver Guide for Synthesizer Control Panel Service: practical option comparison
| Option | Appropriate use | Decision limit |
|---|---|---|
| Precision panel driver | Displays, boards, and small controls | Limited on large chassis screws |
| Full-size chassis driver | Bottom and rear-panel screws | Can overload board standoffs |
| Nut driver or wrench | Potentiometer and jack hardware | Requires finish-safe clearance |
- Confirm the exact customer question for synthesizer keybed and control-panel service: How should a manual screwdriver be used around synthesizer keybeds, displays, knobs, and control-panel boards?
- Map mains isolation, panel support, knob and washer order, ribbon cables, keybed alignment, and cosmetic finish on representative assemblies.
- Approve the complete profile, size, and shaft-reach list for synthesizer keybed and control-panel service.
- Verify handle leverage and holder stability without overriding this stop rule: the panel is unsupported, a mains area is exposed beyond authorization, or keybed references are unclear.
- Check bit labels, case retention, replenishment, and revision identity for the 148-in-1 manual screwdriver set.
- Define a sample method, observations, and acceptance decision for synthesizer keybed and control-panel service.
- Keep packaging, listing, manual, and delivered-SKU claims synchronized.
- 148-in-1 manual screwdriver set product details →
- Compare all XOENAEN product families →
- Plan an OEM or private-label tool project →
- Review manufacturing and quality controls →
- Read XOENAEN tool and sourcing FAQs →
- Manual Screwdriver Planning for Electronic Drum Module Service →
- Manual Screwdriver Workflow for Sewing Machine Display Service →
- How XOENAEN presents quality evidence →
What must be confirmed before synthesizer keybed and control-panel service begins?
Confirm mains isolation, panel support, knob and washer order, ribbon cables, keybed alignment, and cosmetic finish first. For synthesizer keybed and control-panel service, the job should remain inside the documented service or assembly boundary, with the workpiece supported and every fastener position identified before the first turn.
Which screwdriver feature matters most for synthesizer keybed and control-panel service?
Exact recess engagement matters most for synthesizer keybed and control-panel service. Handle size, shaft reach, and case organization should then support the access and control described by this task: Screw length, chassis layer, panel support, ribbon-cable latches, knob hardware, keybed reference points, grounding contacts, and exterior finish protection guide bit and handle selection.
When should a technician stop synthesizer keybed and control-panel service?
Stop immediately when the panel is unsupported, a mains area is exposed beyond authorization, or keybed references are unclear. That condition removes the evidence needed for a controlled decision, so more leverage or repeated turning should not be used as a substitute for diagnosis.
How should removed screws be organized during synthesizer keybed and control-panel service?
Organize screws by exact position and removal layer during synthesizer keybed and control-panel service. Record length, washer or spacer order, and any visually similar fasteners separately so reassembly does not depend on memory or approximate appearance.
Can a large bit count guarantee safe synthesizer keybed and control-panel service?
No, a large bit count cannot guarantee safe synthesizer keybed and control-panel service. The useful set is the one that proves the required profiles, sizes, reach, holder stability, instructions, and replacement path for this specific work.
What should a buyer test when sourcing tools for synthesizer keybed and control-panel service?
Test representative access, recess fit, hand control, organization, and the documented stop rule for synthesizer keybed and control-panel service. The sample review should also confirm Keyboard-service kits should combine accurate bits, long-panel mapping, protective work surfaces, cable records, and separate tools for knobs or nuts.