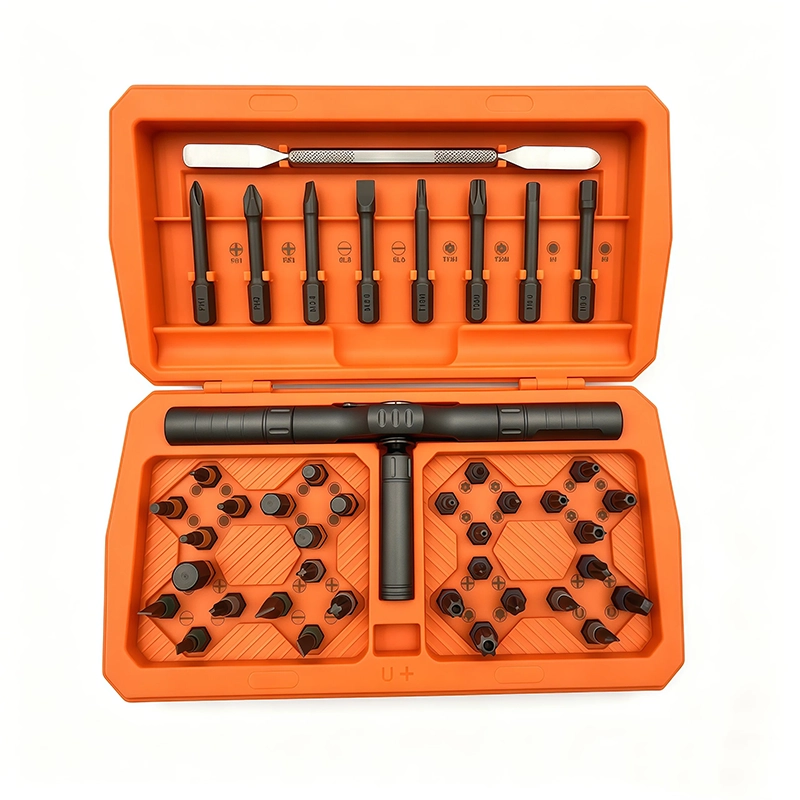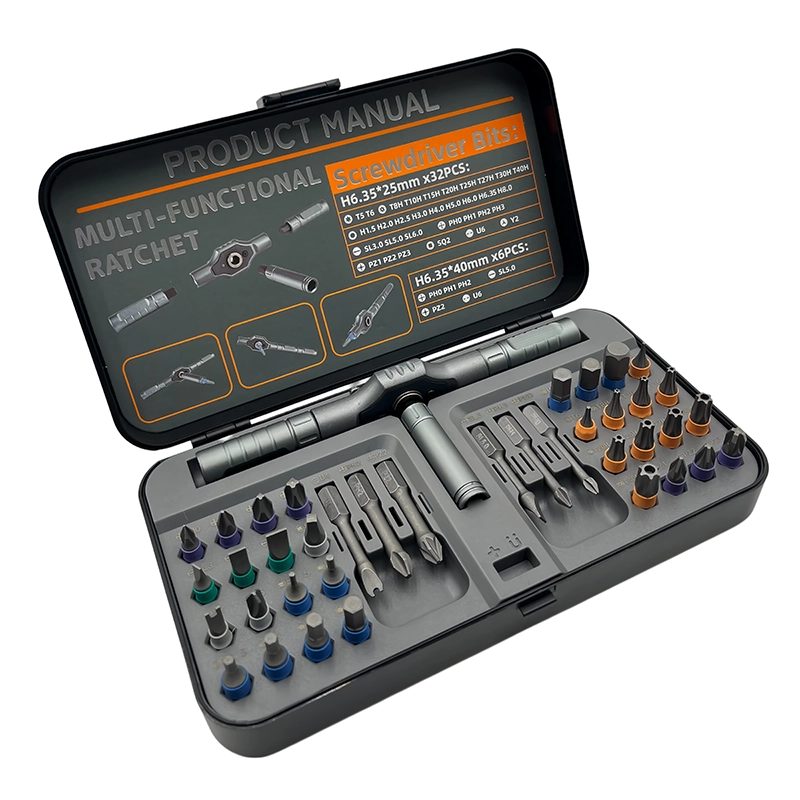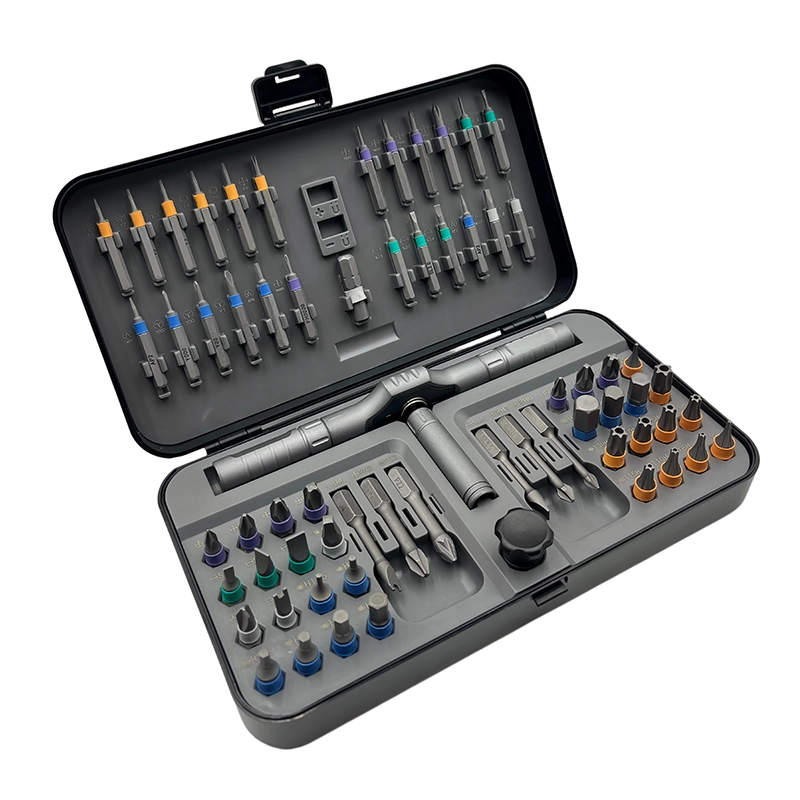
A ratchet screwdriver can help with compatible enclosure, panel and accessory screws on a cool, isolated 3D printer. It should not be used as a substitute for the printer maker’s hot-end, motion, electrical or calibrated assembly procedures, and frame alignment must be checked before any fastener is tightened.
ratchet screwdriver for 3D printer maintenance
ratchet screwdriver for 3D printer maintenance means manual fastener service that protects printer alignment, wiring, heaters and motion components. The term describes an application-led selection and work method, not a universal torque, compatibility or safety claim.
This guide addresses removing compatible covers, spool accessories or non-calibrated panels during maker-authorized 3D printer maintenance. The decision starts with the screw, joint and surrounding material—not with a maximum torque claim or the number printed on the case. A ratchet mechanism changes how the hand resets between driven strokes; it does not identify the fastener, align the parts, protect the substrate or verify the final joint. Those responsibilities stay with the user and the model-specific procedure.
Can a ratchet screwdriver help maintain a 3D printer?
A ratchet screwdriver can help with compatible enclosure, panel and accessory screws on a cool, isolated 3D printer. It should not be used as a substitute for the printer maker’s hot-end, motion, electrical or calibrated assembly procedures, and frame alignment must be checked before any fastener is tightened. The practical boundary is clear: use the ratchet only where the bit is fully engaged, the work is supported and the service or assembly instruction allows an ordinary hand driver. If the joint is structural, electrical, load-bearing, safety-related or specified by measured torque, switch to the documented process and tool rather than stretching this set beyond its intended role.
What does “ratchet screwdriver for 3D printer maintenance” mean?
ratchet screwdriver for 3D printer maintenance means manual fastener service that protects printer alignment, wiring, heaters and motion components. It is an application decision, not a universal performance label. The useful configuration is the one that reaches the screw squarely, gives the operator a stable grip, keeps nearby surfaces and components clear, and leaves an observable stopping condition. A wider handle may increase hand leverage, while a longer bit may improve reach; either change can also amplify side load or hide early damage when the selection is wrong.
Which technical factors should be checked first?
Printers combine metric screws, hex interfaces and small electronics fasteners that require an exact bit map. The machine must be cool and isolated before work near heaters, power supplies or moving axes. Frame or rail fasteners can affect calibration and should follow model-specific alignment procedures. Translate those observations into a written application map: fastener profile and size, shank interface, working length, surrounding clearance, material, required direction, final check and excluded tasks. That map is more useful for product selection than a generic “multi-purpose” claim because another technician or supplier can reproduce it.
How should the work be prepared?
Preparation for ratchet screwdriver for 3D printer maintenance should control the three failures named for this job: A warm hot end or energized supply remains hazardous regardless of the hand tool used. Tightening one frame joint can change squareness or rail alignment. A loose bit or screw can enter a fan, belt path or electronics enclosure. Use direct lighting, support removing compatible covers, spool accessories or non-calibrated panels during maker-authorized 3D printer maintenance, separate the relevant screw locations and inspect the installed bit. Confirm the selector away from the joint, then complete any isolation, guarding, protective-equipment or qualified-service step required by the specific equipment before the ratchet enters the work area.
Step 1 — Establish the safe task boundary
Let the printer cool, isolate power and obtain the maintenance instructions for the exact model and component.
Step 2 — Confirm bit fit and access
Separate cosmetic-panel, accessory and calibrated-structure fasteners, and mark any screw whose removal affects alignment.
Step 3 — Move the fastener without creating side load
Use the ratchet only where the bit is fully seated and the handle cannot contact wiring, belts or rails.
Step 4 — Reassemble and verify
Reassemble in the documented sequence, route cables correctly and run the printer maker’s inspection or calibration procedure.
Which method should be used for this job?
Compare the three methods for removing compatible covers, spool accessories or non-calibrated panels during maker-authorized 3D printer maintenance using the actual interface and access envelope. Ratchet screwdriver is intended for panel or accessory screws, while Hex key changes the decision to common metric frame hardware; Torque/calibration tool defines the alternate boundary. Test workable options on the same representative joint and retain the bit, direction, setup and stop condition that support the selection.
What mistakes cause the most damage?
A warm hot end or energized supply remains hazardous regardless of the hand tool used. Tightening one frame joint can change squareness or rail alignment. A loose bit or screw can enter a fan, belt path or electronics enclosure. A useful stop rule is to pause at the first unexpected slip, binding, substrate movement or selector inconsistency. Continuing to ratchet rarely repairs the underlying cause. Clean and re-identify the recess, unload or realign the part, replace a worn bit, or escalate to the correct extraction, torque or professional service method before the fastener becomes harder to recover.
How does the XOENAEN product reference relate to the application?
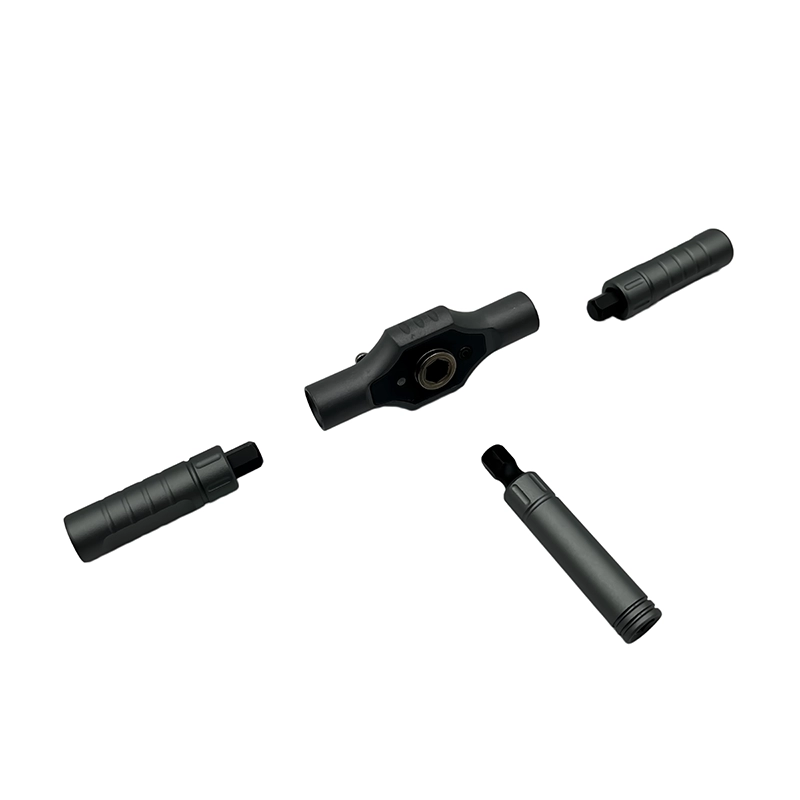
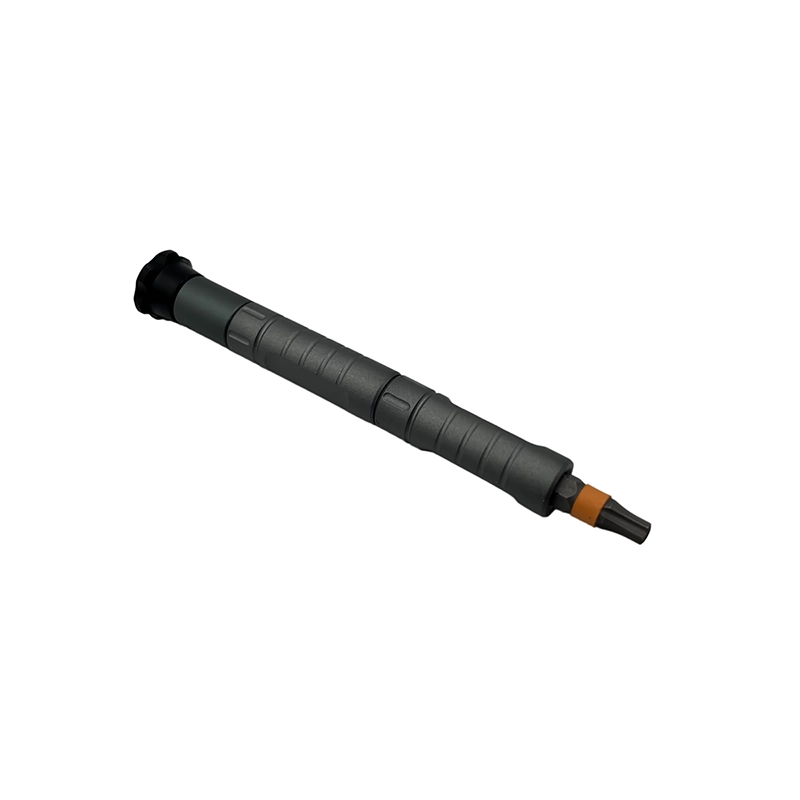
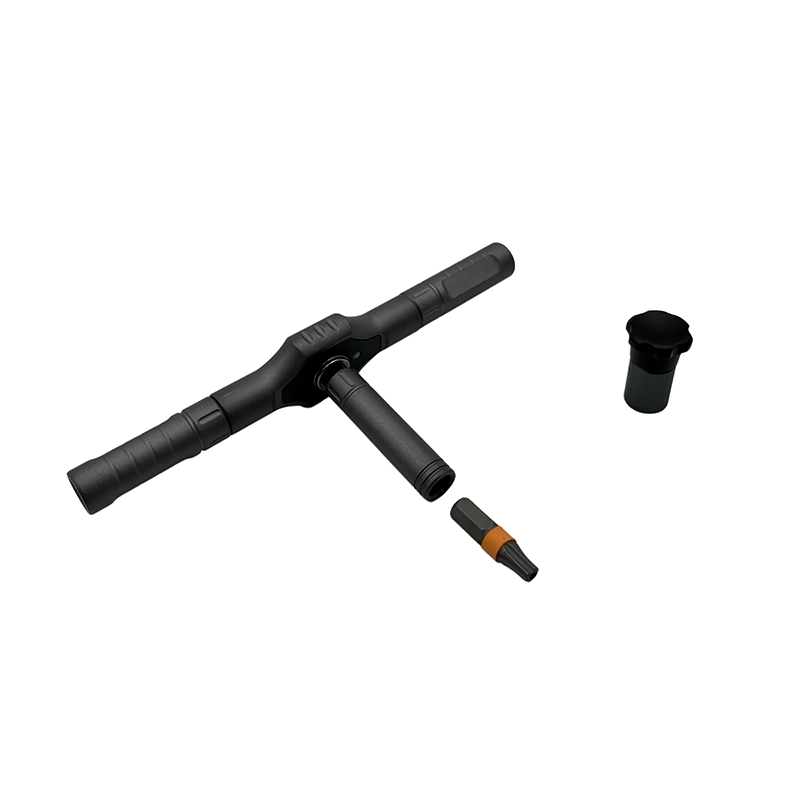
The current XOENAEN catalog records H6.35 and H4 bit interfaces, 32 mm and 40 mm long-bit formats, short precision bits, a magnetizer and a handle that can convert to a straight-driver format for the 66-in-1 platform. This is catalog evidence for the product configuration, not a claim that the platform has been tested on every removing compatible covers, spool accessories or non-calibrated panels during maker-authorized 3D printer maintenance. Buyers should use the entry to shortlist interface, reach, handle and storage, then validate the exact sample on their own fasteners and acceptance method. Any logo, color, bit-map or packaging change should remain linked to the approved SKU revision.
What should a buyer choose?
Select the bit interfaces actually present on the target printer and package them with a screw map rather than a generic claim that the set fits every machine. Ask the supplier to identify the exact included profiles, interfaces and working lengths, and compare them with the customer-question map. Check how a missing or worn bit will be replaced, how the direction selector is explained and whether the case lets users return every piece to a visible position. The best buying decision is the smallest controlled system that completes the real job without encouraging unsupported use.
What belongs in an OEM or wholesale enquiry?
Send target printer fasteners, hot-zone and alignment exclusions, work-envelope dimensions, bit-retention criteria and a post-service calibration checklist. Also state target market, intended user, annual or initial quantity, packaging language, barcode and label needs, sample stages, compliance responsibilities and launch timing. Keep application evidence beside commercial requirements. That allows XOENAEN to evaluate an existing 40-in-1, 43-in-1 or 66-in-1 platform before discussing deeper ODM changes, and prevents artwork approval from outrunning functional approval.
How should the sample and production result be verified?
The verification record for ratchet screwdriver for 3D printer maintenance should translate this brief into checks: Send target printer fasteners, hot-zone and alignment exclusions, work-envelope dimensions, bit-retention criteria and a post-service calibration checklist. Name each property, method, sample quantity and acceptance rule. Use the customer’s representative screw and surrounding part for application checks, and identify any instrument, unit and reference chain used for measured results. This separates traceable evidence for the stated job from an unsupported quality label on the complete set.
Final recommendation
A ratchet screwdriver can help with compatible enclosure, panel and accessory screws on a cool, isolated 3D printer. It should not be used as a substitute for the printer maker’s hot-end, motion, electrical or calibrated assembly procedures, and frame alignment must be checked before any fastener is tightened. For a retail or professional program, connect that answer to a product page, an application instruction and a support route so the customer can verify compatibility before purchase. For an OEM program, preserve the approved sample, bit map and pack-out revision. Clear limits improve trust: they help buyers understand where a hand ratchet is useful and where a different tool or qualified procedure is the responsible choice.
Choose a method for removing compatible covers, spool accessories or non-calibrated panels during maker-authorized 3D printer maintenance
| Method | Best use | Main characteristic | Decision check |
|---|---|---|---|
| Ratchet screwdriver | Panel or accessory screws | Short repeated strokes | No alignment load |
| Hex key | Common metric frame hardware | Full hex engagement | Follow maker sequence |
| Torque/calibration tool | Specified motion joint | Controlled assembly | Required result recorded |
- Map the exact fastener profile, shank interface and working length for removing compatible covers, spool accessories or non-calibrated panels during maker-authorized 3D printer maintenance.
- Measure axial depth and ratchet swing clearance on a representative part.
- Confirm direction, lock behavior, bit retention and worn-bit rejection before work.
- Control the key risks: A warm hot end or energized supply remains hazardous regardless of the hand tool used. Tightening one frame joint can change squareness or rail alignment. A loose bit or screw can enter a fan, belt path or electronics enclosure.
- Keep model, bit map, case, manual, artwork and inspection record on the same revision.
- Use the documented manufacturer or workplace procedure for torque-critical, electrical, structural or safety-related work.
- View the XOENAEN 66-in-1 ratchet screwdriver set →
- Read the appliance-repair ratchet guide →
- Continue with Ratchet Drivers for Workshop Jigs and Adjustable Fixtures →
- Plan an OEM / ODM tool configuration →
- Review manufacturing and quality support →
- Read the related prevent-cam-out-ratchet-screwdriver guide →
- Read the related ratchet-screwdriver-stubborn-household-screws guide →
- How XOENAEN presents quality evidence →
Can a ratchet screwdriver help maintain a 3D printer?
A ratchet screwdriver can help with compatible enclosure, panel and accessory screws on a cool, isolated 3D printer. It should not be used as a substitute for the printer maker’s hot-end, motion, electrical or calibrated assembly procedures, and frame alignment must be checked before any fastener is tightened. Validate the exact setup on a representative fastener before making it a standard instruction.
Can a ratchet driver tighten a 3D printer frame?
The direct answer depends on the documented task boundary: Printers combine metric screws, hex interfaces and small electronics fasteners that require an exact bit map. Follow the product or equipment maker’s instruction when it sets a stricter requirement.
Which bit interface is common on 3D printer panels?
Start with this rule: The machine must be cool and isolated before work near heaters, power supplies or moving axes. Stop if bit fit, access, substrate condition or the required final check is uncertain.
What should be inspected before the first ratchet stroke in ratchet screwdriver for 3D printer maintenance?
Inspect the screw recess, bit tip, holder engagement, selector position and support for removing compatible covers, spool accessories or non-calibrated panels during maker-authorized 3D printer maintenance. The bit should be fully seated and square, with this first decision factor confirmed: Printers combine metric screws, hex interfaces and small electronics fasteners that require an exact bit map.
Would a larger handle make ratchet screwdriver for 3D printer maintenance safer?
Not by itself. A larger handle changes leverage, but this application depends on manual fastener service that protects printer alignment, wiring, heaters and motion components. Excess leverage can accelerate the first stated risk: A warm hot end or energized supply remains hazardous regardless of the hand tool used.
What should an OEM buyer submit for a ratchet screwdriver for 3D printer maintenance project?
Send target printer fasteners, hot-zone and alignment exclusions, work-envelope dimensions, bit-retention criteria and a post-service calibration checklist. Include target quantity, market, language, sample stage and launch timing so the proposed saleable configuration remains tied to this application.