Remove visible obstruction only and verify repeatedly with the specified fastener. For this job, control tool axis, taper contact, seat diameter and screw-head height. Stop if the seat turns oval, the head drops below target or a thin rim chips. Accept the work only when the correct screw centers and reaches the approved flush or proud condition.
restore countersink in 3D printed hole
restore countersink in 3D printed hole is the controlled process of removing stringing or a small lip from a printed countersunk screw seat, using an approved method while protecting a tapered seat whose diameter, angle and depth affect screw-head support and verifying that the correct screw centers and reaches the approved flush or proud condition.
Remove visible obstruction only and verify repeatedly with the specified fastener. For this job, control tool axis, taper contact, seat diameter and screw-head height. Stop if the seat turns oval, the head drops below target or a thin rim chips. Accept the work only when the correct screw centers and reaches the approved flush or proud condition. This article treats restore countersink in 3D printed hole as one controlled customer question, not as a claim that every accessory or speed suits every material. The working example is removing stringing or a small lip from a printed countersunk screw seat; final suitability still depends on the customer’s sample, instructions and acceptance method.
Restoring a Countersink in a 3D Printed Fastener Hole concerns a tapered seat whose diameter, angle and depth affect screw-head support. That physical context changes the decision because geometry, heat, debris, tool access and inspection are connected. Before restore countersink in 3D printed hole, identify the area that may be touched, the areas that must remain unchanged and the exact evidence that will close the job.
How can a printed countersink be cleaned without making the screw head sit too deep?
Remove visible obstruction only and verify repeatedly with the specified fastener. For restore countersink in 3D printed hole, begin with a clean representative workpiece and photograph the starting condition. Mark the defect, orient the part so the tool moves away from hands and protected edges, and make one short trial. Clean the area before judging it; loose dust and temporary heat gloss can hide a changed contour.
Why does restore countersink in 3D printed hole need a task-specific plan?
The real application is removing stringing or a small lip from a printed countersunk screw seat, while the material condition is a tapered seat whose diameter, angle and depth affect screw-head support. A generic accessory count does not define a process. The plan for restore countersink in 3D printed hole must state why material is being removed, how much change is allowed, which direction the operation proceeds and who decides whether a damaged feature should be reworked, replaced or left untouched.
Which variables control restore countersink in 3D printed hole?
Control tool axis, taper contact, seat diameter and screw-head height. Change one variable at a time and retain a known sample for comparison. Accessory diameter changes surface speed; pressure and dwell change heat; support changes vibration; and debris changes what the operator can see. During restore countersink in 3D printed hole, the lowest useful intervention is preferable to repeated aggressive correction that gradually erases the intended geometry.
How should the first-piece test for restore countersink in 3D printed hole be prepared?
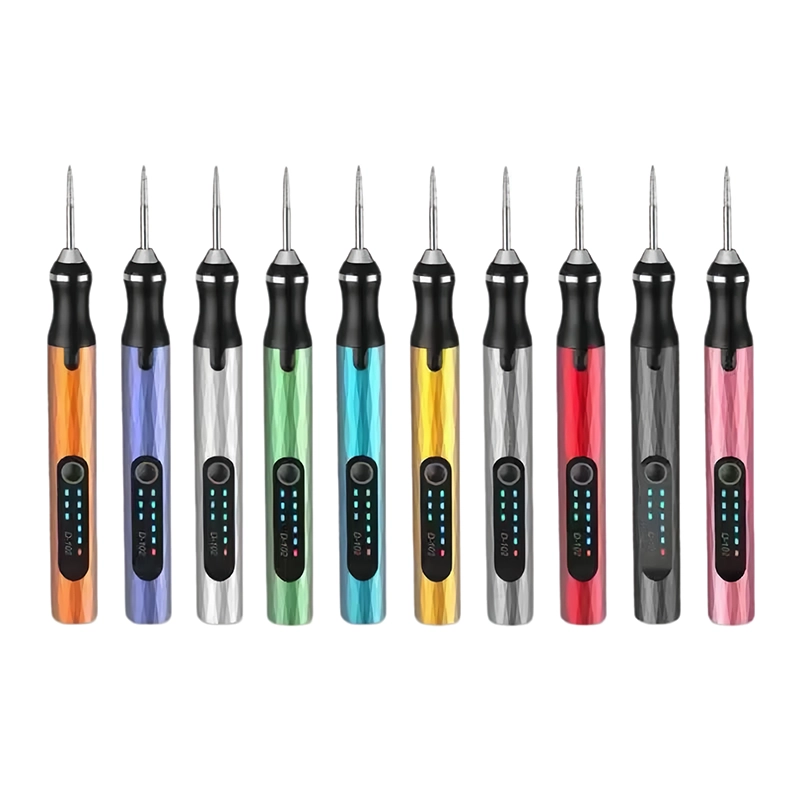
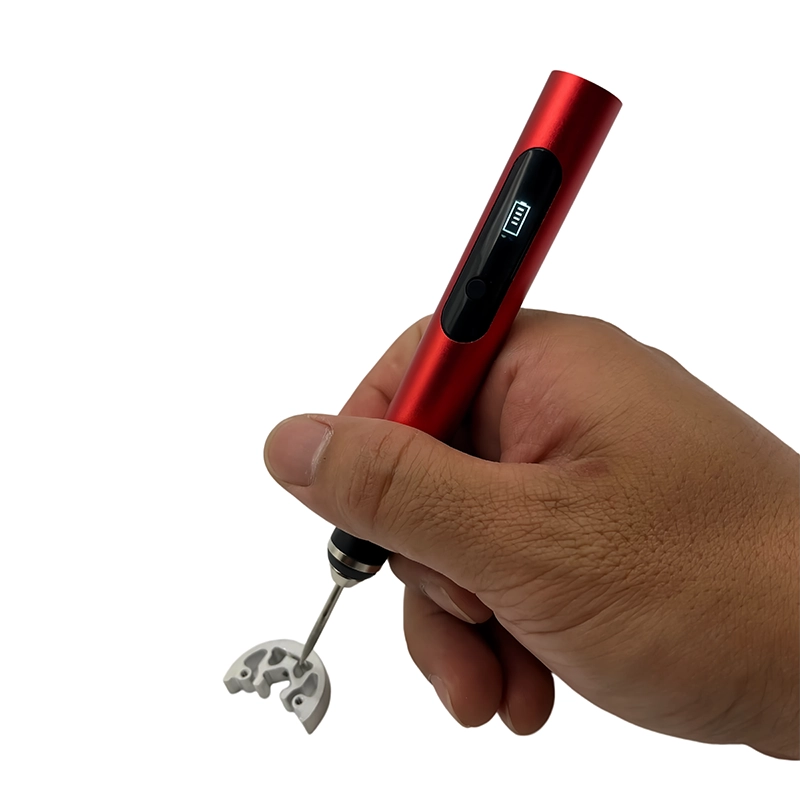
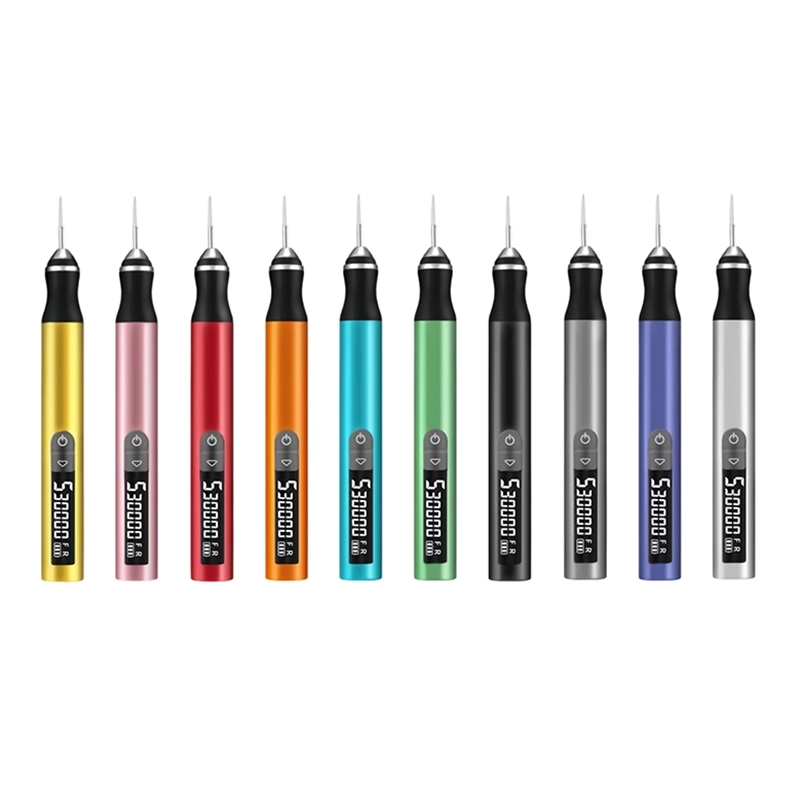
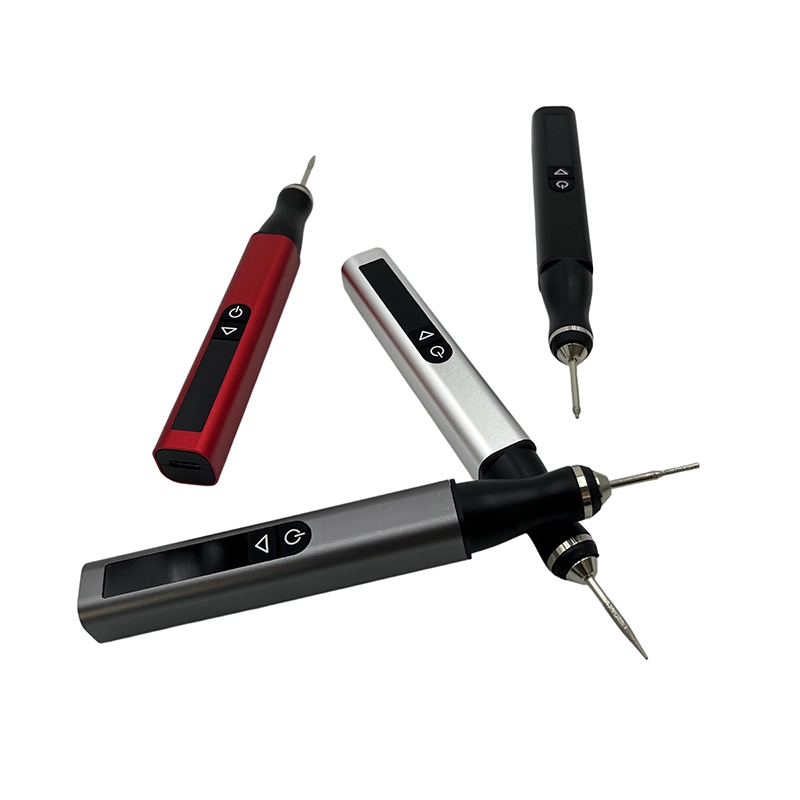
Use the same a tapered seat whose diameter, angle and depth affect screw-head support and a feature that represents the customer’s geometry. Record the H102 five-speed cordless engraving pen reference, installed accessory, workholding, contact sequence and inspection tool. For restore countersink in 3D printed hole, approve the first piece only after it has been cleaned and returned to a stable temperature, then repeat the method on another sample to reveal operator-dependent variation.
When should powered work stop during restore countersink in 3D printed hole?
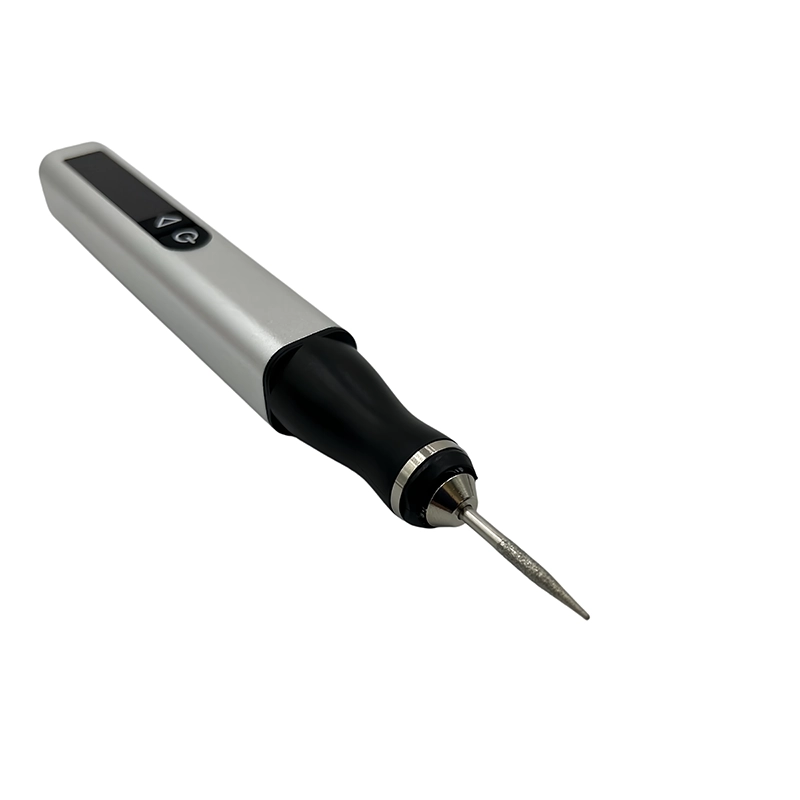
The practical stop signal is that the seat turns oval, the head drops below target or a thin rim chips. Stop power, isolate the accessory and inspect the work before deciding what changed. More speed or force rarely repairs a process that has lost support or alignment. A professional restore countersink in 3D printed hole instruction should make this signal visible so a technician does not continue merely because the original defect is still present.
How do matching hand countersink and small rotary point for isolated flash compare for restore countersink in 3D printed hole?
matching hand countersink gives a different balance of reach, reference control and cycle time than small rotary point for isolated flash. Test both against the same starting defect and measure more than speed. For restore countersink in 3D printed hole, compare edge condition, fit, debris, temperature, consumable wear and operator access. The better method is the one that repeatedly protects the acceptance requirement, even when it takes longer.
What proves restore countersink in 3D printed hole is acceptable?
The acceptance condition is that the correct screw centers and reaches the approved flush or proud condition. Use the stated gauge, mating component, movement check, fixed lighting or retained finish reference. The result of restore countersink in 3D printed hole should be inspected after cleaning because residue can disguise scratches or missing material. If a critical feature cannot be verified, quarantine it rather than using cosmetic finishing to hide uncertainty.
Which product details matter when buying for restore countersink in 3D printed hole?
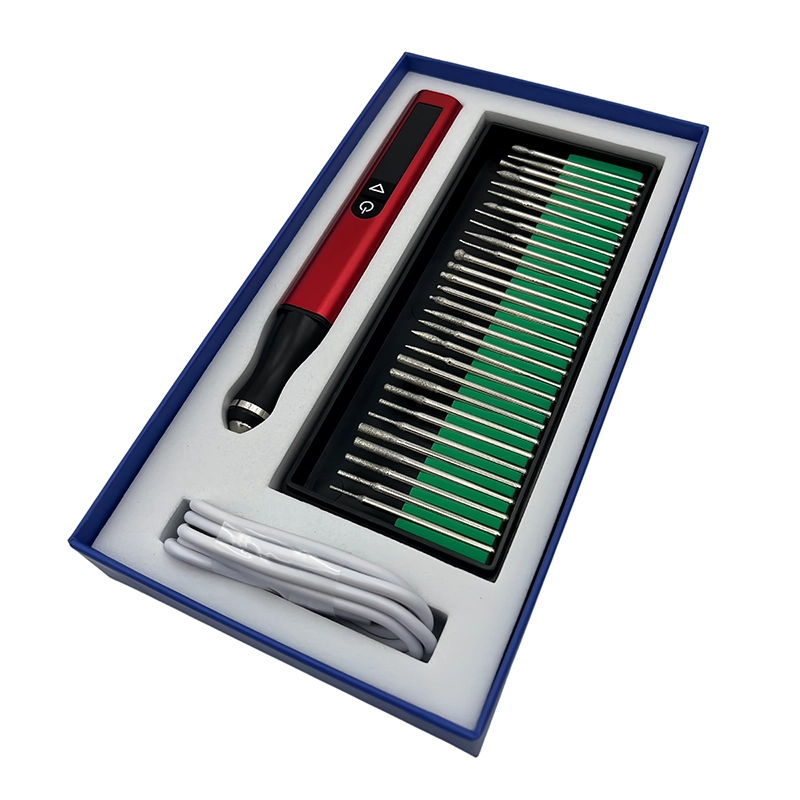
The current H102 five-speed cordless engraving pen provides a real XOENAEN product reference, but it does not make restore countersink in 3D printed hole a validated universal application. Buyers should examine control layout, compatible shanks, accessory identity, charging pack-out, storage and replacement items. The target workpiece and acceptance method remain the sample approval basis, and all application claims should stay within that evidence.
What should an OEM brief record for restore countersink in 3D printed hole?
provide the fastener drawing and approved head position in the project brief. Add target market, monthly volume, material mix, accessory map, case layout, label language, manual requirements and sample timing. For restore countersink in 3D printed hole, the brief should also identify workplace controls for dust, flying debris, heat or charging where relevant, so the proposed configuration can be assessed without inventing missing operating conditions.
How should restore countersink in 3D printed hole become a repeatable work instruction?
Write the approved sequence in plain observable terms: starting condition, protected zone, workholding, accessory, direction, short-pass rule, stop signal and final check. Keep rejected media separate and reapprove after a component change. This approach makes restore countersink in 3D printed hole transferable between trained operators while preserving the central rule that the actual part and customer requirement control the decision.
For the retained restore countersink in 3D printed hole record, identify a tapered seat whose diameter, angle and depth affect screw-head support, photograph the accepted setup and link the instruction to its product, accessory and inspection revision. Recheck the method whenever the workpiece, media, charging configuration or operator access changes. The release note should repeat the acceptance rule—the correct screw centers and reaches the approved flush or proud condition—so later production cannot replace evidence with a subjective statement that the surface simply looks better.
matching hand countersink compared with small rotary point for isolated flash for restore countersink in 3D printed hole
| Method | Useful when | Main control |
|---|---|---|
| matching hand countersink | Reference control is important during removing stringing or a small lip from a printed countersunk screw seat | tool axis, taper contact, seat diameter and screw-head height |
| small rotary point for isolated flash | Localized access is needed for removing stringing or a small lip from a printed countersunk screw seat | the seat turns oval, the head drops below target or a thin rim chips |
- Define the customer question: How can a printed countersink be cleaned without making the screw head sit too deep?
- Identify the working material: a tapered seat whose diameter, angle and depth affect screw-head support
- Control tool axis, taper contact, seat diameter and screw-head height
- Use this stop signal: the seat turns oval, the head drops below target or a thin rim chips
- Approve only when the correct screw centers and reaches the approved flush or proud condition
- Complete the buyer action: provide the fastener drawing and approved head position in the project brief
- H102 five-speed cordless engraving pen →
- OEM and ODM development →
- Manufacturing and quality control →
- Related guide: How to Tune a 3D Printed Bearing Seat Without Losing Alignment →
- Read the related prepare-3d-print-for-conductive-plating guide →
- Read the related carve-foam-terrain-without-melting guide →
- Continue with the size-3d-printed-press-fit-pin-hole topic →
- How XOENAEN presents quality evidence →
What should be inspected before restore countersink in 3D printed hole begins?
Inspect the actual a tapered seat whose diameter, angle and depth affect screw-head support, mark protected geometry and confirm the acceptance reference. For restore countersink in 3D printed hole, the operator also needs stable workholding and a clear stop rule before the tool or abrasive touches the part.
Which stop signal matters most during restore countersink in 3D printed hole?
Stop when the seat turns oval, the head drops below target or a thin rim chips. That observation means the chosen contact, accessory, support or method is no longer controlling the task, so cleaning and reassessment are safer than adding pressure or dwell.
Is matching hand countersink better than small rotary point for isolated flash for restore countersink in 3D printed hole?
matching hand countersink is usually stronger where broad reference control matters, while small rotary point for isolated flash can reach a localized feature. Compare both on the same removing stringing or a small lip from a printed countersunk screw seat sample and judge them against the correct screw centers and reaches the approved flush or proud condition.
How should a first-piece test document restore countersink in 3D printed hole?
Record the material, starting defect, workholding, accessory, sequence, stop observation and final inspection. A useful restore countersink in 3D printed hole record lets another trained person repeat the decision without relying on vague phrases such as light pressure.
What should a buyer specify for restore countersink in 3D printed hole?
provide the fastener drawing and approved head position in the project brief. The brief should also state expected quantity, market, accessory pack, packaging, documentation and the sample that will prove the configuration is suitable for this exact customer question.
Which evidence proves restore countersink in 3D printed hole is complete?
Completion requires the cleaned and cooled workpiece to satisfy this defined condition: the correct screw centers and reaches the approved flush or proud condition. Appearance alone is insufficient when a gauge, mating part, motion check or retained finish reference is available.