Product knowledge

Useful decisions. Better tool projects.

Practical product, OEM/ODM and quality guidance grounded in the tools and project work shown across this site.

Precision screwdriver supplier evaluation scorecard reviewed beside product and quality recordsSeptember 1, 2026How Should Buyers Score Precision Screwdriver Suppliers?Read article
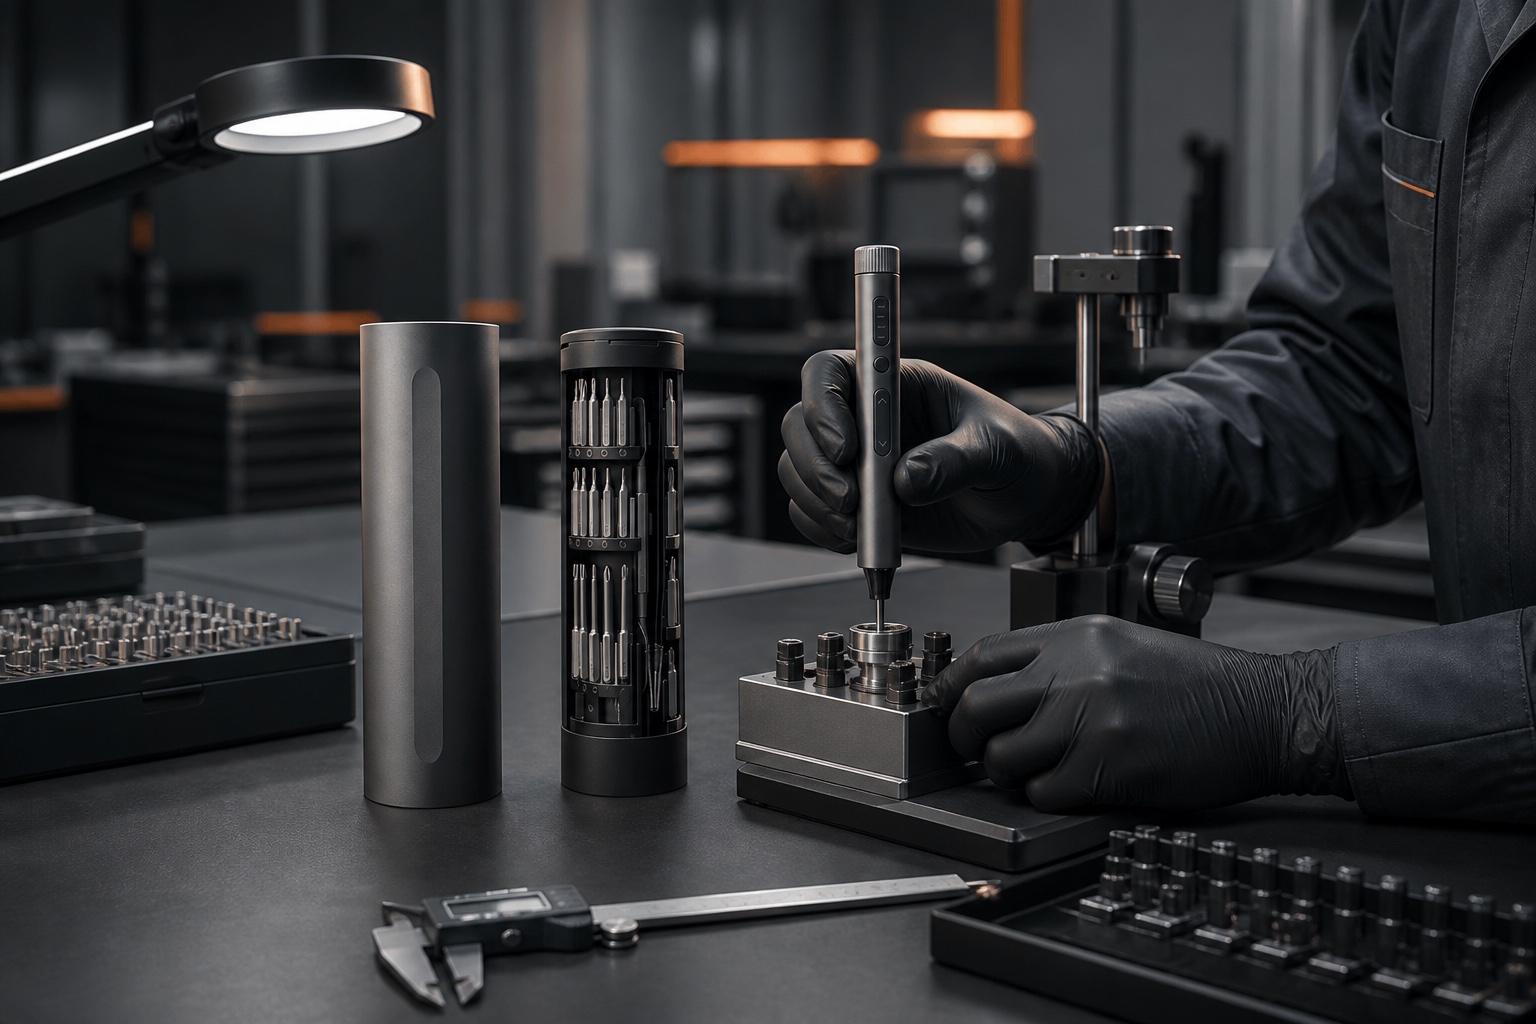
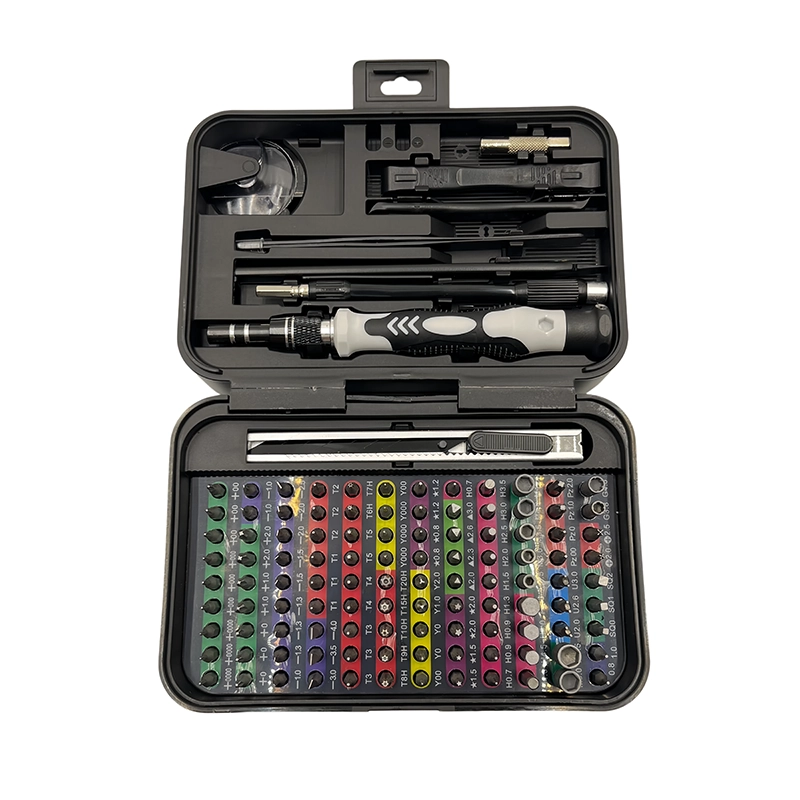
170electronic-toy gearmotor and shell service guide with 132-in-1 manual screwdriver set catalog view 20
August 22, 2026 · XOENAEN Product & Application Team

What Is the Safe Screwdriver Workflow for an Electronic Toy Gearmotor?

For electronic-toy gearmotor and shell service, first confirm the exact model, authorized repair scope, safe power state and fastener map. Use a bit that fully fills the recess, support the assembly, preserve every screw position and start reassembly by hand. Stop when alignment or resistance changes, then verify affected functions with the maker’s procedure. Screw tightness alone does not prove a safe or complete repair.

Read article
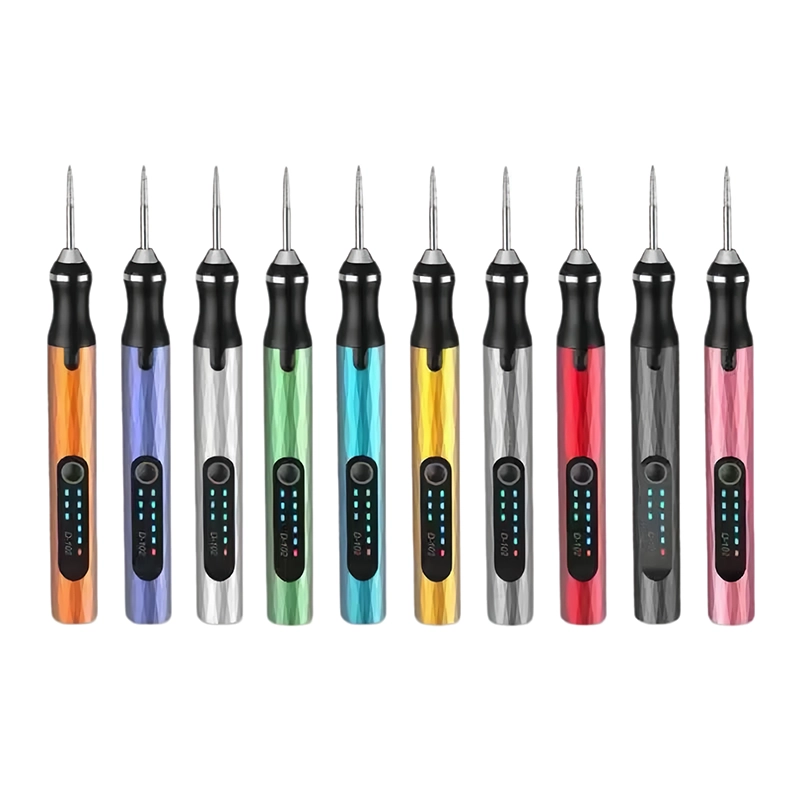
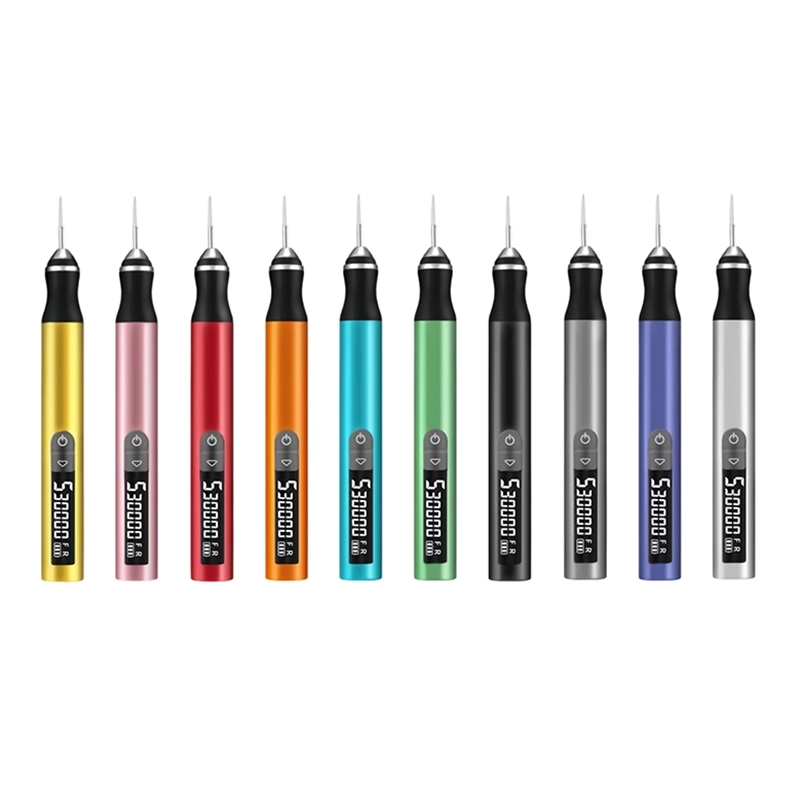
171How to Remove PETG Stringing Without Smearing Printed Surfaces — D-102 cordless electric engraving pen cover view for cleaning wisps around openings and travel moves on a PETG enclosure
August 20, 2026 · XOENAEN 3D Print & Rotary Application Team

How to Remove PETG Stringing Without Smearing Printed Surfaces

Trim long strands first and reserve powered contact for isolated residue on a supported feature. For this job, control edge support, accessory sharpness, contact direction and local temperature. Stop if the strand stretches, the wall turns glossy or softened plastic rolls into a ridge. Accept the work only when the wall remains matte, dimensionally unchanged and free of attached whiskers.

Read article
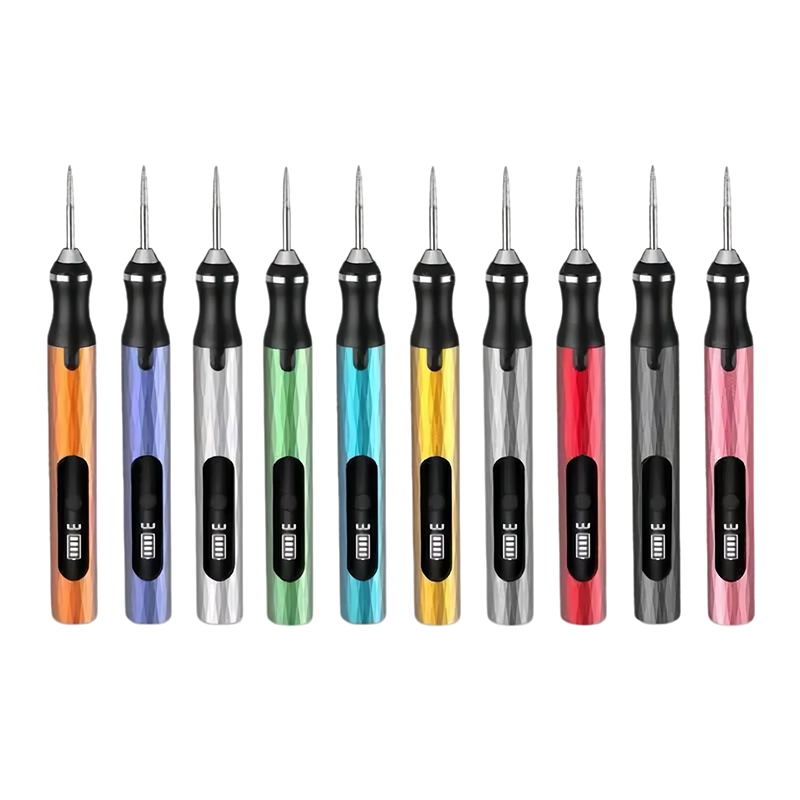
172Removing FDM Raft Residue While Keeping the Printed Base Flat — 104 mini rotary tool pen cover view for leveling scattered raft contact points on a prototype base
August 20, 2026 · XOENAEN 3D Print & Rotary Application Team

Removing FDM Raft Residue While Keeping the Printed Base Flat

Reference the datum and remove only marked residue before switching to a backed flat abrasive. For this job, control workholding, raking light, abrasive support and repeated flatness checks. Stop if a widening bright band, rocking part or disappearing reference marks. Accept the work only when the base sits without rocking and the protected datum remains continuous.

Read article
173How to Clean FDM Bridge Sag Inside a Printed Window or Slot — 106 cordless precision rotary tool cover view for correcting a short bridge that intrudes into a cable or airflow window
August 20, 2026 · XOENAEN 3D Print & Rotary Application Team

How to Clean FDM Bridge Sag Inside a Printed Window or Slot

Map the intended opening and cut the lowest hanging strands before refining the edge. For this job, control opening size, tool approach, wall support and chip evacuation. Stop if the accessory catches a strand, widens the slot or heats the surrounding wall. Accept the work only when the required gauge passes while both window edges retain their specified shape.

Read article
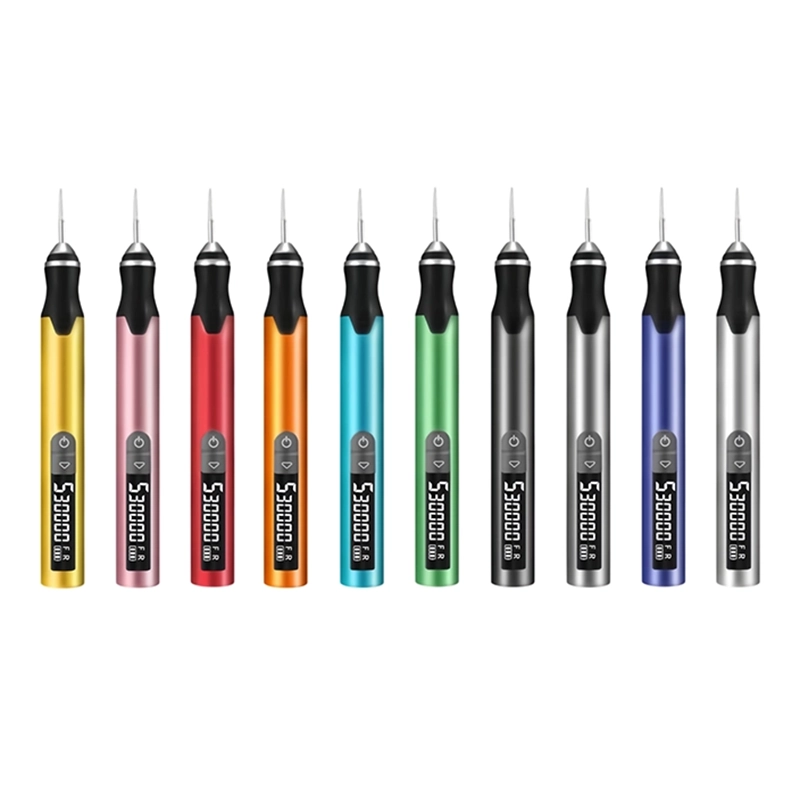
174How to Flatten a 3D Printed Enclosure Mating Flange Safely — H101 five-speed cordless engraving pen cover view for correcting isolated high spots before two enclosure halves are assembled
August 20, 2026 · XOENAEN 3D Print & Rotary Application Team

How to Flatten a 3D Printed Enclosure Mating Flange Safely

Use transfer marks to locate high spots and keep final leveling on a broad flat reference. For this job, control flange support, boss height, transfer pattern and diagonal closure checks. Stop if material disappears from an unmarked area or the flange begins to twist under pressure. Accept the work only when the halves close evenly with the intended gasket or gap and no local daylight.

Read article
175Restoring a Countersink in a 3D Printed Fastener Hole — H102 five-speed cordless engraving pen cover view for removing stringing or a small lip from a printed countersunk screw seat
August 20, 2026 · XOENAEN 3D Print & Rotary Application Team

Restoring a Countersink in a 3D Printed Fastener Hole

Remove visible obstruction only and verify repeatedly with the specified fastener. For this job, control tool axis, taper contact, seat diameter and screw-head height. Stop if the seat turns oval, the head drops below target or a thin rim chips. Accept the work only when the correct screw centers and reaches the approved flush or proud condition.

Read article

Project inquiry

Bring us the brief.

Share your product, market, quantity and customization requirements. Our project team will reply with the right next step.