Align the parts before loading the screw, confirm the correct fastener and bit, then turn the screw backward gently until the thread drops into its starting position. Turn forward with fingertip force only. A correct start feels smooth and follows the screw axis. Stop at once if resistance rises early, the screw tilts, or the joint remains open.
Cross-threading
A misaligned thread start in which the screw cuts across or rides over the intended mating thread instead of following its existing helical path.
What makes this manual screwdriver task different?
Small screws offer little visual warning and can damage a plastic boss, threaded insert, or fine metal thread quickly. In repair work, reused parts may already be dirty, worn, or slightly misaligned. The driver should reveal the bad start rather than overpower it. The first decision is therefore not how much force the handle can deliver, but whether the service task, device condition, and operator authorization are clearly understood. Keep the manufacturer’s instructions, the actual fastener, and the surrounding parts in view before selecting a bit.
A manual driver gives useful tactile feedback only when the workpiece is supported and the tip remains fully engaged. For repair technicians, product assemblers, makers, and quality trainers, that means treating access, visibility, screw identity, and reassembly records as part of the tool choice rather than as optional bench habits.
Which technical factors matter most?
Thread diameter, pitch, lead, screw length, hole alignment, debris, coating, and joint preload influence the start. Bit fit matters because a slipping driver removes feedback. The backward locating turn is a tactile aid, not a guarantee; damaged or mismatched threads still require correction or replacement. Evaluate the complete installed system: handle, cap, holder, bit, fastener, access path, and work support. A premium material name or a high accessory count cannot compensate for partial recess contact or an unsafe service sequence.
For hand start method for small precision screws, any drawing, service manual, torque specification or safety rule takes priority over general hand-tool guidance. Record the exact model, the condition described by the usual failure is using the screw to pull two misaligned parts together. increasing handle force cuts a new path in plastic or damages the first metal thread, after which the screw may feel tight without actually clamping correctly. and the configuration used by repair technicians, product assemblers, makers, and quality trainers. A revision can change fastener length, cable routing, sealing or authorized access, so the retained record must identify the actual article-specific task.
What workflow keeps the repair controlled?
1. Compare the screw with the position map, inspect both threads and the recess, remove loose debris by the approved method, and align the joint without using the screw as a locating pin. This preparation stage prevents the screwdriver from becoming the first tool used on an unidentified joint.
2. Place the screw on axis, turn backward with almost no pressure until a small drop or click indicates thread alignment, then begin forward with fingertips. Place each removed fastener into a position-based map immediately rather than relying on memory or one mixed container.
3. Watch the head descend evenly, compare the feel with a known good joint, and stop at the documented seat before the screw, insert, or plastic boss is overloaded. Final inspection should confirm the joint, surrounding parts, and complete device function required by the manufacturer; a closed case alone is not proof of a successful repair.
How should buyers compare a manual screwdriver set?
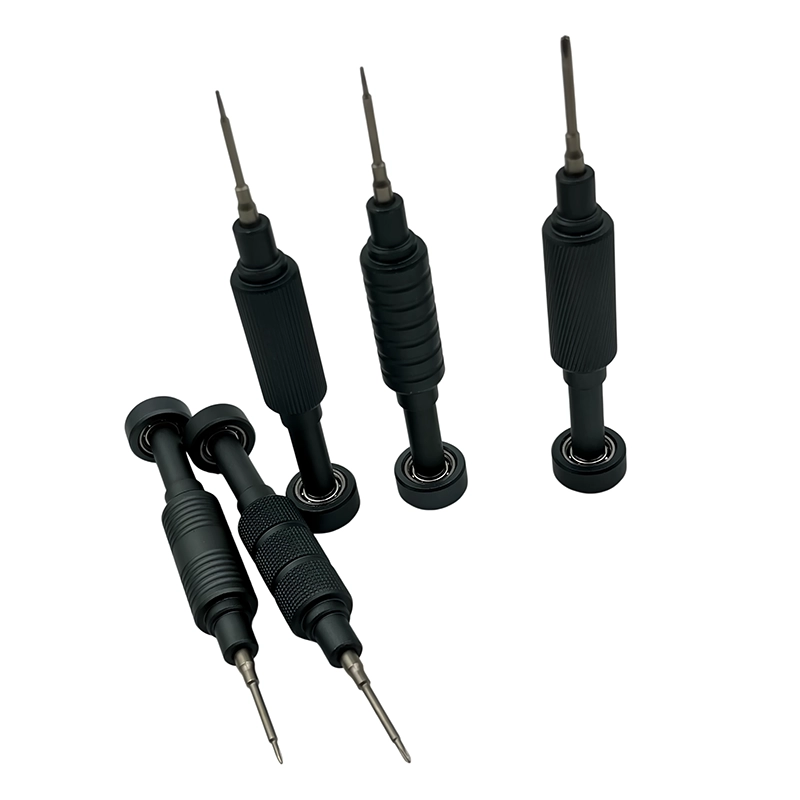
Compare candidates on verified profile fit, working reach, installed-bit stability, handle access, cap behavior, storage, labels, replacement support, and performance on representative fasteners. A repair kit should help prevent cross-threading with accurate bits, a screw map, good lighting, and training—not by promising more torque. OEM manuals can include photographs of correct head height, a hand-start step, rejection examples, and approved replacement fastener details.
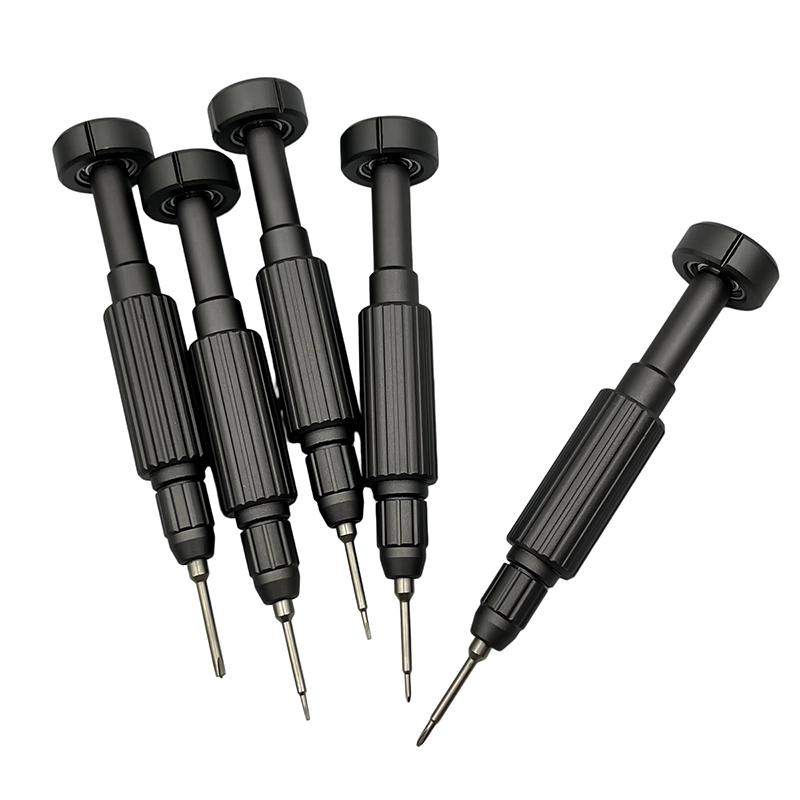
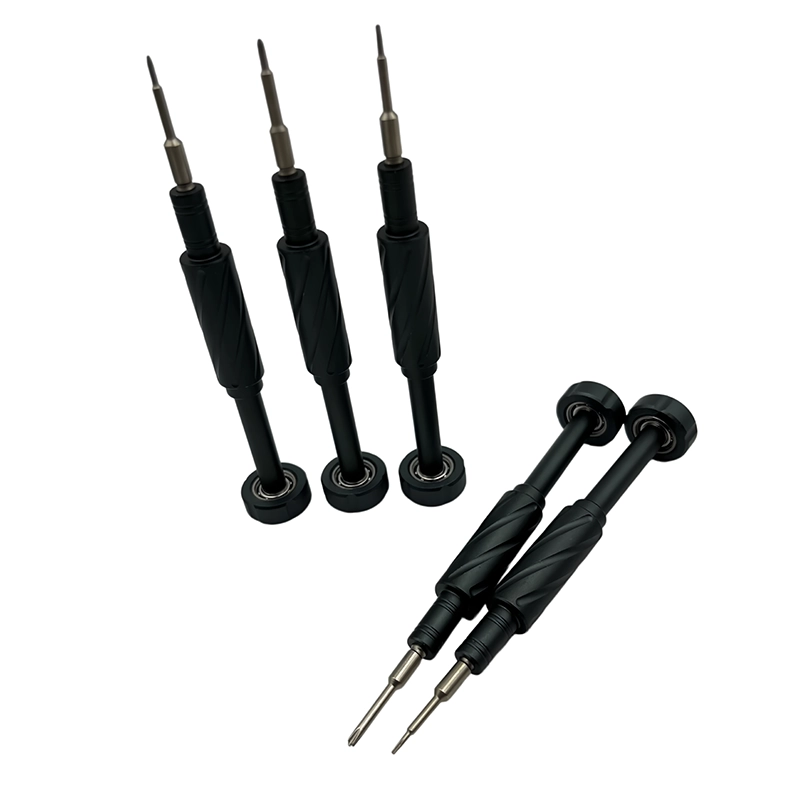
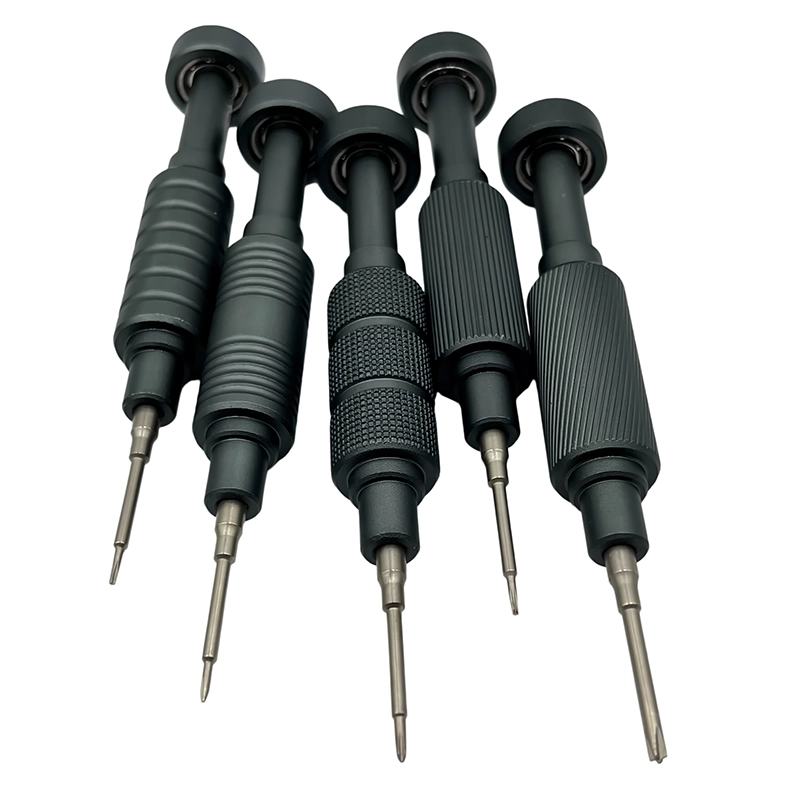
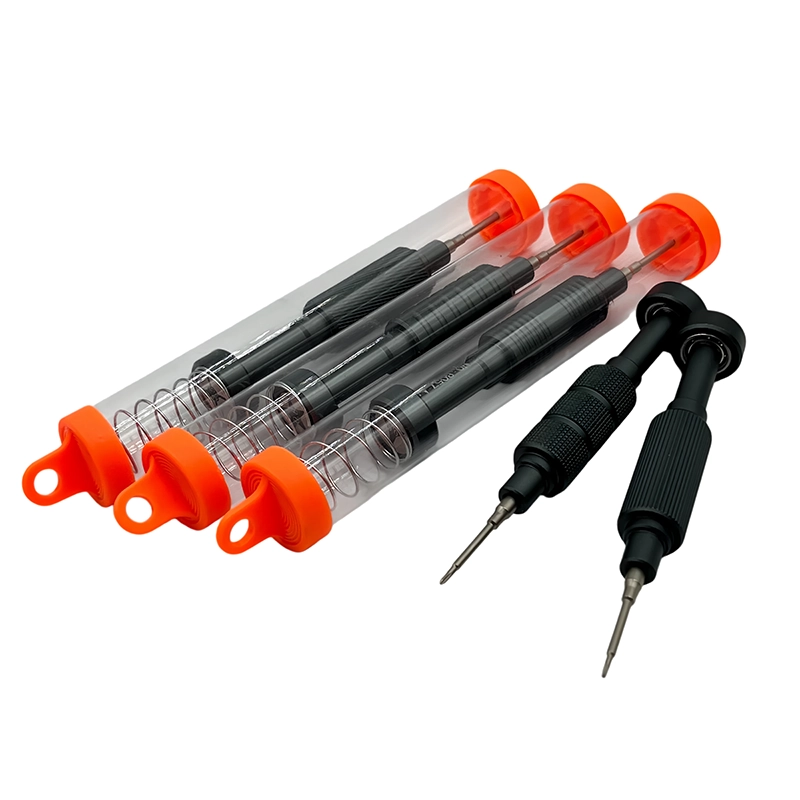
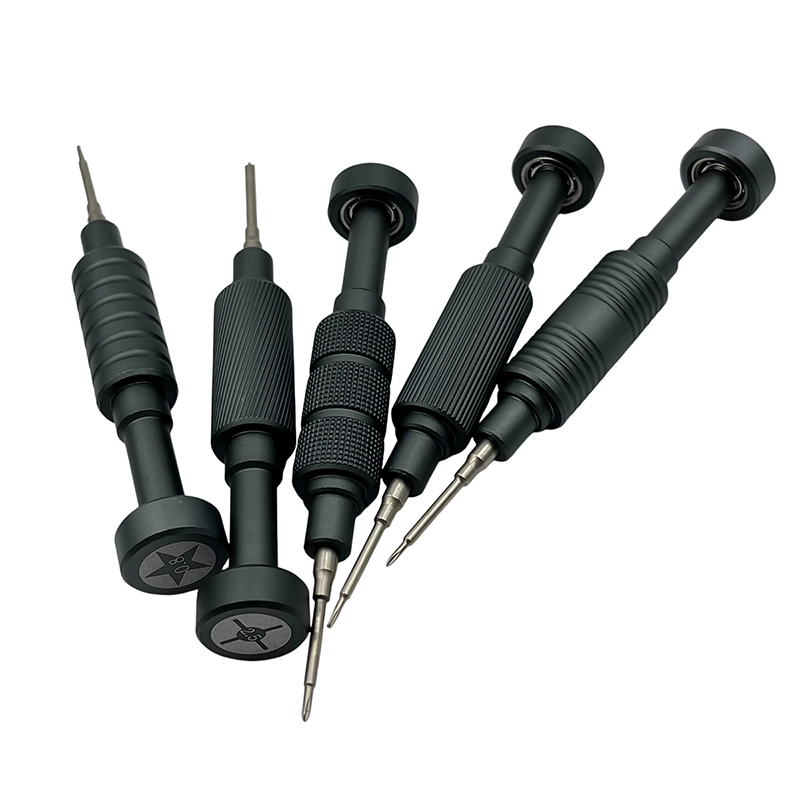
For a wholesale or private-label hand start method for small precision screws project, freeze the bit map and case layout around this recommendation: A repair kit should help prevent cross-threading with accurate bits, a screw map, good lighting, and training—not by promising more torque. OEM manuals can include photographs of correct head height, a hand-start step, rejection examples, and approved replacement fastener details. Link the physical 8057 single-piece precision screwdriver sample, specification, product images, packaging text and the task-specific inspection criteria to one revision so the claim remains tied to the configuration that will ship.
What failure signs mean stop rather than push harder?
The usual failure is using the screw to pull two misaligned parts together. Increasing handle force cuts a new path in plastic or damages the first metal thread, after which the screw may feel tight without actually clamping correctly. The operator should preserve the remaining screw geometry and surrounding device instead of converting uncertainty into more force.
Stop for early resistance, tilt, visible gap that does not close evenly, a rotating insert, plastic whitening, or a screw that sits higher than its equivalent positions. Remove it and inspect before another attempt. Document the condition when the job is handed off. A clear stop rule protects the customer’s device and gives a qualified technician better options than a head damaged by repeated attempts.
How does this apply in a real repair?
On a plastic electronics boss, support and align the cover first, then locate the existing thread with the lightest possible hand. On a metal standoff, verify diameter, pitch, and length; visual similarity is not enough to identify the fastener. Use the actual device instructions and representative hardware to confirm the method. Similar-looking screws can have different length, pitch, shoulder, coating, sealing, or grounding roles.
The buying decision for hand start method for small precision screws should cover thread diameter, pitch, lead, screw length, hole alignment, debris, coating, and joint preload influence the start. bit fit matters because a slipping driver removes feedback. the backward locating turn is a tactile aid, not a guarantee; damaged or mismatched threads still require correction or replacement. without encouraging force outside the defined task. Keep an exception path for the condition in stop for early resistance, tilt, visible gap that does not close evenly, a rotating insert, plastic whitening, or a screw that sits higher than its equivalent positions. remove it and inspect before another attempt.; that path may require a different bit, opening tool, specified torque method, rated electrical tool, battery process or qualified specialist rather than a larger general-purpose set.
What does the XOENAEN catalogue add to the decision?
The current XOENAEN catalogue includes the 8057 single-piece precision screwdriver, the real product reference used for hand start method for small precision screws. Its photography and model record can anchor the buyer brief for on a plastic electronics boss, support and align the cover first, then locate the existing thread with the lightest possible hand. on a metal standoff, verify diameter, pitch, and length; visual similarity is not enough to identify the fastener. Catalogue evidence does not establish universal device compatibility; the actual fastener, access path, stop rule and order-specific sample still determine approval.
Cross-thread prevention is an alignment process. Low starting force preserves information: the operator can feel a wrong path before the driver applies enough energy to create permanent damage. Share target devices, fastener photos, required profiles, access constraints, market, quantity, packaging, and verification needs through the XOENAEN project enquiry so the product and evidence can be aligned before production.
Good start versus cross-threaded start
| Option or condition | Best use | Main caution |
|---|---|---|
| Correct thread start | Smooth rotation and axial descent | Continue to the specified seat |
| Misaligned start | Early resistance, tilt, or wobble | Stop and realign immediately |
| Damaged or wrong fastener | Irregular feel after realignment | Inspect and replace; do not force |
- Use a screw-position map
- Inspect thread and recess condition
- Align the joint before insertion
- Teach the backward locating turn
- Set visible stop conditions
- Provide exact replacement fasteners
- 8057 single-piece precision screwdriver product page →
- Browse manual screwdriver products →
- Plan an OEM or private-label project →
- Review XOENAEN manufacturing and quality →
- Read XOENAEN tool FAQ answers →
- Related guide: manual-screwdriver-rotating-cap-technique →
- Related guide: manual-driver-bit-fit-small-screws →
- How XOENAEN presents quality evidence →
What does cross-threading feel like?
It often feels like early, uneven resistance while the screw tilts or fails to descend smoothly.
Why turn a screw backward before tightening?
A gentle backward turn can help the existing thread start align before forward rotation.
Can more torque fix a cross-threaded screw?
No. More torque usually increases damage; stop, remove the screw, inspect, and correct the joint.
Should a screw pull misaligned parts together?
No. Align and support the parts before starting the screw unless the product design explicitly specifies otherwise.
Can a cross-threaded plastic boss be reused?
It requires inspection against the product’s repair criteria. A damaged boss may need an approved repair or part replacement.
How do buyers reduce cross-threading in kits?
Provide accurate bits, exact fastener maps, hand-start instructions, stop examples, and approved replacement parts.