Product knowledge

Useful decisions. Better tool projects.

Practical product, OEM/ODM and quality guidance grounded in the tools and project work shown across this site.

Electric Screwdriver Spare Parts Service Plan; XOENAEN 53-in-1 precision electric screwdriver set shown as a product configuration referenceOctober 30, 2026Electric Screwdriver Spare Parts Service PlanRead article →
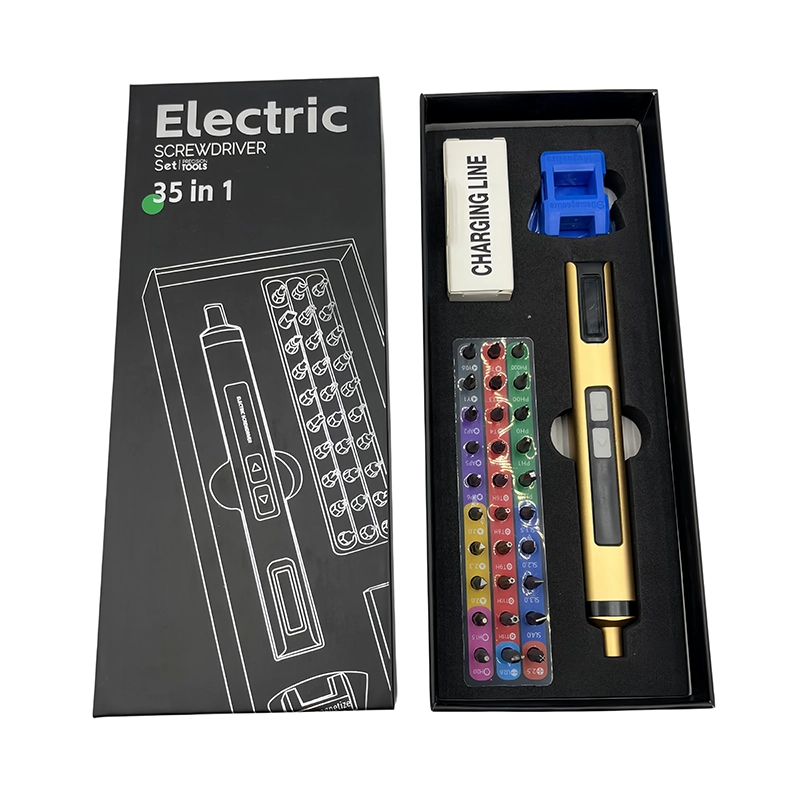
086XOENAEN 35-in-1 electric screwdriver set catalogue view selected for the DIY MIDI-controller panel assembly planning guide 19
August 31, 2026 · XOENAEN Product & Application Team

DIY MIDI Controller Panel Assembly without PCB or Jack Stress

For a DIY MIDI controller, align the panel, PCB, controls, jacks and spacers before screw installation. Keep power and USB disconnected, hand-start every thread and use only brief balanced powered travel once shafts and openings are concentric. Finish manually, then verify control movement, connector clearance, panel flatness, cable strain relief and the project’s complete input and MIDI test.

Read article →
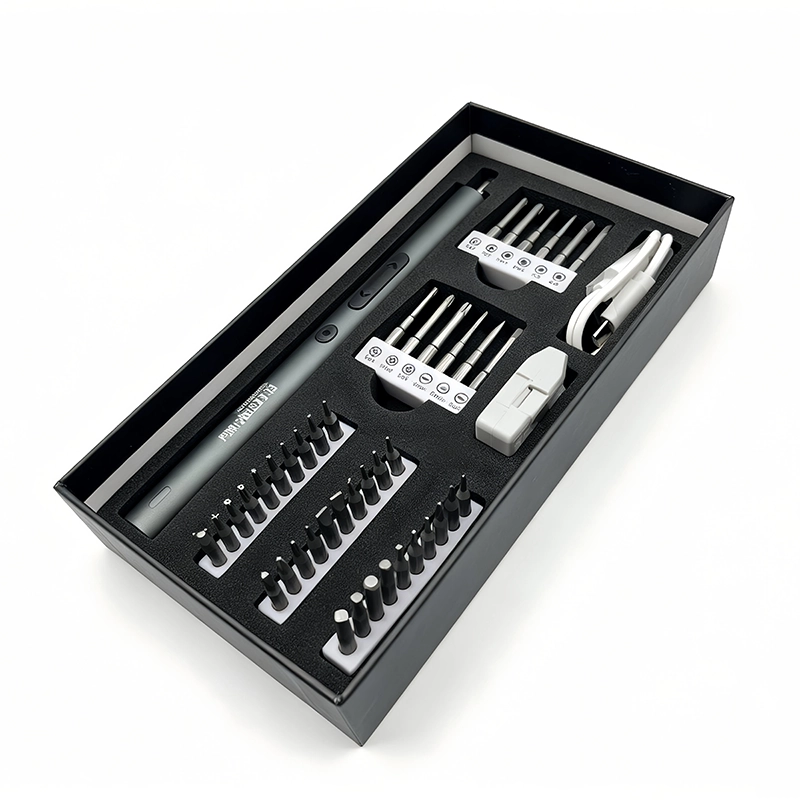
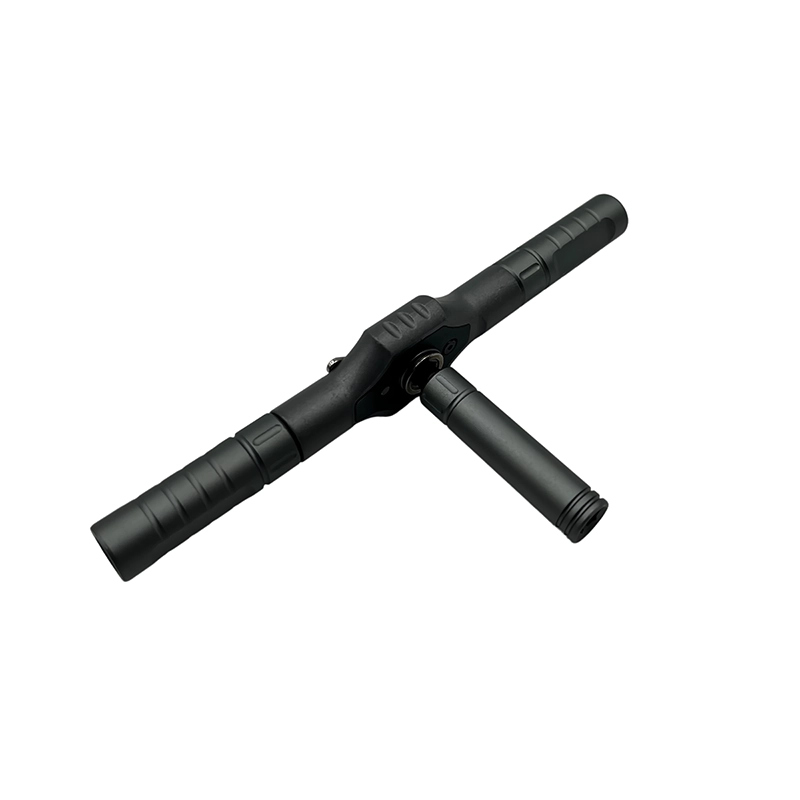
087XOENAEN 44-in-1 electric screwdriver set catalogue view selected for the DIY USB-hub enclosure and port alignment planning guide 20
August 31, 2026 · XOENAEN Product & Application Team

DIY USB-Hub Enclosure Assembly with Accurate Port Alignment

For a DIY USB-hub enclosure, align every port, board support, cable and panel opening before starting fasteners. Keep the hub disconnected, hand-start all board and case screws and use short balanced powered travel only when connectors stay square. Finish manually, then inspect board clearance, cable relief, port insertion, enclosure flatness and the project’s documented data and power checks.

Read article →
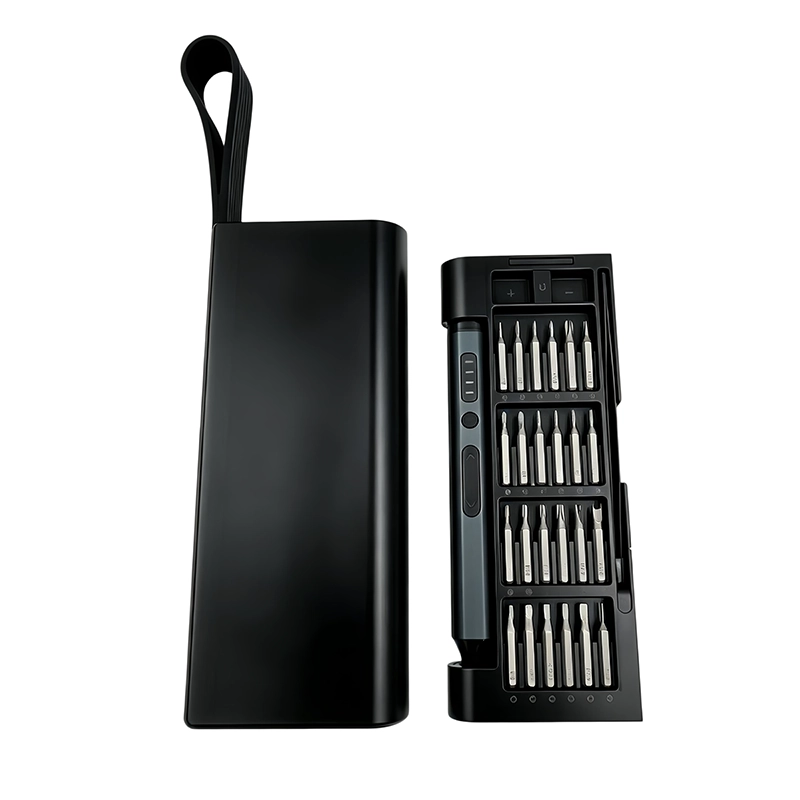
088XOENAEN 40-in-1 ratchet screwdriver set catalogue view for planning portable space-heater foot and base hardware
August 31, 2026 · XOENAEN Product & Application Team

Should You Tighten Space-Heater Foot and Base Screws?

Use a ratchet screwdriver for portable space-heater foot and base hardware only within this boundary: inspecting exterior foot or stand fasteners only after the heater is unplugged, fully cool and cleared by its instructions; guards, heating elements, tip-over switches, cords and internal electrical parts are not DIY fastening work. Match the exact recess, support the work and stop at melted plastic, a cracked stand, a spinning boss, a.

Read article →
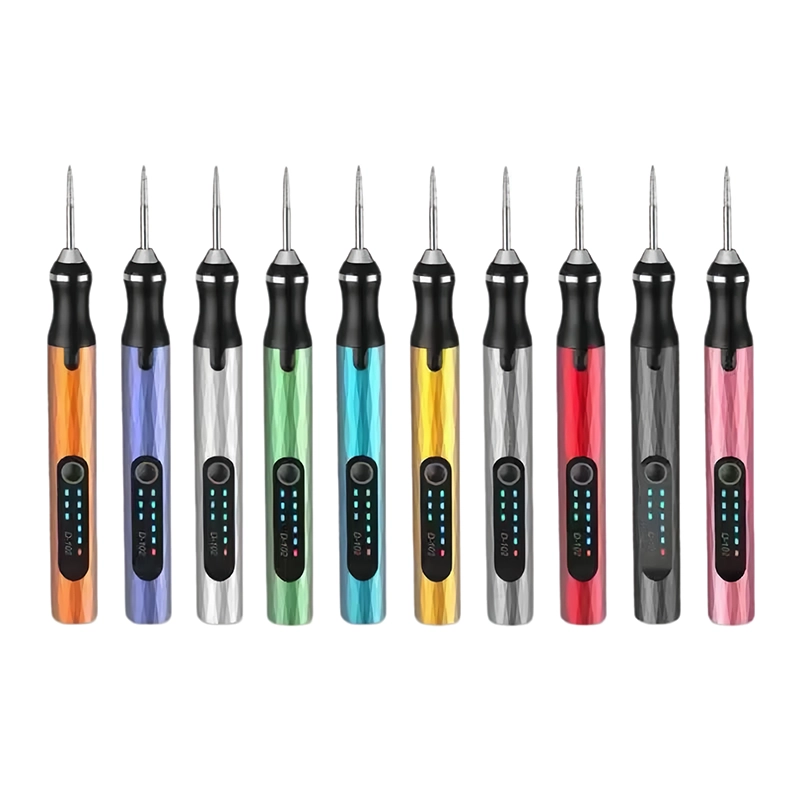
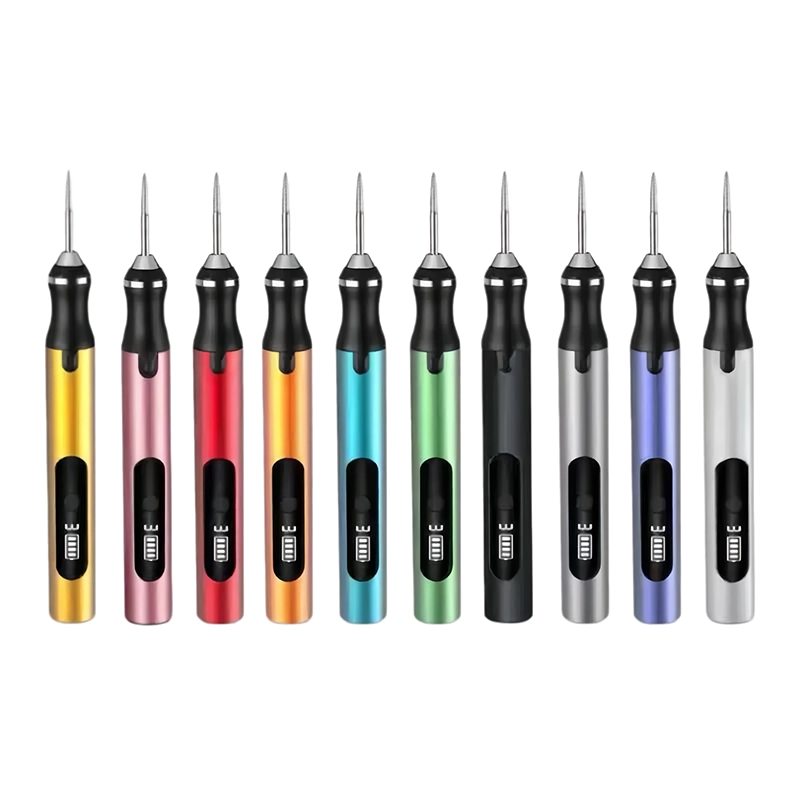
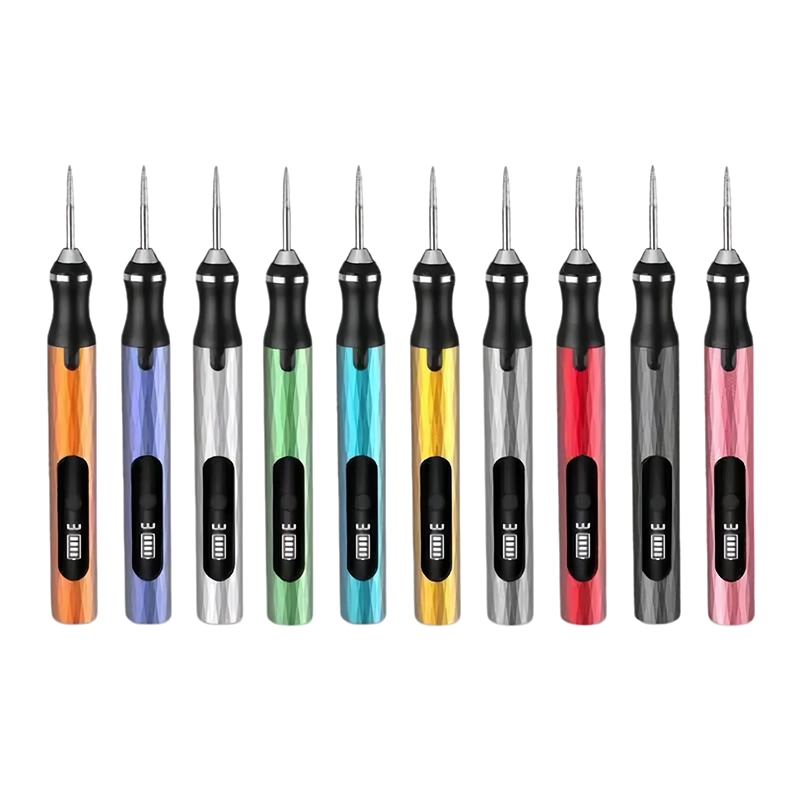
089Opening a 3D Printed Keyhole Slot Without Widening Its Shoulder using the XOENAEN D-102 cordless engraving pen as a documented product reference
August 31, 2026 · XOENAEN 3D Print & DIY Application Team

Opening a 3D Printed Keyhole Slot Without Widening Its Shoulder

Measure a known-good slot and mark the obstruction before touching the retaining track. Support the work with a flat sacrificial backing that supports the wall directly around the slot. Control slot width, tool axis, wall support, contact time and debris removal. Stop when the shoulder turns shiny, the neck becomes asymmetric or the mounting screw begins to rattle.

Read article →
090Finishing a 3D Printed Hose Barb Without Flattening Seal Ribs using the XOENAEN D-104 cordless engraving pen as a documented product reference
August 31, 2026 · XOENAEN 3D Print & DIY Application Team

Finishing a 3D Printed Hose Barb Without Flattening Seal Ribs

Use transfer color and the specified hose to identify a real obstruction rather than sanding every rib. Support the work with a collet-style soft support around the fitting base that leaves the barb unloaded. Control rib profile, fitting axis, hose material, local heat and dust containment. Stop when a peak develops a flat, a root gains a notch or the hose fit becomes uneven around the circumference.

Read article →
091Clearing a 3D Printed Airflow Duct Near a Sensor Port using the XOENAEN D-106 cordless engraving pen as a documented product reference
August 31, 2026 · XOENAEN 3D Print & DIY Application Team

Clearing a 3D Printed Airflow Duct Near a Sensor Port

Compare the printed duct with the CAD section and correct only material outside the approved envelope. Support the work with a contoured cradle that prevents the thin duct wall from vibrating. Control access depth, wall thickness, tool angle, debris capture and sensor clearance. Stop when the wall flexes, the sensor port edge changes shape or abrasive dust travels into an installed component.

Read article →

Project inquiry

Bring us the brief.

Share your product, market, quantity and customization requirements. Our project team will reply with the right next step.