Product knowledge

Useful decisions. Better tool projects.

Practical product, OEM/ODM and quality guidance grounded in the tools and project work shown across this site.

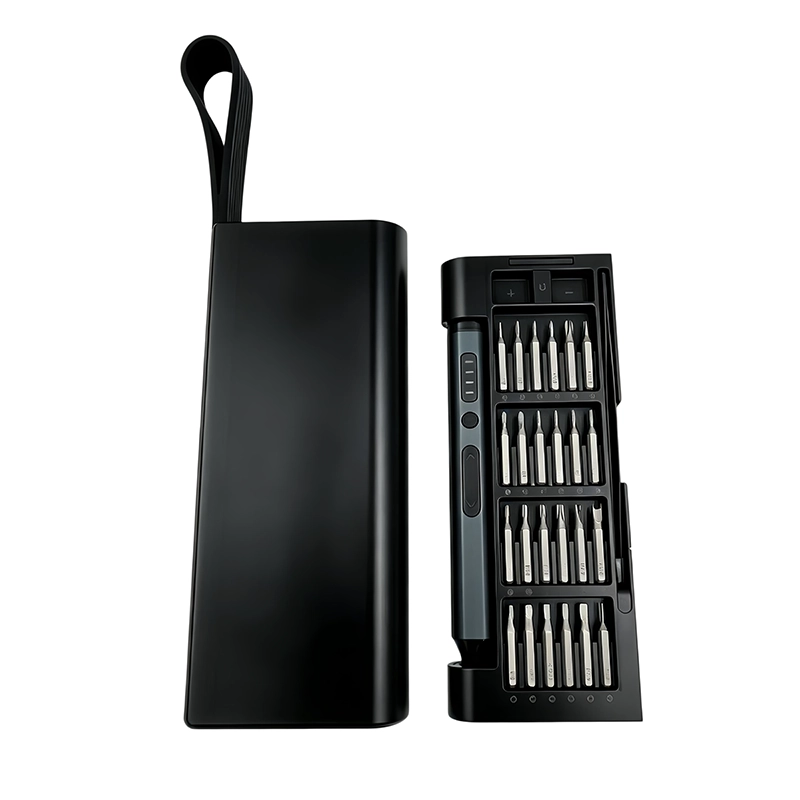
Electric Screwdriver Spare Parts Service Plan; XOENAEN 53-in-1 precision electric screwdriver set shown as a product configuration referenceOctober 30, 2026Electric Screwdriver Spare Parts Service PlanRead article →
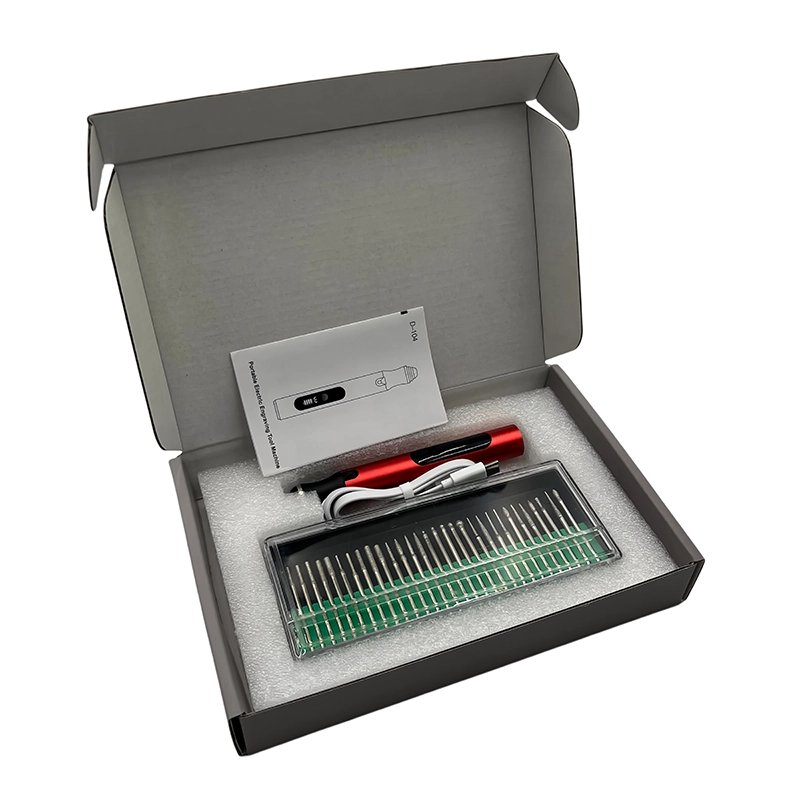
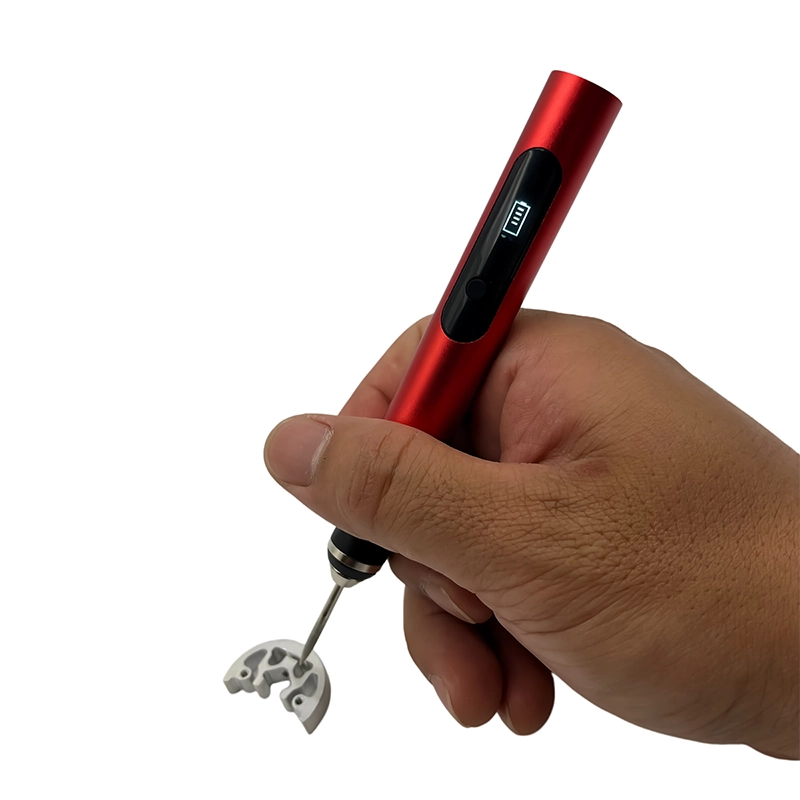
242Preparing a Copper Craft Surface Before a Controlled Patina — 104 mini rotary tool pen cover view for preparing a copper tag, panel or decorative component
August 20, 2026 · XOENAEN 3D Print & Rotary Application Team

Preparing a Copper Craft Surface Before a Controlled Patina

Choose the final texture first, use dedicated clean media and finish with the patina supplier’s cleaning method. For this job, control scratch direction, media cleanliness, edge pressure and post-abrasion handling. Stop if random deep scratches, embedded compound or finger marks produce uneven color. Accept the work only when the surface has a consistent approved key and remains clean until treatment.

Read article →
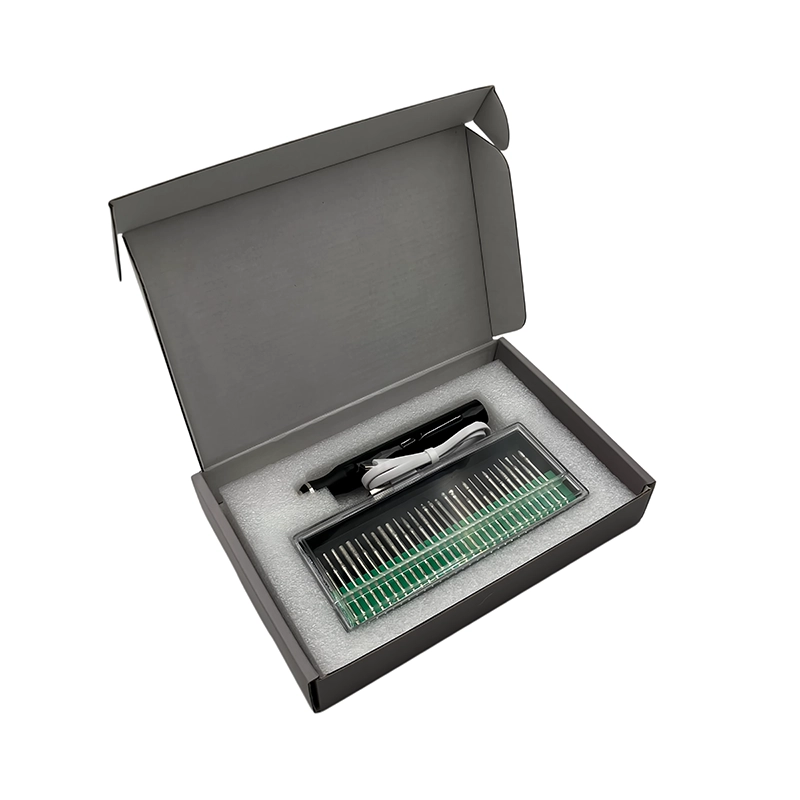
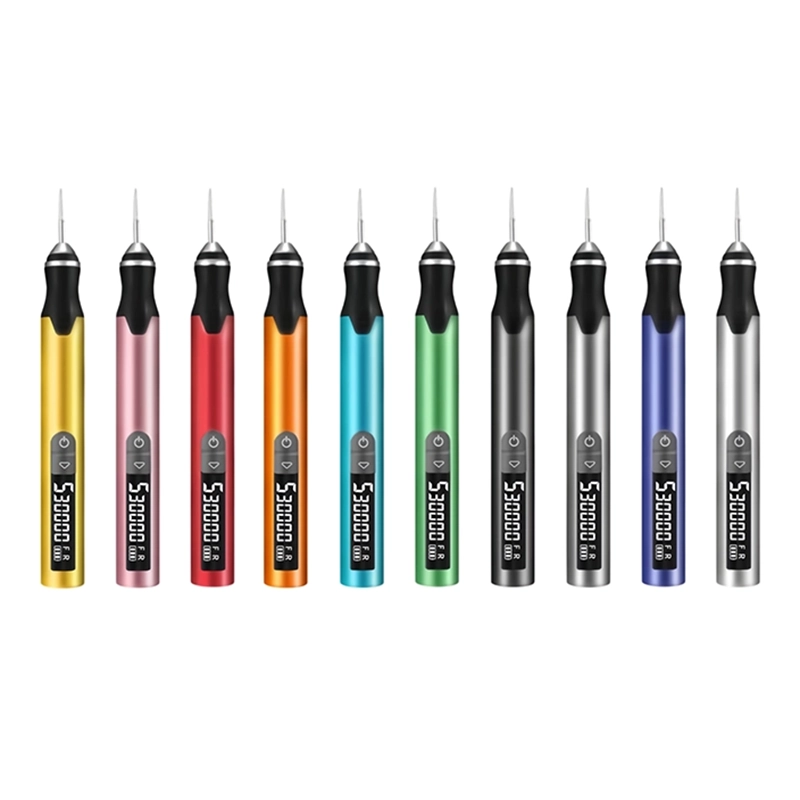
243Removing Epoxy Resin Casting Flash Without Chipping the Edge — 106 cordless precision rotary tool cover view for cleaning a coaster, jewelry blank or small decorative casting
August 20, 2026 · XOENAEN 3D Print & Rotary Application Team

Removing Epoxy Resin Casting Flash Without Chipping the Edge

Break or cut away broad flash first and refine the remaining witness with supported incremental passes. For this job, control cure state, edge support, contact direction, dust control and temperature. Stop if the edge chips, turns white or softens into a smear. Accept the work only when the contour is continuous, cool and ready for the approved finishing sequence.

Read article →
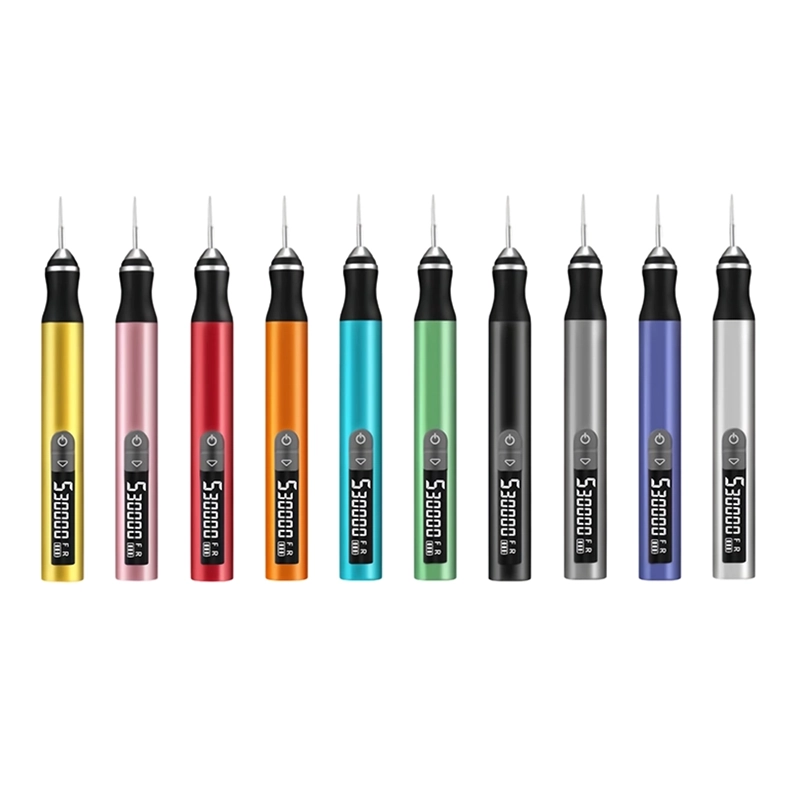
244Burnishing a Leather Edge with a Rotary Attachment Consistently — H101 five-speed cordless engraving pen cover view for finishing a belt end, wallet panel or small leather craft edge
August 20, 2026 · XOENAEN 3D Print & Rotary Application Team

Burnishing a Leather Edge with a Rotary Attachment Consistently

Prepare the edge manually, use the approved compound sparingly and keep the attachment moving. For this job, control leather type, moisture, pressure, dwell and attachment cleanliness. Stop if the edge darkens unevenly, glazes hard or the attachment grabs a loose corner. Accept the work only when the edge is even to sight and touch without scorched spots or distorted corners.

Read article →
245Re-Scribing Scale Model Panel Lines After Seam Finishing — H102 five-speed cordless engraving pen cover view for restoring a short recessed detail on a styrene scale model
August 20, 2026 · XOENAEN 3D Print & Rotary Application Team

Re-Scribing Scale Model Panel Lines After Seam Finishing

Use a taped guide and hand scribing for the line, reserving rotary work for adjacent broad cleanup. For this job, control line location, guide stiffness, stroke direction and plastic thickness. Stop if the groove wanders, deepens suddenly or melts at an endpoint. Accept the work only when the restored line aligns with neighboring detail and holds a consistent width.

Read article →
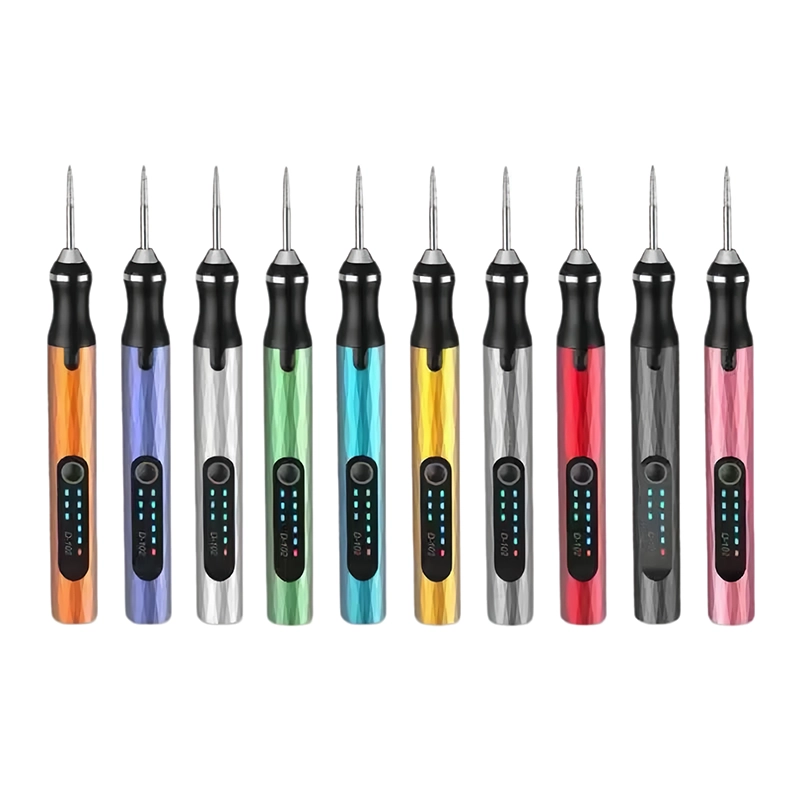
246Carving Foam Terrain Without Melting or Spreading Fine Debris — D-102 cordless electric engraving pen cover view for shaping a diorama hill, scenic base or lightweight craft form
August 20, 2026 · XOENAEN 3D Print & Rotary Application Team

Carving Foam Terrain Without Melting or Spreading Fine Debris

Confirm material guidance, use minimal contact and capture debris close to the work. For this job, control foam type, accessory action, heat, extraction and protected surroundings. Stop if the surface melts, fumes or dust escapes the designated work zone. Accept the work only when the shape matches the reference with no melted skin and the area is clean.

Read article →
247Cutting a DIY Electronics Enclosure Opening with Edge Control — 104 mini rotary tool pen cover view for creating a connector, display or switch opening in a nonenergized project enclosure
August 20, 2026 · XOENAEN 3D Print & Rotary Application Team

Cutting a DIY Electronics Enclosure Opening with Edge Control

Remove power and electronics, drill controlled corners and approach the layout line in stages. For this job, control layout, corner radius, workholding, material type and final gauge. Stop if the cut crosses the line, a corner cracks or debris enters electronics. Accept the work only when the component fits squarely with the intended retention and edge clearance.

Read article →

Project inquiry

Bring us the brief.

Share your product, market, quantity and customization requirements. Our project team will reply with the right next step.