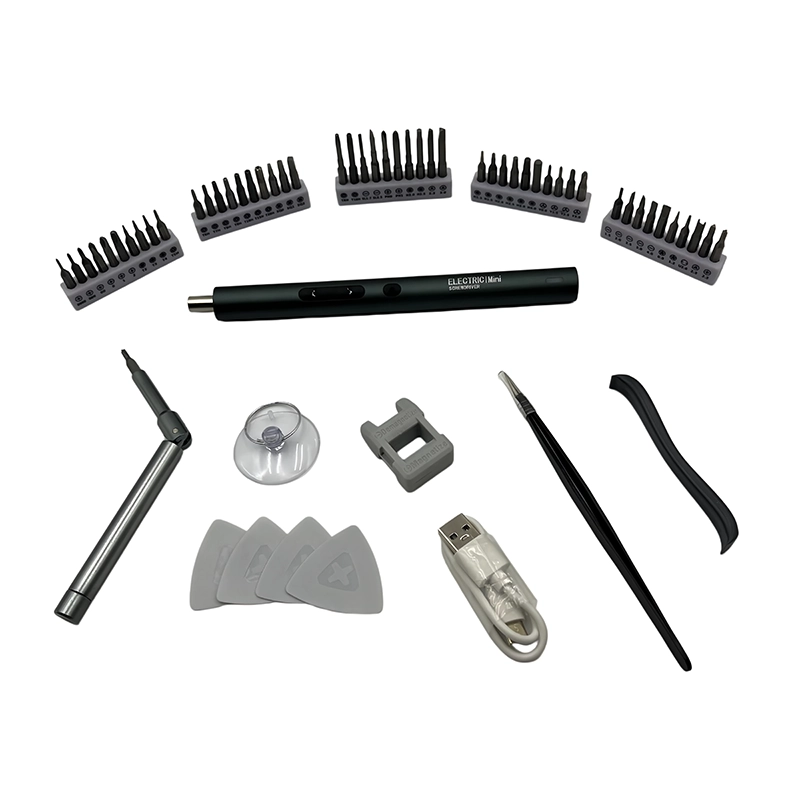
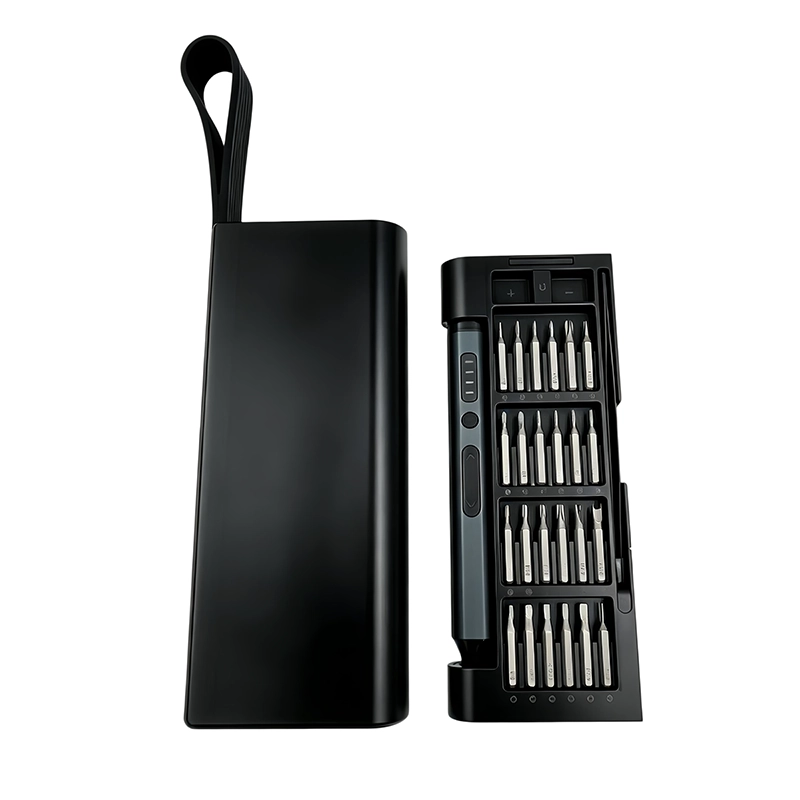
Electric Screwdriver Runout Test: Measure Bit Wobble Correctly
Measure electric screwdriver runout as an installed-system result. Control the bit, seating, speed and observation point before judging wobble or setting a limit.
Read article →
Product knowledge
Practical product, OEM/ODM and quality guidance grounded in the tools and project work shown across this site.
October 30, 2026Electric Screwdriver Spare Parts Service PlanRead article →
Measure electric screwdriver runout as an installed-system result. Control the bit, seating, speed and observation point before judging wobble or setting a limit.
Read article →
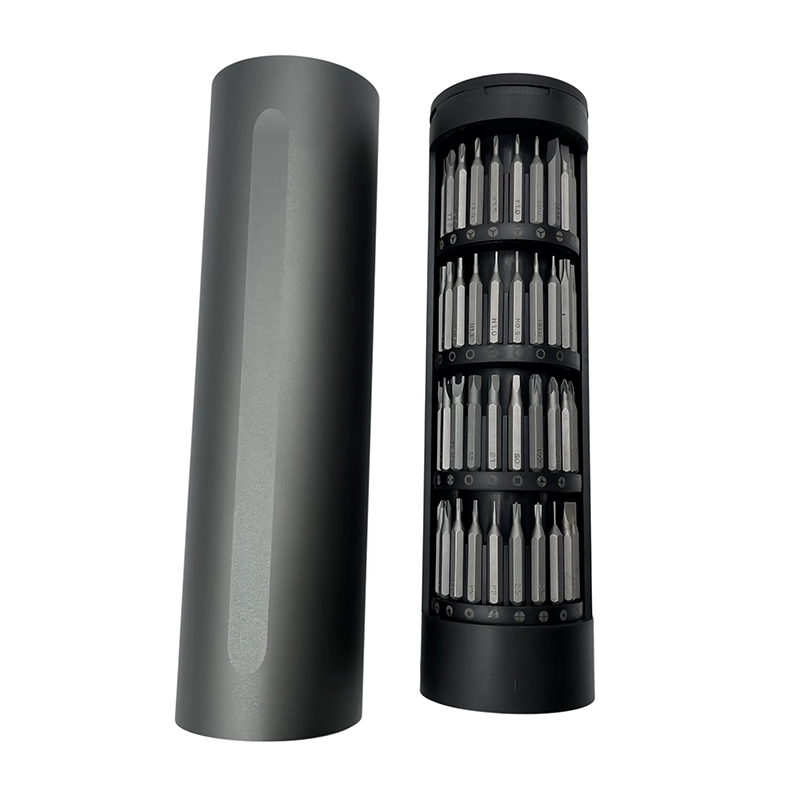
A built-in LED improves a precision screwdriver only when it illuminates the bit tip and recess without glare or a strong hand shadow. Test it on actual dark housings, reflective screws and recessed fasteners. Check activation timing, viewing angle and whether the light remains useful before rotation begins. Bench lighting is still required; an LED is assistance, not an inspection system.
Read article →
Use manual breakaway when a seated fastener needs controlled initial movement or when powered engagement is uncertain. Fully seat the correct bit, support the assembly and apply a slow hand force on-axis. Once the screw moves normally, switch to powered rotation for the repetitive travel. Do not use the driver body as a high-force wrench beyond its documented manual capability.
Read article →
Switch from manual engagement to powered rotation only after the correct screw is on-axis, follows the existing thread smoothly and remains stable without corrective side pressure. There is no universal number of hand turns: thread pitch, engagement length and receiving material differ. Release the trigger immediately if resistance rises, the head tilts, the joint gaps or the bit begins to climb.
Read article →
Stop powered rotation as soon as the bit climbs, the recess sheds material, alignment cannot be maintained or resistance changes unexpectedly. Clean and inspect the screw under magnification, confirm the correct profile and stabilize the work. A damaged screw needs a documented escalation method; repeated faster attempts usually remove the remaining engagement and make extraction harder.
Read article →
Map screw lengths before removal by photographing the assembly, numbering service stages and placing each fastener on a matching diagram or divided tray. Do not rely on memory or color alone. Measure only when the procedure requires it, keep uncertain screws quarantined and hand-start each fastener in its documented position before any powered finishing step.
Read article →Project inquiry
Share your product, market, quantity and customization requirements. Our project team will reply with the right next step.