Product knowledge

Useful decisions. Better tool projects.

Practical product, OEM/ODM and quality guidance grounded in the tools and project work shown across this site.

Precision screwdriver supplier evaluation scorecard reviewed beside product and quality recordsSeptember 1, 2026How Should Buyers Score Precision Screwdriver Suppliers?Read article
140XOENAEN 50-in-1 electric screwdriver set catalogue view used to evaluate the controlled workflow for battery-toy gearbox motor replacement
August 22, 2026 · XOENAEN Product & Application Team

Battery-Toy Gearbox Motor Replacement: Powered-Driver Limits

During battery-toy gearbox repair, isolate power, map outer-shell and gearbox screws separately and record gear, washer and wire positions before opening. A compact electric driver can remove known screws with short, aligned travel, but gearbox alignment and plastic-thread starting remain manual inspection tasks. Reassemble in layers, account for every small part and verify guarded motion, controls and battery access under the responsible product procedure.

Read article
141XOENAEN 53-in-1 adjustable electric screwdriver set catalogue view used to evaluate the controlled workflow for slot-car chassis service
August 22, 2026 · XOENAEN Product & Application Team

Slot-Car Chassis Service with an Electric Precision Screwdriver

For slot-car repair, secure the small chassis, photograph body and pickup orientation and identify each screw before powered removal. Use a correctly fitted bit and the shortest practical run, then park the driver before handling guide, wire, axle or gear parts. Start body screws by hand into clean posts and verify free wheel movement, guide travel, pickup position and body clearance before powered testing.

Read article
142XOENAEN 58-in-1 electric precision screwdriver set catalogue view used to evaluate the controlled workflow for interactive robot-toy joint service
August 22, 2026 · XOENAEN Product & Application Team

Interactive Robot-Toy Joint Service with Controlled Fastener Travel

Before opening a robot-toy joint, remove power as instructed and record the joint’s neutral position, covers, screw lengths, washers, gears and cable route. Use powered rotation only on confirmed accessible screws while the limb is supported. Park the driver before the joint opens, preserve every spacer and finish reassembly by hand with guards restored, cables clear and the manufacturer’s motion and safety checks completed.

Read article
143XOENAEN 67-in-1 electric precision screwdriver system catalogue view used to evaluate the controlled workflow for Arduino sensor-enclosure assembly
August 22, 2026 · XOENAEN Product & Application Team

Arduino Sensor-Enclosure Assembly with Repeatable Screw Control

For an Arduino sensor enclosure, prove board, standoff, cable and opening alignment before using screws to retain the assembly. Start every thread by hand, keep the powered driver outside the energized or exposed-board zone and use short travel only after engagement is clear. Final checks should confirm board clearance, cable strain relief, unobstructed sensors and stable enclosure fit under the project’s documented requirements.

Read article
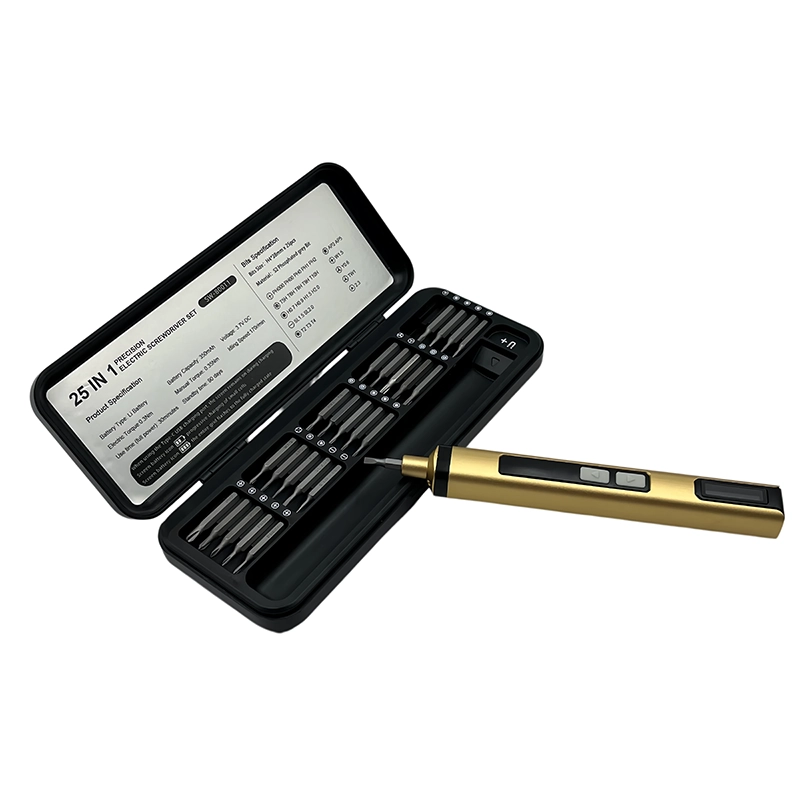
144XOENAEN 25-in-1 electric precision screwdriver set catalogue view used to evaluate the controlled workflow for DIY macro-pad housing assembly
August 22, 2026 · XOENAEN Product & Application Team

DIY Macro-Pad Housing Assembly with a Compact Electric Driver

For a DIY macro pad, assemble the plate, PCB, spacers and case in a dry fit before powered screw travel. Map screw lengths by layer, start all threads by hand and tighten the case gradually so switches and connectors remain square. Park the driver during exposed-board changes, then verify key travel, connector clearance, case flatness and firmware input before accepting the build.

Read article
145XOENAEN 28-in-1 electric mini screwdriver set catalogue view used to evaluate the controlled workflow for DIY LED-clock enclosure assembly
August 22, 2026 · XOENAEN Product & Application Team

Building a DIY LED Clock Enclosure without Loading the Display

A DIY LED clock enclosure should be dry-fitted around the display, buttons, cable and board before any powered fastening. Support the case near each boss, start screws by hand and use only short free-travel runs once alignment is proven. Stop before screws pull a warped panel flat, then verify display clearance, button movement, cable strain relief, ventilation and stable operation with the enclosure closed.

Read article

Project inquiry

Bring us the brief.

Share your product, market, quantity and customization requirements. Our project team will reply with the right next step.