Product knowledge

Useful decisions. Better tool projects.

Practical product, OEM/ODM and quality guidance grounded in the tools and project work shown across this site.

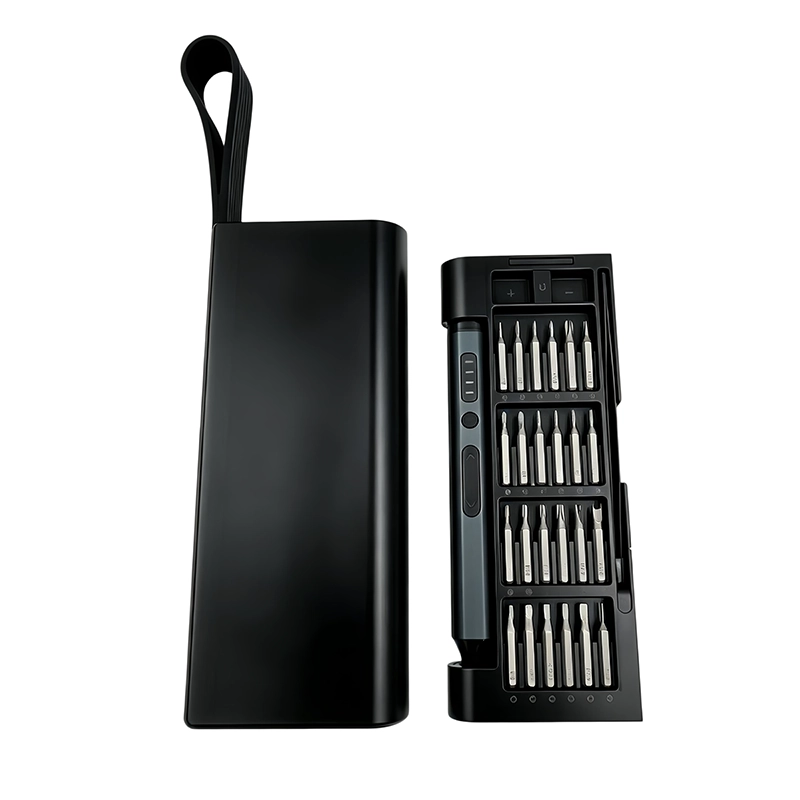
Electric Screwdriver Spare Parts Service Plan; XOENAEN 53-in-1 precision electric screwdriver set shown as a product configuration referenceOctober 30, 2026Electric Screwdriver Spare Parts Service PlanRead article →
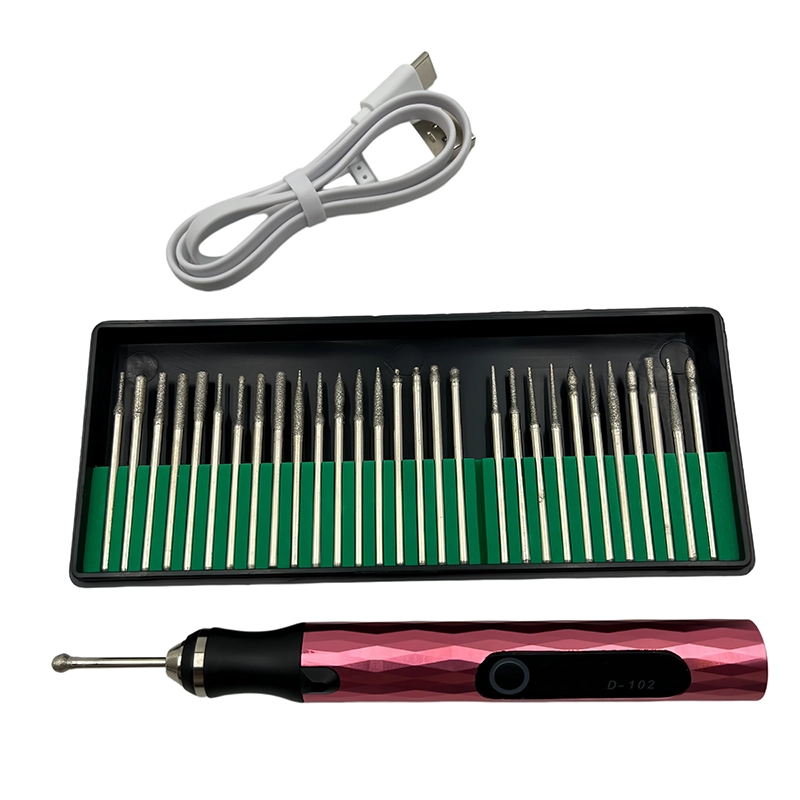
152Finishing Stone-Filled PLA Without Creating Patchy Color using the D-102 cordless electric engraving pen as a product reference for finishing an architectural maquette or decorative stone-effect print
August 22, 2026 · XOENAEN 3D Print & DIY Application Team

Finishing Stone-Filled PLA Without Creating Patchy Color

Level high spots first and keep the final abrasive stage consistent across each continuous face. Support the visible planes, shallow curves and molded-looking edge breaks with a clean cradle that exposes one complete face at a time. Control grit transition, dust removal, pass overlap and media contamination. Stop if a glossy island forms, the color changes abruptly or one reveal loses its straight line.

Read article →
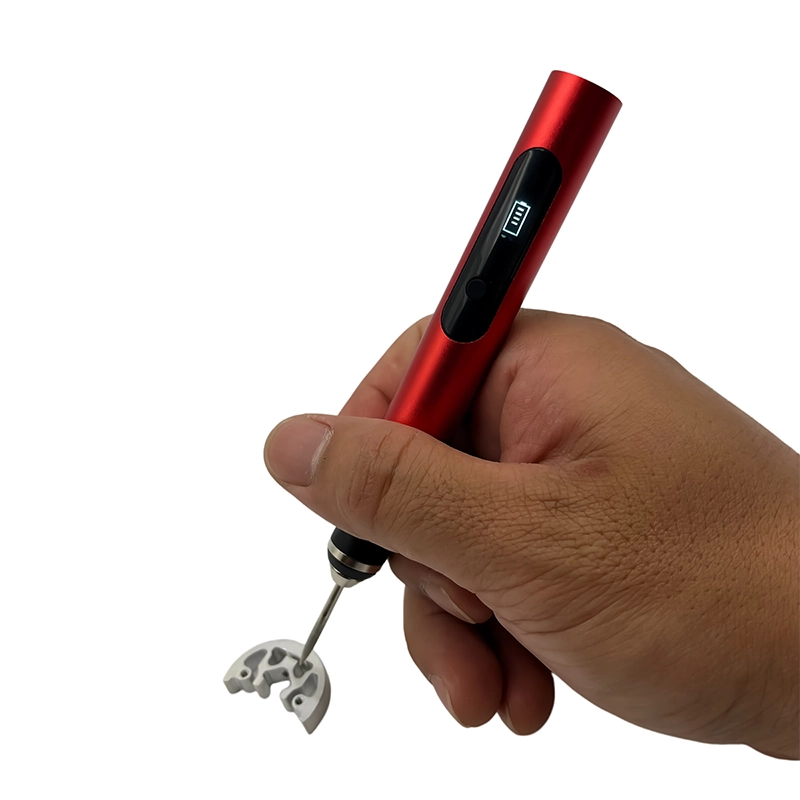
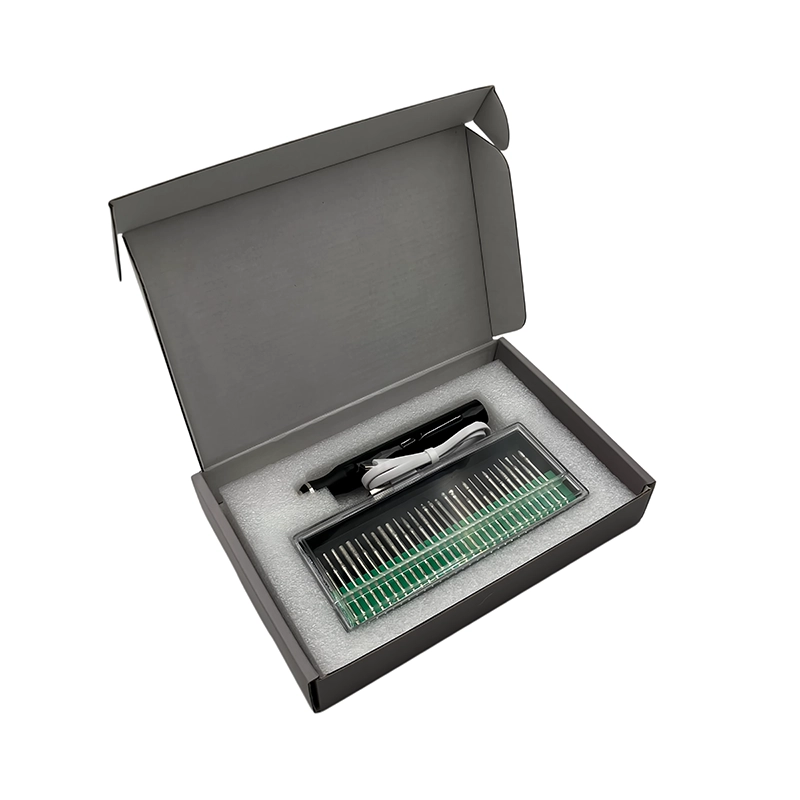
153Removing Soluble-Support Skin From Dual-Extrusion Prints using the 104 mini rotary tool pen as a product reference for cleaning a supported underside on a dual-extrusion functional prototype
August 22, 2026 · XOENAEN 3D Print & DIY Application Team

Removing Soluble-Support Skin From Dual-Extrusion Prints

Finish dissolving and drying first, then abrade only the verified primary-material high points. Support the interface surface and neighboring unsupported walls with a ventilated support that leaves the cleaned underside fully visible. Control dryness, residue identification, backing stiffness and pass direction. Stop if the surface smears, softens again or reveals a different-colored interface layer.

Read article →
154Finishing Resin Dice-Master Edges Before Silicone Molding using the 106 cordless precision rotary tool as a product reference for preparing a cured SLA dice master for mold making
August 22, 2026 · XOENAEN 3D Print & DIY Application Team

Finishing Resin Dice-Master Edges Before Silicone Molding

Reference each face on a flat backing and keep powered media away from unsupported corners. Support the numbered faces, straight edges and equal corner intersections with a labeled face-order tray with a nonmarring positioning block. Control face sequence, backing flatness, resin cure state and material removed per face. Stop if an edge line bows, a pip softens or one face develops a larger polished border.

Read article →
155Cleaning a Miniature Base Rim Without Losing Ground Texture using the H101 five-speed cordless engraving pen as a product reference for refining the circular rim of a resin or FDM tabletop miniature base
August 22, 2026 · XOENAEN 3D Print & DIY Application Team

Cleaning a Miniature Base Rim Without Losing Ground Texture

Mask the scenic top and rotate the base through short equal rim sections. Support the vertical rim beside stones, soil texture and the figure attachment area with a low-profile mandrel that supports the base from its underside without spinning it. Control tangential contact, section length, edge masking and dust removal. Stop if ground texture becomes shiny, the rim shows flats or the seating edge thins.

Read article →
156Blending a Bonded Seam on a Split 3D Printed Model using the H102 five-speed cordless engraving pen as a product reference for finishing a large prop, sculpture or display model assembled from printed sections
August 22, 2026 · XOENAEN 3D Print & DIY Application Team

Blending a Bonded Seam on a Split 3D Printed Model

Check alignment before filler work and use a contour guide across both sides of the seam. Support the cured bond line and its surrounding compound curvature with an internal support bridge under the bonded shell. Control bond cure, backing shape, pass width and reference marks away from the joint. Stop if the seam becomes a valley, a nearby panel line fades or the shell flexes under contact.

Read article →
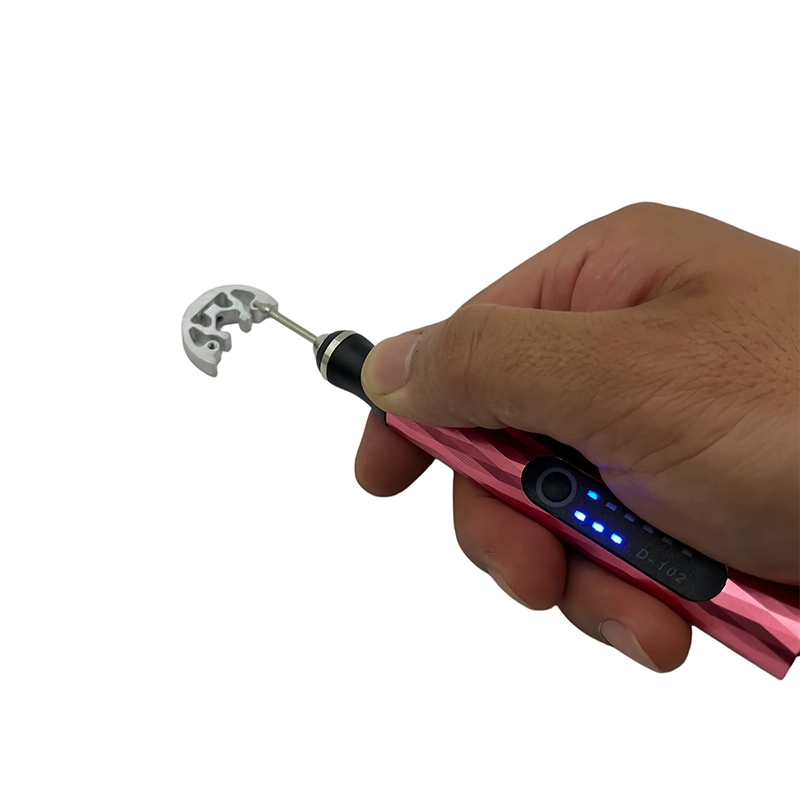
157Opening a 3D Printed Zip-Tie Slot Without Cutting the Wall using the D-102 cordless electric engraving pen as a product reference for clearing a cable-management slot in a printed jig or enclosure
August 22, 2026 · XOENAEN 3D Print & DIY Application Team

Opening a 3D Printed Zip-Tie Slot Without Cutting the Wall

Gauge the required tie width and cut the center obstruction before touching either wall. Support the slot opening, radiused ends and thin retaining bridge with a sacrificial backing tongue inserted behind the opening. Control blade width, stroke alignment, backside support and chip evacuation. Stop if the tool marks a sidewall, an end radius turns sharp or the bridge begins to vibrate.

Read article →

Project inquiry

Bring us the brief.

Share your product, market, quantity and customization requirements. Our project team will reply with the right next step.