Product knowledge

Useful decisions. Better tool projects.

Practical product, OEM/ODM and quality guidance grounded in the tools and project work shown across this site.

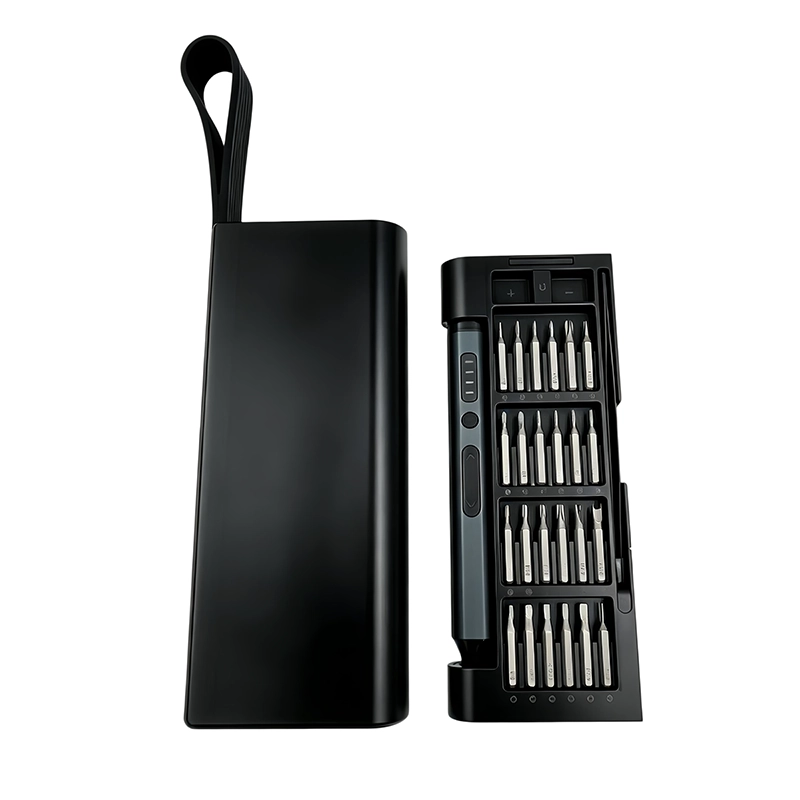
Electric Screwdriver Spare Parts Service Plan; XOENAEN 53-in-1 precision electric screwdriver set shown as a product configuration referenceOctober 30, 2026Electric Screwdriver Spare Parts Service PlanRead article →
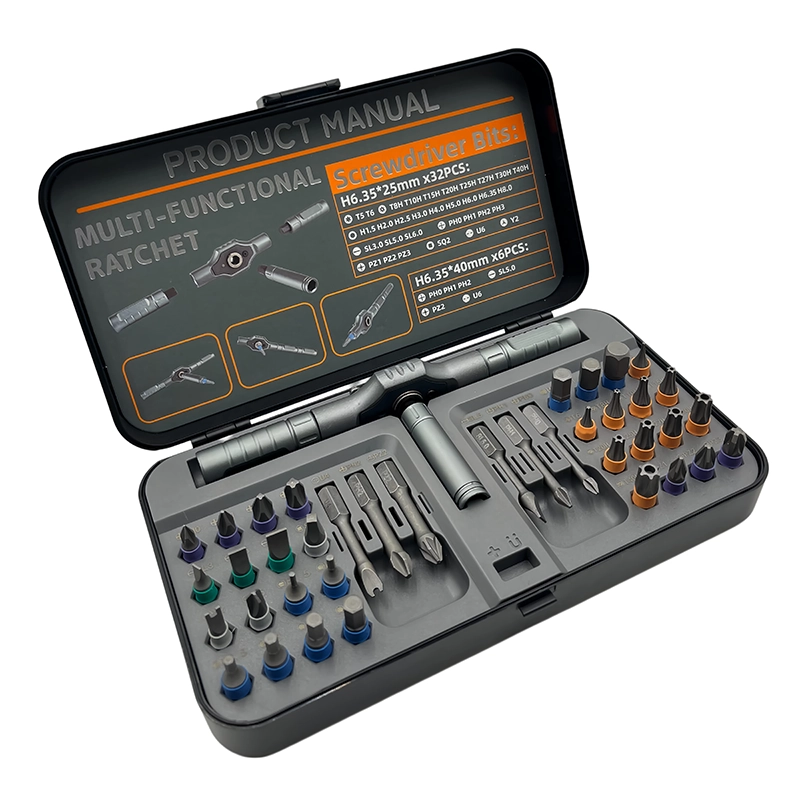
146XOENAEN 40-in-1 ratchet screwdriver set catalogue view used to assess countertop ice-maker outer-shell screws
August 22, 2026 · XOENAEN Product & Application Team

Should You Use a Ratchet Driver on a Countertop Ice-Maker Shell?

A ratchet driver can move manufacturer-approved outer-shell screws on a countertop ice maker after the unit is unplugged, drained, dry and allowed to reach a safe condition. Use the exact profile, support the shell and keep removed hardware away from the water circuit. Refrigerant, mains electrical, insulation or sanitation problems require the appliance maker's qualified service route.

Read article →
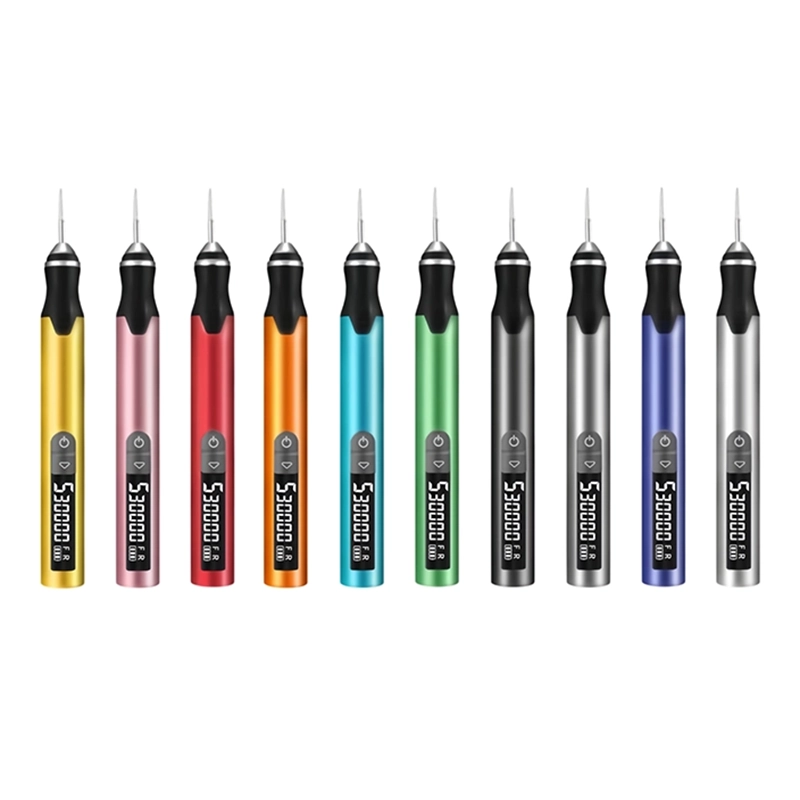
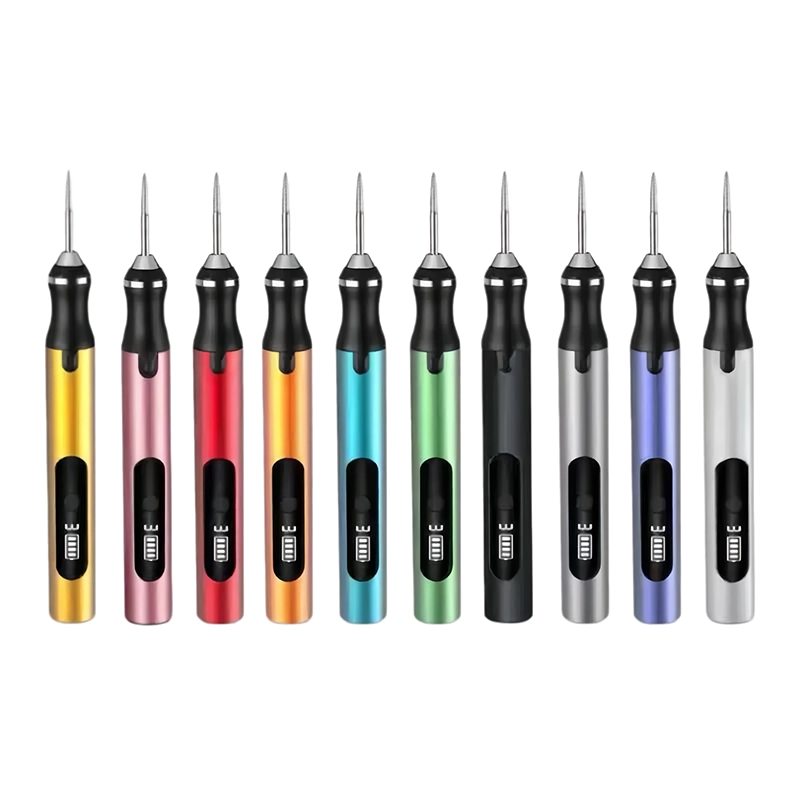
147Freeing a Print-in-Place Hinge Without Loosening the Joint using the H101 five-speed cordless engraving pen as a product reference for separating a fused hinge line on a functional FDM enclosure
August 22, 2026 · XOENAEN 3D Print & DIY Application Team

Freeing a Print-in-Place Hinge Without Loosening the Joint

Start with manual flex checks and open only the visible fused bridges. Support the supported hinge barrels and printed pin with a soft cradle that supports adjacent barrels without clamping the pin. Control support beneath each barrel, stroke direction, contact length and debris removal. Stop if a barrel whitens, the pin bows or clearance grows on only one side.

Read article →
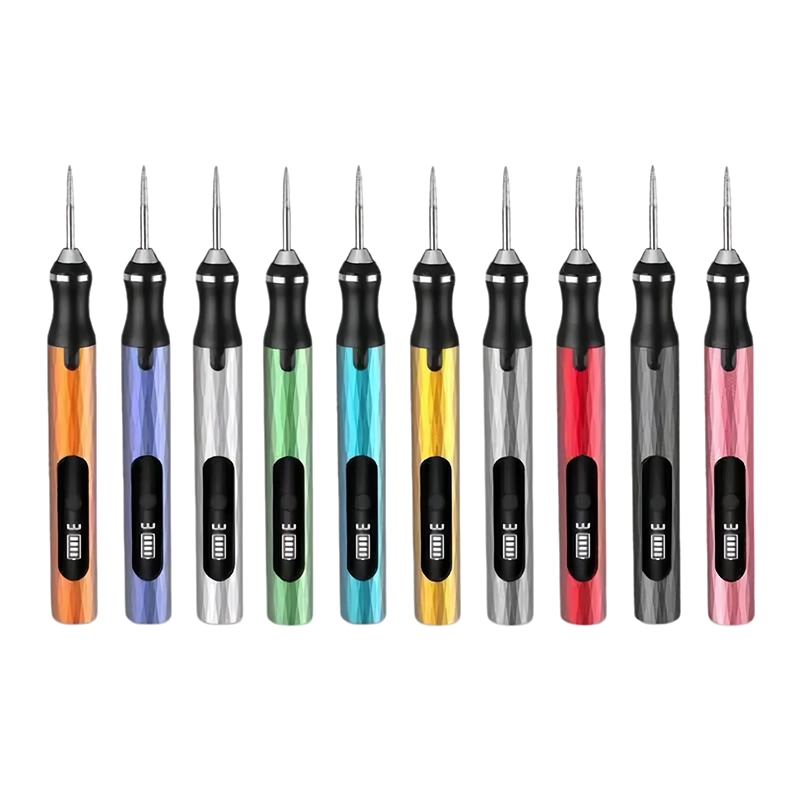
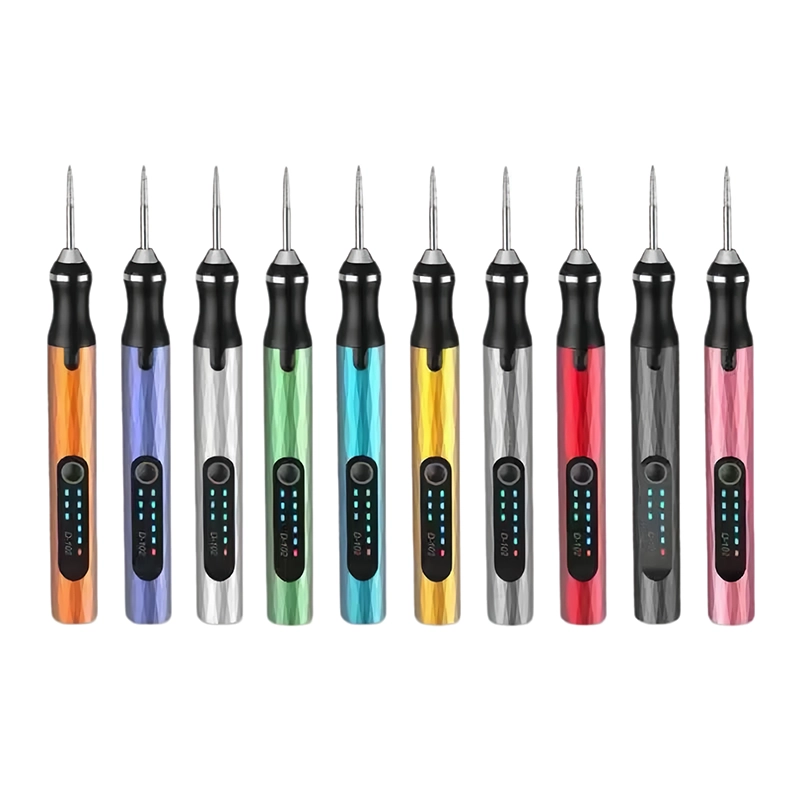
148Cleaning a 3D Printed Magnet Pocket Before Bonding using the D-102 cordless electric engraving pen as a product reference for preparing a round magnet recess in an FDM jig or enclosure
August 22, 2026 · XOENAEN 3D Print & DIY Application Team

Cleaning a 3D Printed Magnet Pocket Before Bonding

Dry-fit the actual magnet and remove only the ridge that prevents full seating. Support the pocket floor, cylindrical wall and entrance edge with a nest that keeps the pocket axis square and the orientation mark visible. Control tool axis, pocket support, dust extraction and frequent depth checks. Stop if the magnet begins to rock, the entrance turns bell-mouthed or the floor shows a low spot.

Read article →
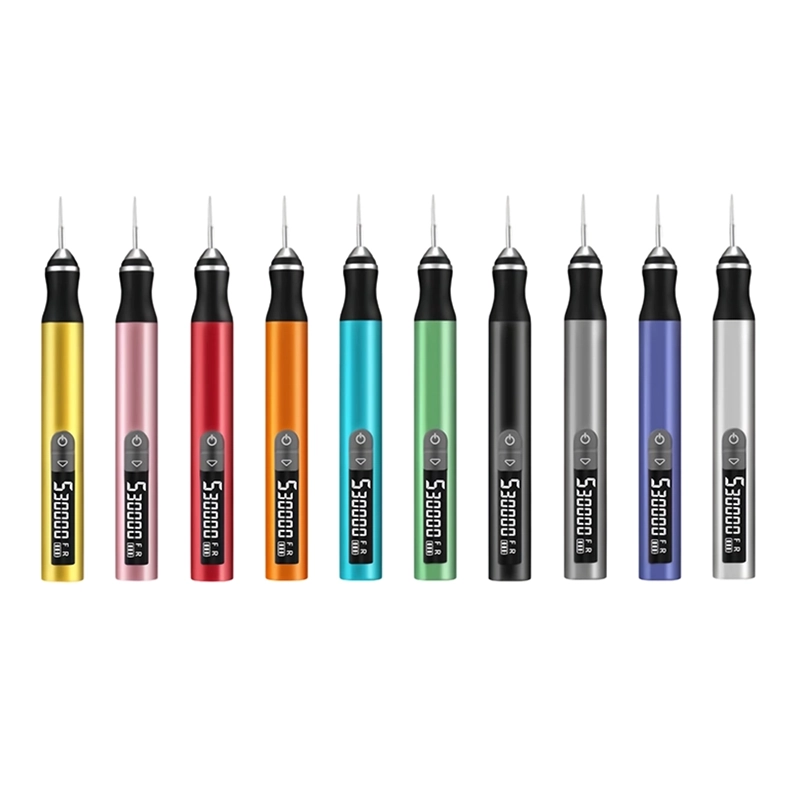
149Tuning a 3D Printed Captive-Nut Pocket Without Spin using the 104 mini rotary tool pen as a product reference for fitting a hex nut into a printed mechanical bracket
August 22, 2026 · XOENAEN 3D Print & DIY Application Team

Tuning a 3D Printed Captive-Nut Pocket Without Spin

Mark the interfering flat and correct that face instead of enlarging the full pocket. Support the pocket flats, insertion lead and retaining lip with a bench block that supports the boss while leaving the insertion path open. Control flatness, parallel contact, nut orientation and remaining wall thickness. Stop if the nut rotates under a light wrench check or one retaining corner disappears.

Read article →
150Restoring Embossed Lettering After 3D Print Sanding using the 106 cordless precision rotary tool as a product reference for refining raised labels on a painted prototype or control enclosure
August 22, 2026 · XOENAEN 3D Print & DIY Application Team

Restoring Embossed Lettering After 3D Print Sanding

Mask the field, establish a retained type reference and touch only obvious sanding rollover. Support the letter tops, inside counters and surrounding field with a padded plate that keeps the label face level under magnification. Control magnification, media width, approach direction and consistent lighting. Stop if a stroke narrows, a counter opens asymmetrically or the field becomes dished.

Read article →
151Finishing Wood-Filled PLA Without Pulling Surface Fibers using the H102 five-speed cordless engraving pen as a product reference for smoothing a decorative box, prop or model printed with wood-filled PLA
August 22, 2026 · XOENAEN 3D Print & DIY Application Team

Finishing Wood-Filled PLA Without Pulling Surface Fibers

Use fresh fine media and short supported passes rather than dragging loaded abrasive across the surface. Support the outer shell and small edge details containing exposed filler with a broad padded support matching the part curvature. Control abrasive loading, stroke direction, heat, extraction and edge backing. Stop if fibers lift in clusters, the surface darkens from heat or an edge begins to feather.

Read article →

Project inquiry

Bring us the brief.

Share your product, market, quantity and customization requirements. Our project team will reply with the right next step.