Product knowledge

Useful decisions. Better tool projects.

Practical product, OEM/ODM and quality guidance grounded in the tools and project work shown across this site.

Electric Screwdriver Spare Parts Service Plan; XOENAEN 53-in-1 precision electric screwdriver set shown as a product configuration referenceOctober 30, 2026Electric Screwdriver Spare Parts Service PlanRead article →
368Catalogue view of XOENAEN 62-in-1 electric precision screwdriver set used as the product reference for the digital audio interface enclosure repair guide
August 20, 2026 · XOENAEN Product & Application Team

Electric Screwdrivers for Digital Audio Interface Enclosure Repair

An electric screwdriver is suitable for digital audio interface enclosure repair when it is limited to verified case and shield screws. Disconnect every power and signal source, support the chassis rather than the panel jacks and map hardware by location. Park the driver before board work, then hand-start reassembly and check jack alignment, controls, grounding parts and audio function.

Read article →
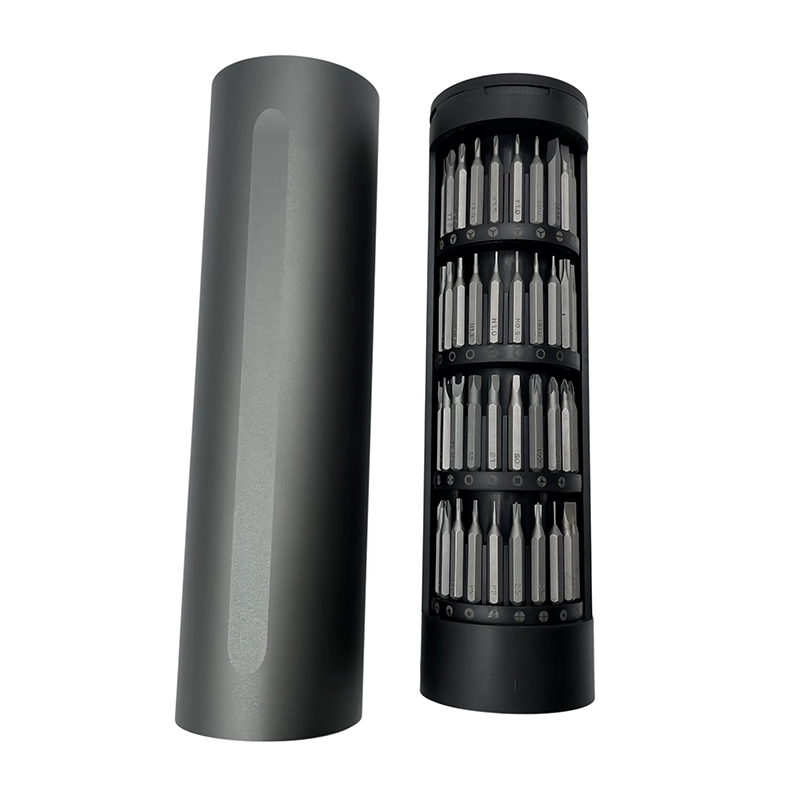
369Catalogue view of XOENAEN 67-in-1 electric precision screwdriver system used as the product reference for the 3D printer extruder service guide
August 20, 2026 · XOENAEN Product & Application Team

Electric Screwdriver Workflow for 3D Printer Extruder Service

Use an electric screwdriver for 3D printer extruder service only after the printer is electrically isolated and the hotend has reached the maker's service condition. Limit power to documented covers, fans and mechanical brackets. Support the toolhead, map screw lengths and park the driver before wiring work. Hand-start reassembly, then inspect clearance, fan direction and cable strain.

Read article →
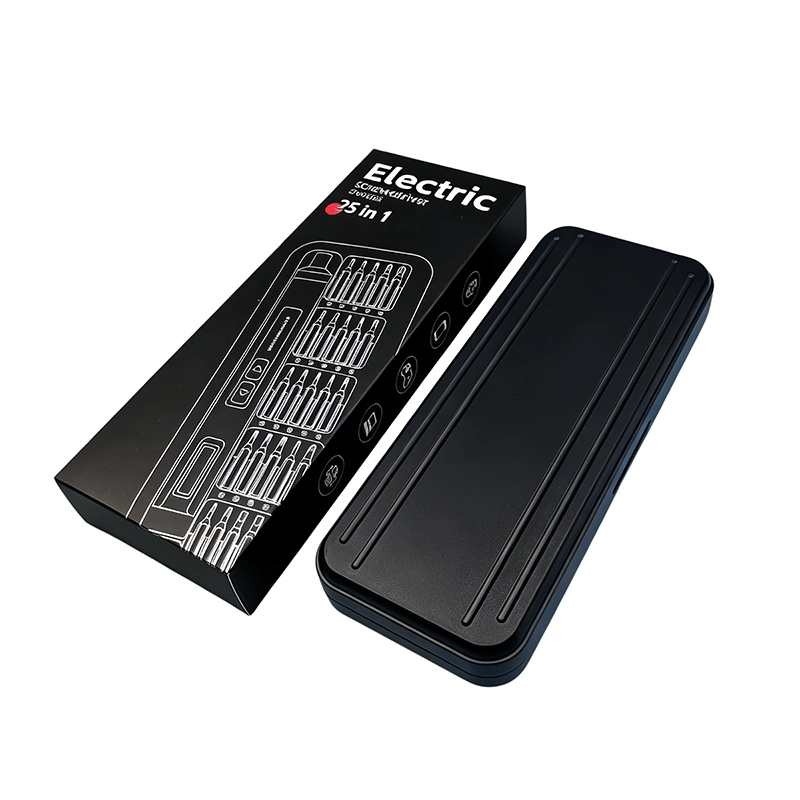
370Catalogue view of XOENAEN 25-in-1 electric precision screwdriver set used as the product reference for the model railway decoder installation guide
August 20, 2026 · XOENAEN Product & Application Team

Electric Screwdriver Workflow for Model Railway Decoder Installation

For model railway decoder installation, use an electric screwdriver only for mapped shell-access or decoder-bracket fasteners after track power is removed. Support the locomotive, control loose magnetic hardware and park the driver before handling the decoder or wiring. Hand-start reassembly, verify wire clearance and complete the decoder maker's programming, lighting and low-speed running checks.

Read article →
371Catalogue view of XOENAEN 53-in-1 adjustable electric screwdriver set used as the product reference for the FPV drone electronics assembly guide
August 20, 2026 · XOENAEN Product & Application Team

Electric Screwdriver Setup for FPV Drone Electronics Assembly

For FPV drone electronics assembly, use an electric screwdriver only after mapping frame, stack and motor hardware by length and thread material. Support the frame, compress soft mounts only to the documented condition and keep power away from exposed electronics. Hand-start every stack screw, verify wire and propeller clearance, then complete the builder's preflight inspection.

Read article →
372Catalogue view of XOENAEN 28-in-1 electric mini screwdriver set used as the product reference for the mirrorless camera mount service guide
August 20, 2026 · XOENAEN Product & Application Team

Electric Screwdriver Control for Mirrorless Camera Mount Service

A powered precision driver is appropriate for mirrorless camera mount service only when the maker's authorized procedure identifies the fasteners and sequence. Protect the sensor chamber, use a fully seated bit and release mount screws incrementally in a cross pattern. Preserve shims and screw locations, then hand-start reassembly and complete alignment and function checks through the accountable service method.

Read article →
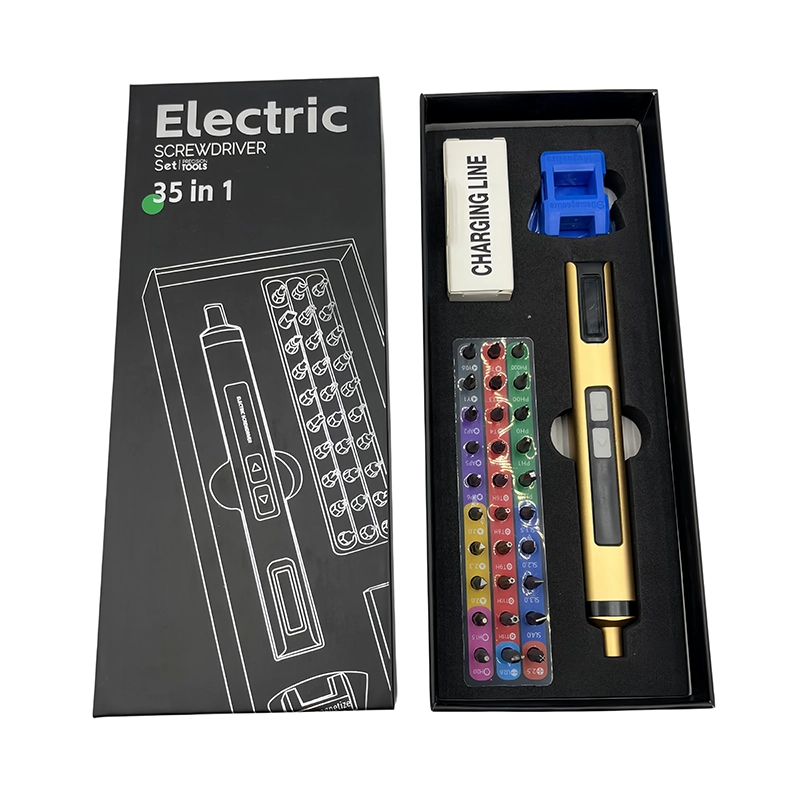
373Catalogue view of XOENAEN 35-in-1 electric screwdriver set used as the product reference for the dash camera housing service guide
August 20, 2026 · XOENAEN Product & Application Team

Electric Screwdriver Workflow for Dash Camera Housing Service

For dash camera housing service, remove the camera from vehicle power and its mount when the documented procedure permits. Verify each recessed bit, support the small enclosure and loosen perimeter screws evenly. Keep display cables, battery parts and seals mapped separately, use hand starting during closure and confirm mount fit, cable clearance, recording and any specified sealing check.

Read article →

Project inquiry

Bring us the brief.

Share your product, market, quantity and customization requirements. Our project team will reply with the right next step.