Product knowledge

Useful decisions. Better tool projects.

Practical product, OEM/ODM and quality guidance grounded in the tools and project work shown across this site.

Electric Screwdriver Spare Parts Service Plan; XOENAEN 53-in-1 precision electric screwdriver set shown as a product configuration referenceOctober 30, 2026Electric Screwdriver Spare Parts Service PlanRead article →
374Catalogue view of XOENAEN 44-in-1 electric screwdriver set used as the product reference for the robotic vacuum sensor module service guide
August 20, 2026 · XOENAEN Product & Application Team

Electric Screwdrivers for Robotic Vacuum Sensor Module Service

For robotic vacuum sensor module service, remove the unit from charging, follow its battery isolation procedure and clean loose debris before opening. Map bottom-cover, brush and sensor screws separately, support the chassis and use short powered removal runs. Park the driver near exposed boards, then hand-start reassembly and verify wheel, brush, bumper and sensor movement before operation.

Read article →
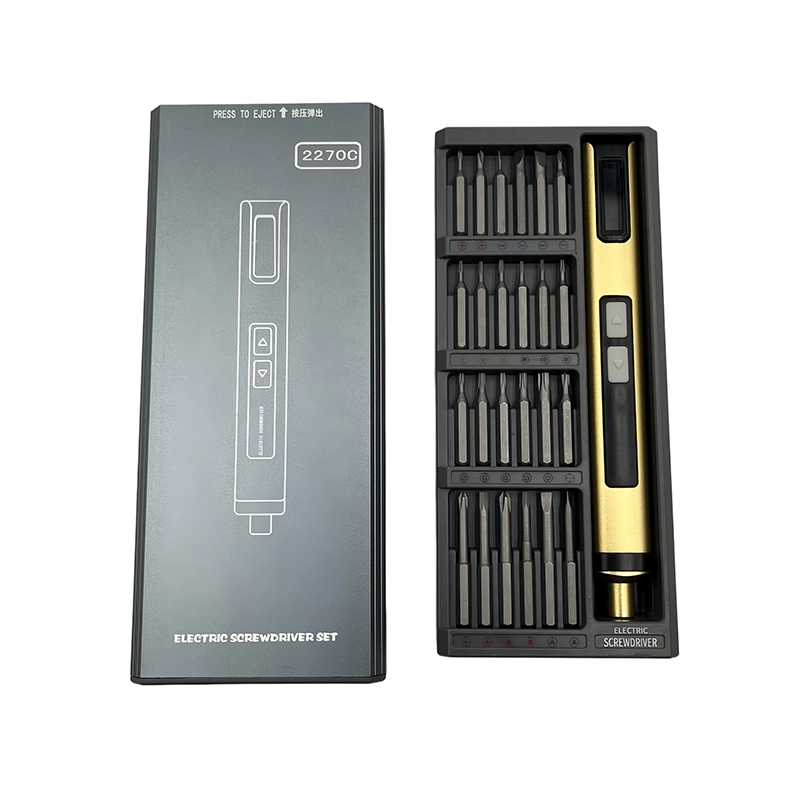
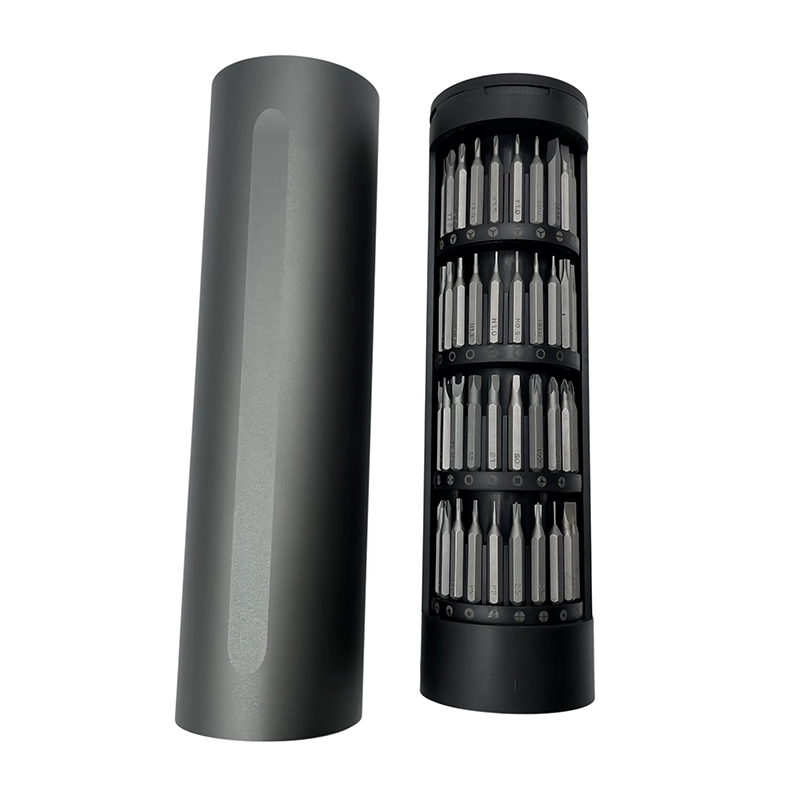
375Catalogue view of XOENAEN 50-in-1 electric screwdriver set used as the product reference for the e-bike display enclosure service guide
August 20, 2026 · XOENAEN Product & Application Team

Electric Screwdriver Use on E-Bike Display Enclosure Fasteners

Use an electric screwdriver on an e-bike display enclosure only after removing system power as directed and separating handlebar-mount hardware from enclosure screws. Support the display, clean the recesses and loosen the case evenly. Preserve gasket orientation and cable strain relief, hand-start insert threads and complete display, button, mount and any manufacturer-specified ingress check after closure.

Read article →
376Catalogue view of XOENAEN 67-in-1 electric precision screwdriver system used as the product reference for the custom PC motherboard and cooler assembly guide
August 20, 2026 · XOENAEN Product & Application Team

Electric Screwdrivers for Custom PC Motherboard and Cooler Builds

A compact electric screwdriver can speed custom PC assembly when powered travel is limited to verified case and motherboard screws. Install standoffs correctly, start motherboard hardware loosely by hand and keep the driver outside the exposed-board zone. Follow the cooler maker's spring-screw pattern manually for final seating, then check board support, cables, fan clearance and startup.

Read article →
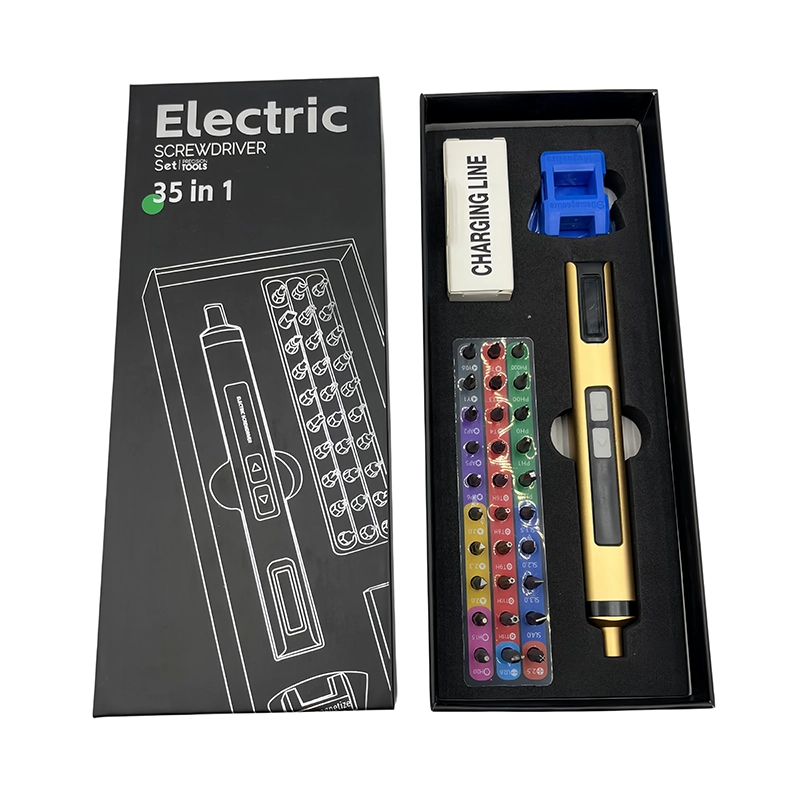
377Catalogue view of XOENAEN 35-in-1 electric screwdriver set used as the product reference for the Raspberry Pi lab kit assembly guide
August 20, 2026 · XOENAEN Product & Application Team

Electric Screwdriver Workflow for Raspberry Pi Lab Kit Assembly

For repeated Raspberry Pi lab kit assembly, freeze the enclosure revision, screw map and driver mode before the batch begins. Keep the powered tool outside exposed-board handling, start standoffs and case screws by hand and rotate charging without mixing kits. Use first-piece approval, missing-bit control and periodic checks so speed does not carry one setup error through every enclosure.

Read article →
378Catalogue view of XOENAEN 44-in-1 electric screwdriver set used as the product reference for the small-batch guitar pedal kit assembly guide
August 20, 2026 · XOENAEN Product & Application Team

Electric Screwdrivers for Small-Batch Guitar Pedal Kit Assembly

For small-batch guitar pedal assembly, use powered rotation only on verified enclosure screws after paint, graphics and internal wiring are protected. Treat jack and potentiometer nuts as separate hand-tool work, map PCB and case hardware and approve one first piece. Hand-start enclosure threads, then check controls, jacks, footswitch clearance, finish condition and audio function on every batch.

Read article →
379Catalogue view of XOENAEN 50-in-1 electric screwdriver set used as the product reference for the cosplay prop electronics assembly guide
August 20, 2026 · XOENAEN Product & Application Team

Electric Screwdriver Control for Cosplay Prop Electronics Builds

Use an electric screwdriver on cosplay prop electronics only after the printed shell, inserts, battery door and wire channels have been test-fitted. Support thin walls, start every screw by hand and use short low-speed travel in verified inserts. Stop before the shell compresses, then inspect cable clearance, removable battery access, switches and the prop's intended movement before use.

Read article →

Project inquiry

Bring us the brief.

Share your product, market, quantity and customization requirements. Our project team will reply with the right next step.