Product knowledge

Useful decisions. Better tool projects.

Practical product, OEM/ODM and quality guidance grounded in the tools and project work shown across this site.

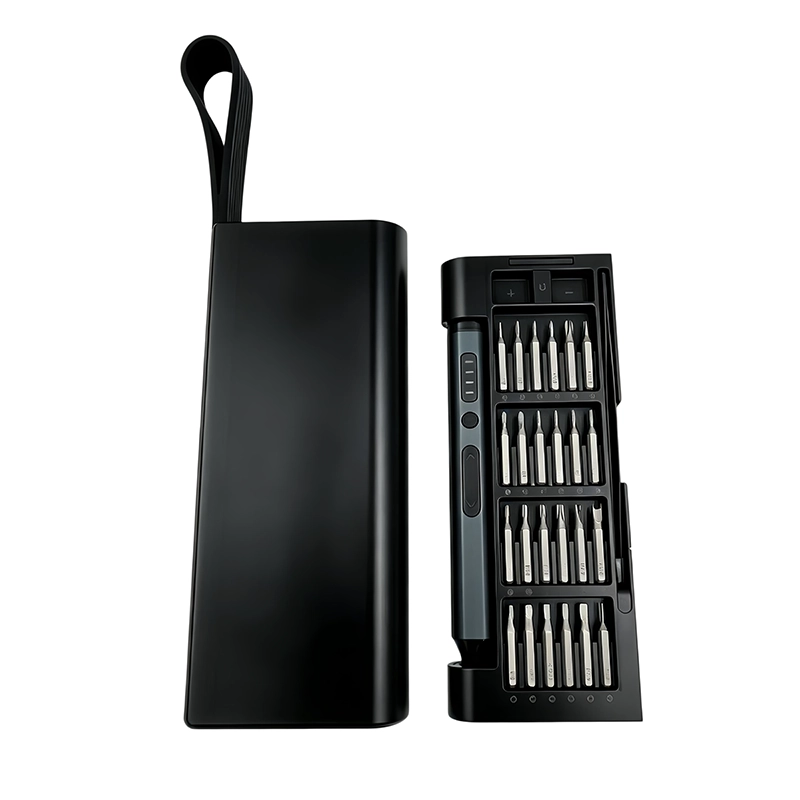
Electric Screwdriver Spare Parts Service Plan; XOENAEN 53-in-1 precision electric screwdriver set shown as a product configuration referenceOctober 30, 2026Electric Screwdriver Spare Parts Service PlanRead article →
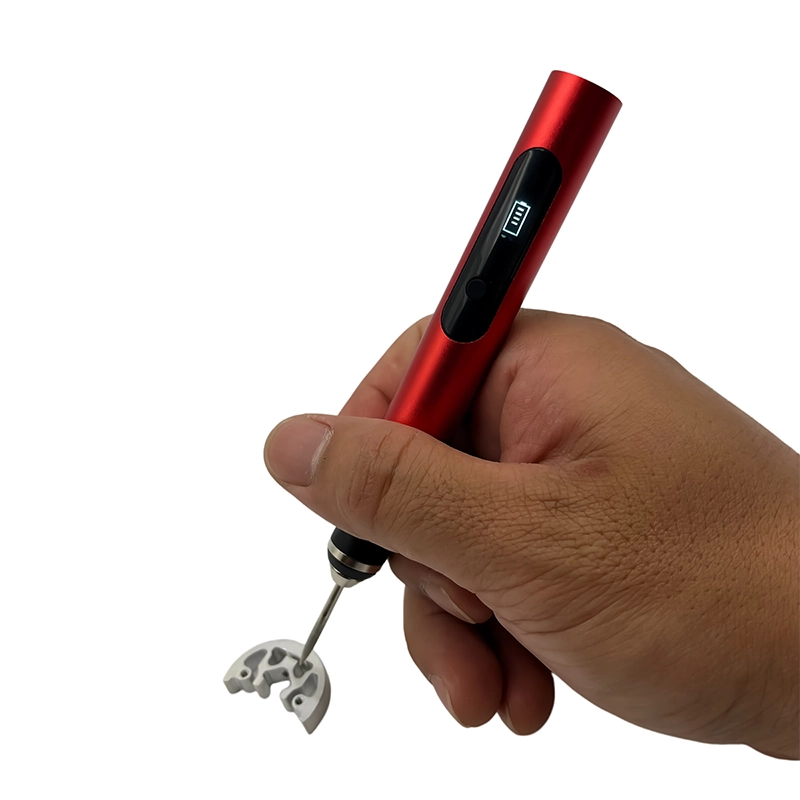
014Smooth 3D Printed Architectural Model Window Reveals; XOENAEN H101 cordless engraving pen shown as a controlled local finishing reference
October 10, 2026 · XOENAEN Technical Team

Smooth 3D Printed Architectural Model Window Reveals

For smooth 3D printed architectural model window reveals, map a support scar in a narrow reveal before removing material and protect reveal depth, mullion edges, model scale and matching facade rhythm. Start with a safe-edge needle file with a depth reference; use a slim rotary point used only at the mapped scar only for mapped local access. Support the part, inspect after each short pass and stop when a mullion rounds, the reveal depth changes or adjacent windows no longer match. Approve it only when the corrected opening matches its neighbouring windows under raking light.

Read article →
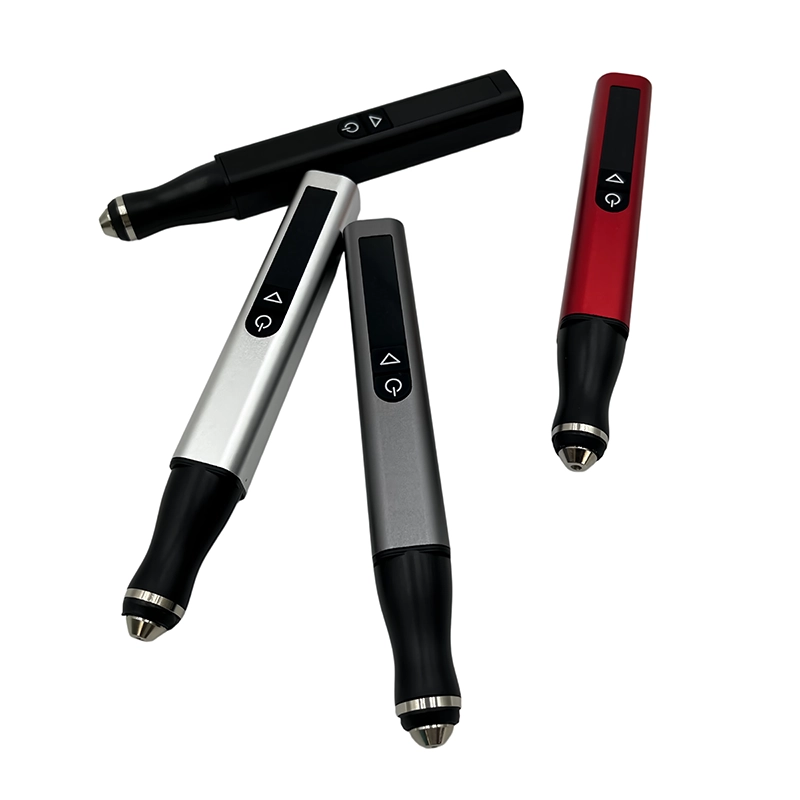
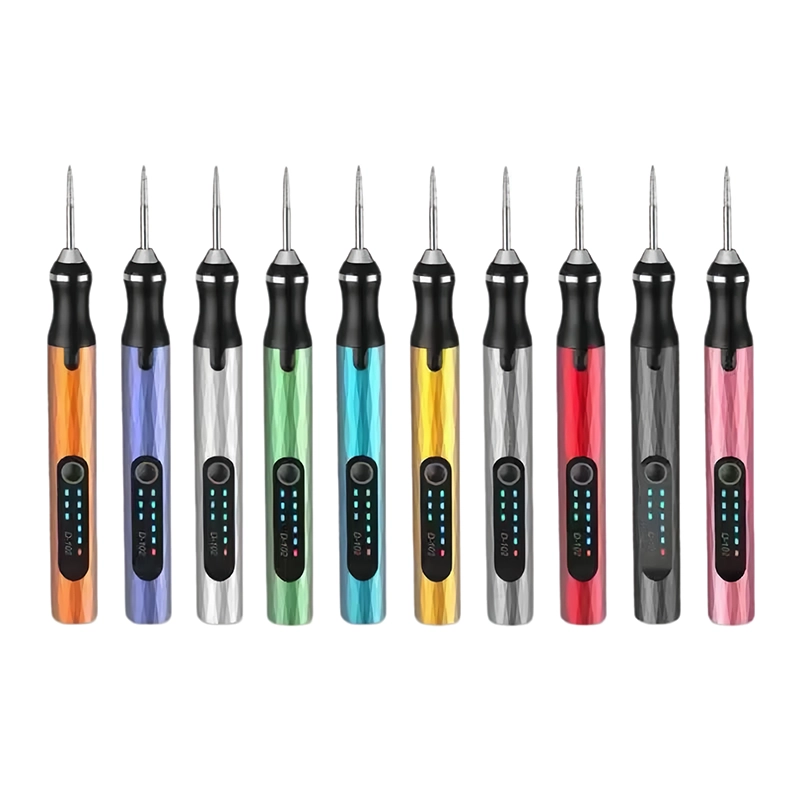
015Prep 3D Printed Casting-Pattern Gate Edges; XOENAEN H102 cordless engraving pen shown as a controlled local finishing reference
October 10, 2026 · XOENAEN Technical Team

Prep 3D Printed Casting-Pattern Gate Edges

For prep 3D printed casting pattern gate edges, map a local support nub near the gate edge before removing material and protect the intended gate geometry, parting datum and surface contour. Start with a fine file used from the marked nub toward the edge; use a small rotary detail abrasive for a recessed non-datum witness only for mapped local access. Support the part, inspect after each short pass and stop when the datum is touched, a gate edge rolls over or the surface profile changes beyond the drawing. Approve it only when the gate interface matches the approved sample and the datum faces remain intact.

Read article →
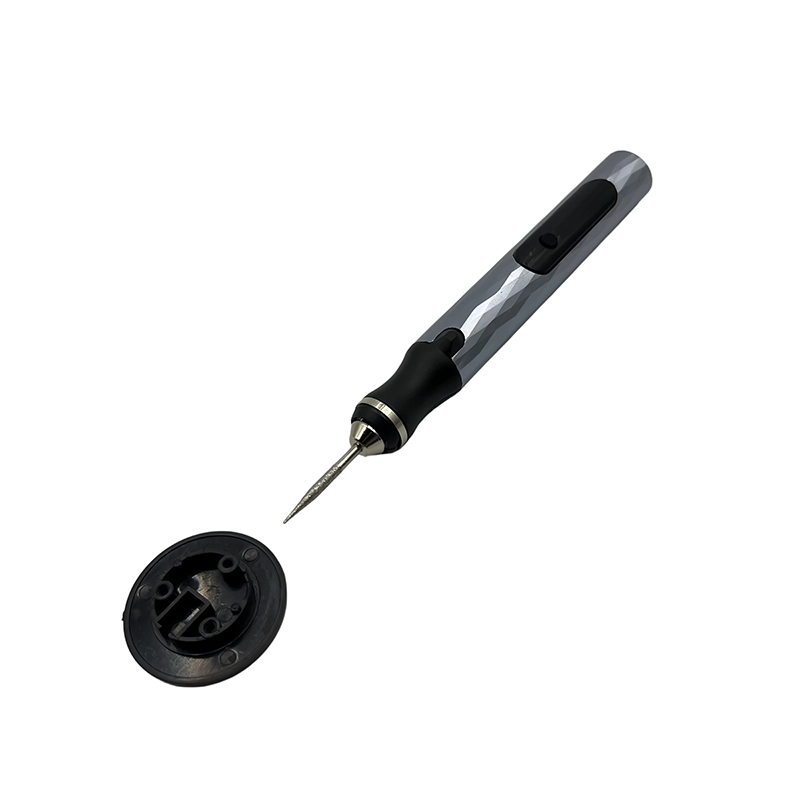
016Finish a 3D Printed Table-Lamp Shade Seam; XOENAEN D-102 cordless engraving pen shown as a controlled local finishing reference
October 10, 2026 · XOENAEN Technical Team

Finish a 3D Printed Table-Lamp Shade Seam

For finish 3D printed table lamp shade seam, map a vertical seam ridge on a visible outer face before removing material and protect wall thickness, diffuser contour, join geometry and heat-clearance features. Start with a flexible abrasive strip supported by a shaped block; use a clean fine rotary pad for a short local transition away from the rim only for mapped local access. Support the part, inspect after each short pass and stop when the wall turns thin, a bright spot appears under light or the rim loses roundness. Approve it only when the shade sits true and the seam is no longer visually dominant when illuminated.

Read article →
017Clear 3D Printed Prototype Vent Perforations; XOENAEN D-104 cordless engraving pen shown as a controlled local finishing reference
October 10, 2026 · XOENAEN Technical Team

Clear 3D Printed Prototype Vent Perforations

For clear 3D printed prototype vent perforations, map strings and partial bridge closures in individual perforations before removing material and protect web thickness, vent area, enclosure stiffness and nearby component clearance. Start with a pin gauge and a hand-held deburring tool; use a narrow rotary point only for isolated blocked openings only for mapped local access. Support the part, inspect after each short pass and stop when two openings join, a web tears or loose debris remains inside the enclosure. Approve it only when each specified opening passes the agreed gauge and the panel retains its stiffness.

Read article →
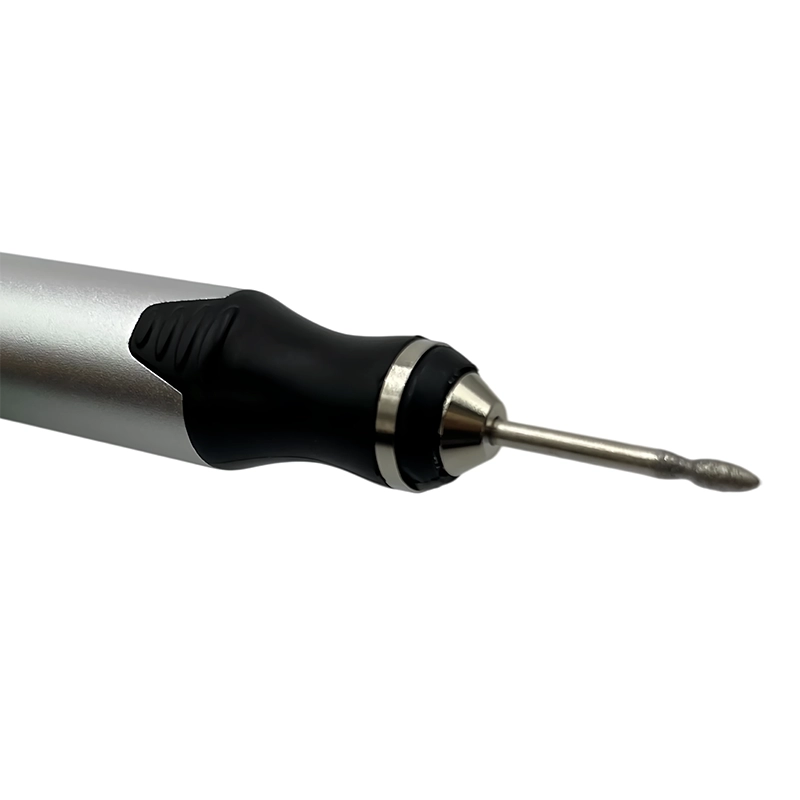
018Refine 3D Printed Jewelry Ring Support Nubs; XOENAEN D-106 cordless engraving pen shown as a controlled local finishing reference
October 10, 2026 · XOENAEN Technical Team

Refine 3D Printed Jewelry Ring Support Nubs

For refine 3D printed jewelry ring support nubs, map small support nubs at the underside of a setting before removing material and protect prong thickness, band profile, stone seat and visible polish line. Start with a loupe-guided scraper and fine abrasive strip; use a micro rotary point for one inaccessible underside nub after a coupon trial only for mapped local access. Support the part, inspect after each short pass and stop when a prong flexes, the band profile becomes uneven or a seat edge moves. Approve it only when the setting remains symmetrical and the band feels continuous around its circumference.

Read article →
019Smooth 3D Printed Board-Game Terrain Undersides; XOENAEN H101 cordless engraving pen shown as a controlled local finishing reference
October 10, 2026 · XOENAEN Technical Team

Smooth 3D Printed Board-Game Terrain Undersides

For smooth 3D printed board game terrain undersides, map raft residue or support marks on the underside before removing material and protect base flatness, registration edges, printed texture and tile-to-tile fit. Start with a scraper followed by a flat-backed abrasive on a reference plate; use a rotary detail abrasive for one isolated high point away from the datum plane only for mapped local access. Support the part, inspect after each short pass and stop when the tile rocks, an edge loses square or the textured face is contacted. Approve it only when the tile lies flat and mates with adjacent pieces without a visible gap.

Read article →

Project inquiry

Bring us the brief.

Share your product, market, quantity and customization requirements. Our project team will reply with the right next step.