Product knowledge

Useful decisions. Better tool projects.

Practical product, OEM/ODM and quality guidance grounded in the tools and project work shown across this site.

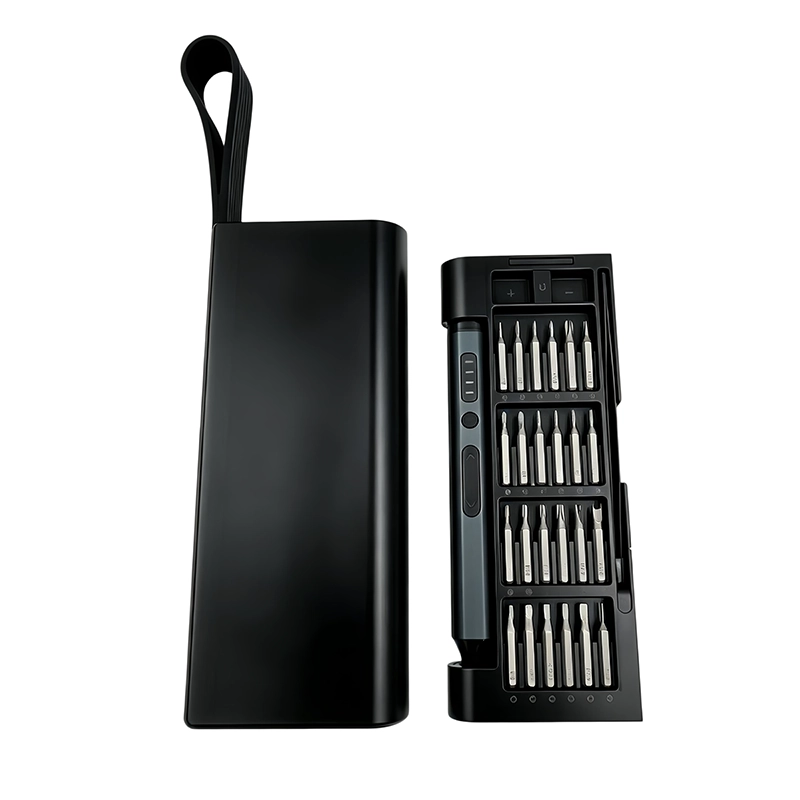
Electric Screwdriver Spare Parts Service Plan; XOENAEN 53-in-1 precision electric screwdriver set shown as a product configuration referenceOctober 30, 2026Electric Screwdriver Spare Parts Service PlanRead article →
026Finish a 3D Printed Synthesizer Knob Pointer Notch with XOENAEN D-102 cordless engraving pen as an application reference
October 7, 2026 · XOENAEN 3D Print & DIY Application Team

Finish a 3D Printed Synthesizer Knob Pointer Notch

To finish 3D printed synthesizer knob pointer notch, identify a fine strand or layer seam interrupting the visible pointer notch and protect the notch position, knob face contour, shaft bore and the visual alignment reference. Begin with a sharp micro scraper used under magnification along the existing notch; use a tiny rotary point for a single deep remnant only after the pointer line is marked only for access that the hand method cannot provide. Track pointer orientation, bore protection, lighting angle, debris removal and comparison with the panel reference, stop if the notch grows beyond its marked line, the face develops a flat spot or dust enters the bore, and accept the part only when the pointer remains crisp, the knob seats on its test shaft and its orientation can be read at the intended viewing distance.

Read article →
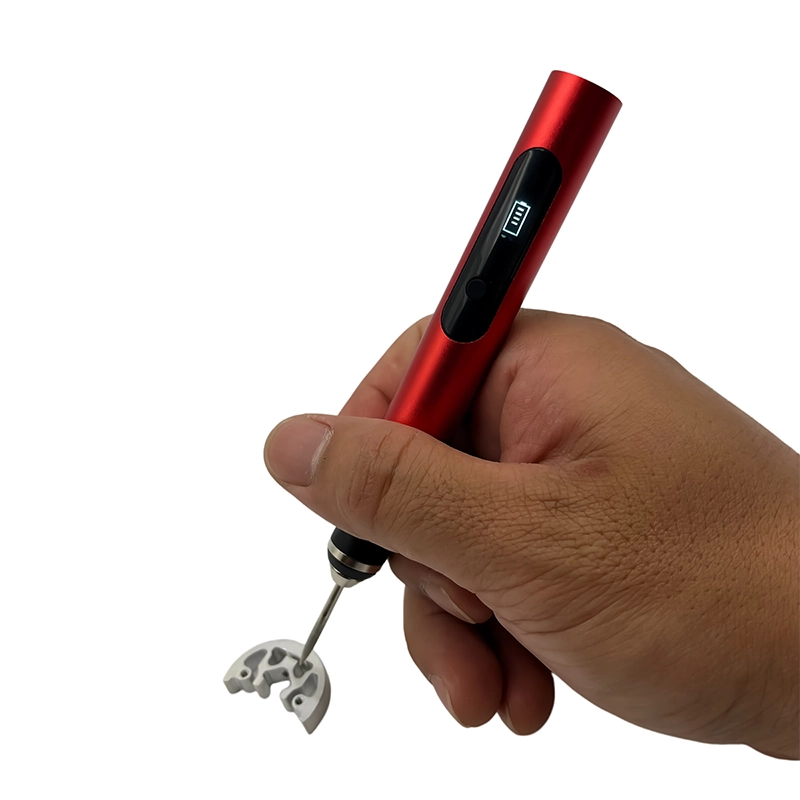
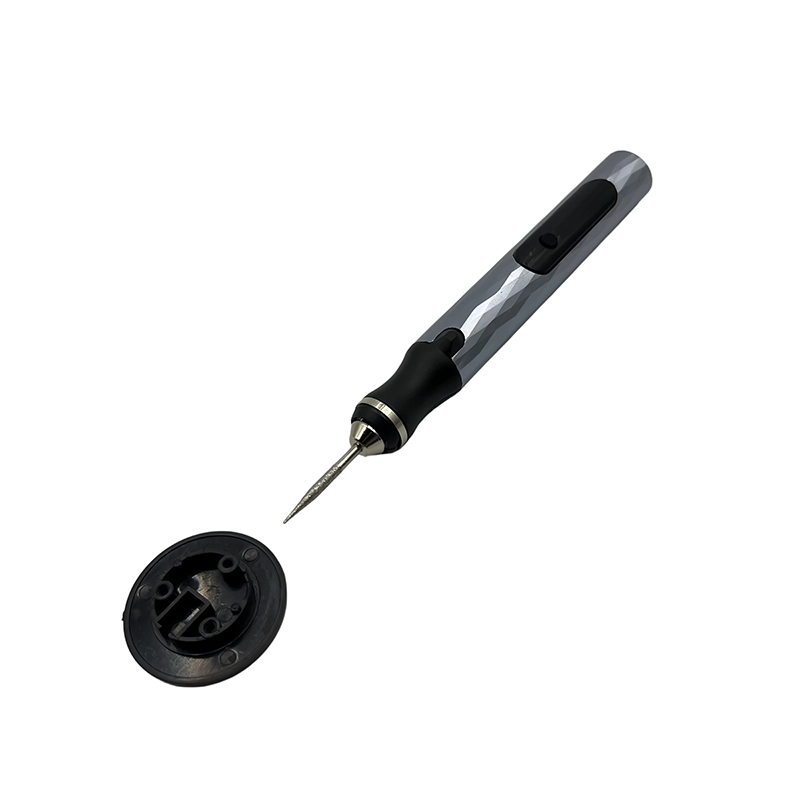
027Clean a 3D Printed Dice-Tower Exit Ramp with XOENAEN D-104 cordless engraving pen as an application reference
October 7, 2026 · XOENAEN 3D Print & DIY Application Team

Clean a 3D Printed Dice-Tower Exit Ramp

To clean 3D printed dice tower exit ramp, identify a support scar or seam ridge that catches a die at the ramp transition and protect the ramp slope, side-wall spacing, landing flatness and visible texture. Begin with a hard-backed abrasive used in the same direction as the intended roll path; use a small rotary abrasive used only for a local high spot away from ramp edges only for access that the hand method cannot provide. Track ramp profile, die sample, local heat, surface texture and repeatable test rolls, stop if a hollow forms, an edge rounds or the same die begins to deviate after the correction, and accept the part only when the approved die clears the local defect and rolls through the tower without a new snag or visible flat spot.

Read article →
028Refine 3D Printed Paint-Palette Well Edges with XOENAEN D-106 cordless engraving pen as an application reference
October 7, 2026 · XOENAEN 3D Print & DIY Application Team

Refine 3D Printed Paint-Palette Well Edges

To refine 3D printed paint palette well edges, identify a local support nib or seam bump at the lip of one mixing well and protect well depth, brush-rest profile, divider height and the palette's stable underside. Begin with a small scraper followed by a short piece of backed abrasive; use a clean fine rotary pad used only for a pinpoint lip defect after a material trial only for access that the hand method cannot provide. Track well profile, clean accessory condition, local heat, visible texture and flatness on the bench, stop if a divider becomes thin, the lip softens into a broad radius or the palette rocks, and accept the part only when the selected well is smooth enough to wipe clean while its neighboring edges and palette flatness remain unchanged.

Read article →
029Finish 3D Printed Display-Sign Standoff Faces with XOENAEN H101 five-speed cordless engraving pen as an application reference
October 7, 2026 · XOENAEN 3D Print & DIY Application Team

Finish 3D Printed Display-Sign Standoff Faces

To finish 3D printed display sign standoff faces, identify a small brim remnant on the face that contacts the sign panel and protect face flatness, standoff height, mounting-hole clearance and the sign panel's visible alignment. Begin with a flat safe-edge scraper used from the center of the face outward; use a fine rotary detail abrasive used only on a burr outside the measured contact zone only for access that the hand method cannot provide. Track face flatness, height check, panel gauge, support position and repeated comparison against the reference plate, stop if the standoff rocks, a contact face becomes dished or the height changes at a measured point, and accept the part only when the standoff sits flat on its reference plate and holds the test panel without a visible tilt.

Read article →
030Clean 3D Printed Craft-Tool Bit Index Slots with XOENAEN H102 five-speed cordless engraving pen as an application reference
October 7, 2026 · XOENAEN 3D Print & DIY Application Team

Clean 3D Printed Craft-Tool Bit Index Slots

To clean 3D printed craft tool bit index slots, identify a string or local ridge at one slot entrance that blocks the reference bit and protect slot spacing, label legibility, entry chamfer and the organizer's base flatness. Begin with a narrow safe-edge file used only on transfer-marked interference; use a small rotary point for a deep isolated ridge after a hand check confirms its location only for access that the hand method cannot provide. Track reference bit diameter, label protection, slot symmetry, local heat and debris removal, stop if a bit becomes loose, adjacent lettering is touched or the slot entrance loses its guide shape, and accept the part only when each named reference bit seats to the intended depth and the printed labels remain readable and aligned.

Read article →
031Cleaning a 3D Printed Soldering-Iron Tip Holder Safely with XOENAEN D-102 cordless engraving pen as an application reference
September 28, 2026 · XOENAEN 3D Print & DIY Application Team

Cleaning a 3D Printed Soldering-Iron Tip Holder Safely

For clean 3D printed soldering iron tip holder, first identify a support witness or stringing inside a storage recess and protect wall thickness, tip spacing, retaining lips and any heat-shield clearance. Start with a small scraper and a narrow abrasive strip; use a fine rotary point used only for an inaccessible raised obstruction only when access requires it. Control material heat sensitivity, wall support, accessory size, contact time and loose-particle removal. Stop when the recess turns glossy, a lip thins or the tool approaches a heat-exposed support zone. Release the part only when each stored item seats without rocking and the holder retains its intended spacing and wall condition.

Read article →

Project inquiry

Bring us the brief.

Share your product, market, quantity and customization requirements. Our project team will reply with the right next step.