Product knowledge

Useful decisions. Better tool projects.

Practical product, OEM/ODM and quality guidance grounded in the tools and project work shown across this site.

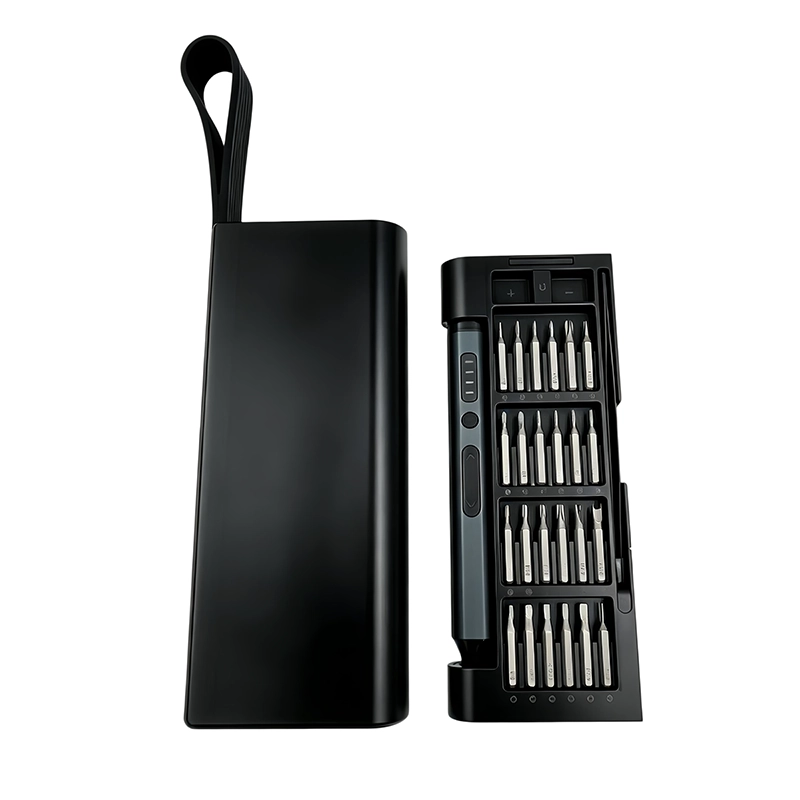
Electric Screwdriver Spare Parts Service Plan; XOENAEN 53-in-1 precision electric screwdriver set shown as a product configuration referenceOctober 30, 2026Electric Screwdriver Spare Parts Service PlanRead article →
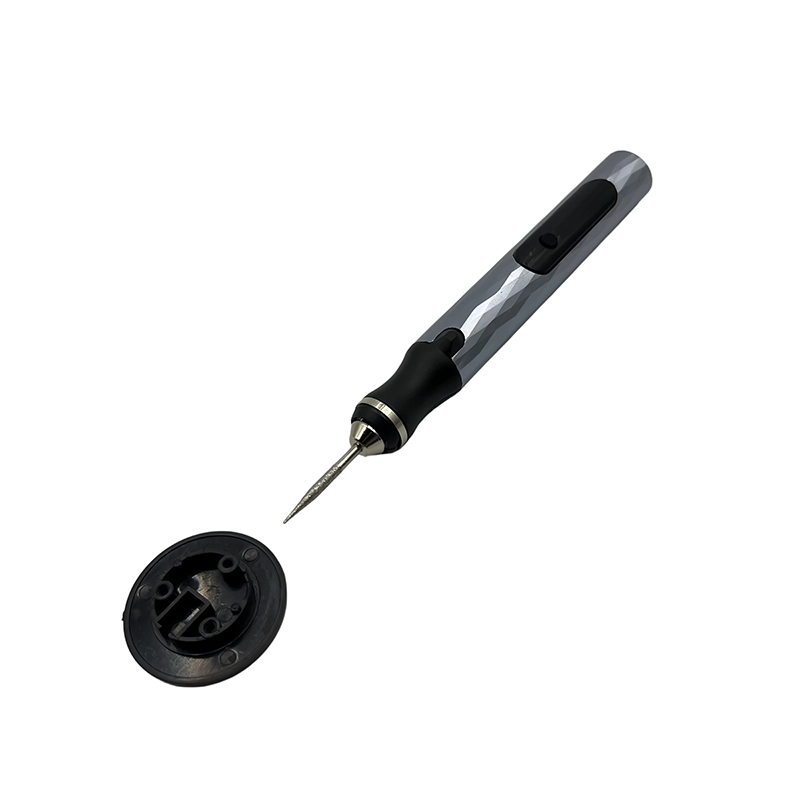
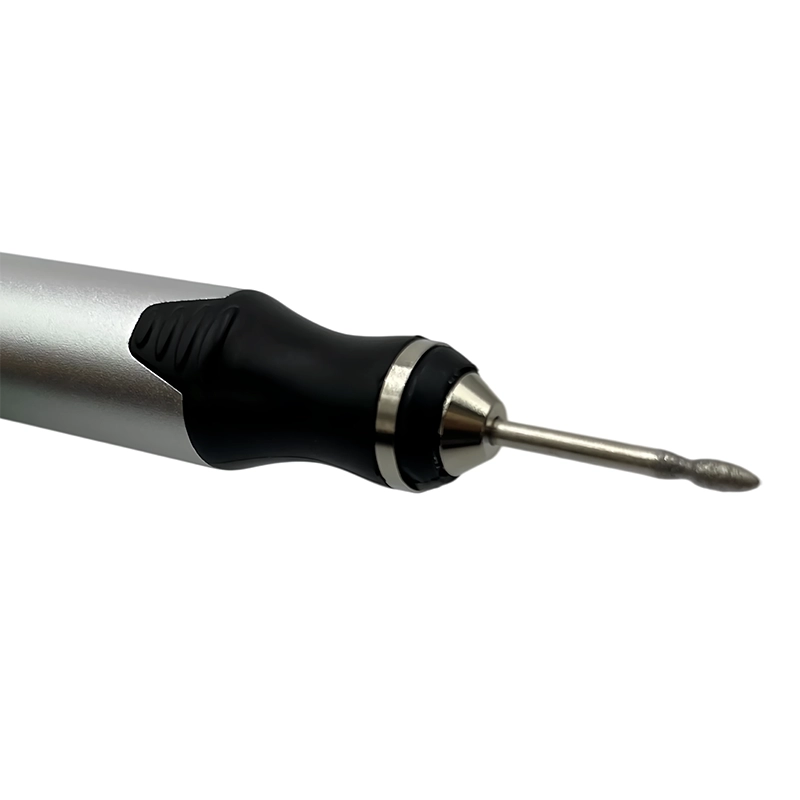
020Finish a 3D Printed Robot-Arm Cable-Guide Channel; XOENAEN H102 cordless engraving pen shown as a controlled local finishing reference
October 10, 2026 · XOENAEN Technical Team

Finish a 3D Printed Robot-Arm Cable-Guide Channel

For finish 3D printed robot arm cable guide channel, map a ridge in the cable path left by a bridge or support before removing material and protect cable bend radius, insulation clearance, mounting-hole position and guide retention. Start with a narrow safe-edge scraper followed by a backed abrasive strip; use a slim rotary point for a mapped high spot inside the channel only for mapped local access. Support the part, inspect after each short pass and stop when the cable binds, a retaining tab thins or a mounting hole is touched. Approve it only when the reference cable moves through the guide without abrasion or a change in bend path.

Read article →
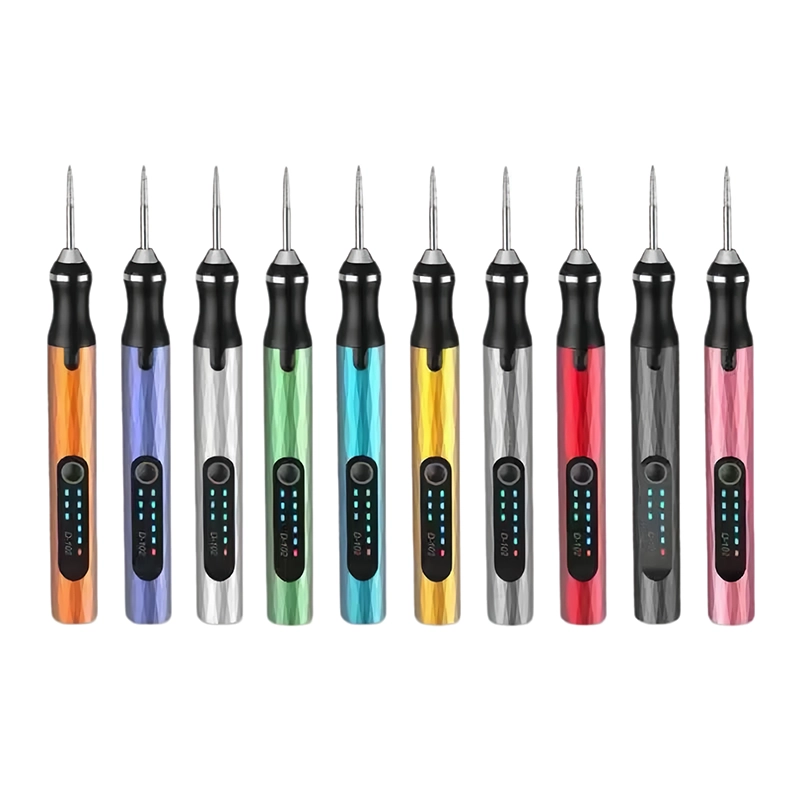
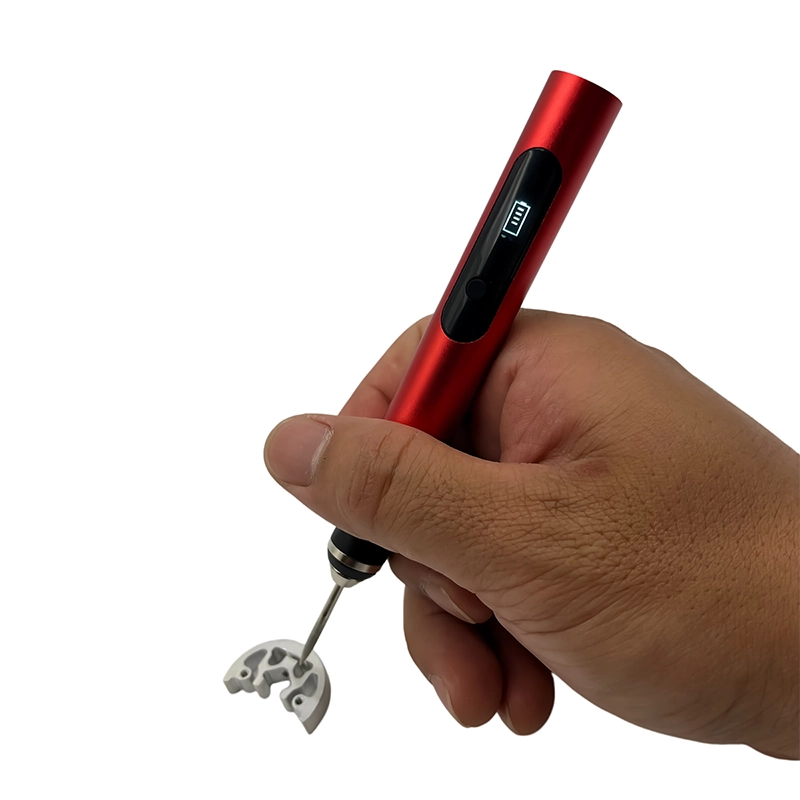
021Finish 3D Printed Game Controller Button Wells Precisely with XOENAEN D-102 cordless engraving pen as an application reference
October 7, 2026 · XOENAEN 3D Print & DIY Application Team

Finish 3D Printed Game Controller Button Wells Precisely

To finish 3D printed game controller button wells, identify a seam bead or tiny support witness at the lower wall of one button well and protect the well diameter, button travel, rim profile, membrane seat and the visible face. Begin with a magnified scraper followed by a narrow backed abrasive strip; use a fine rotary point for one mapped obstruction below the rim only for access that the hand method cannot provide. Track button gauge, shell support, heat, dust removal, rim clearance and repeated free-travel checks, stop if the button begins to rock, the rim loses its circular edge or the shell warms and flexes, and accept the part only when the specified button returns freely, its gap is even and the membrane or switch test remains unchanged.

Read article →
022Refine 3D Printed Electronics Probe-Holder Wells with XOENAEN D-104 cordless engraving pen as an application reference
October 7, 2026 · XOENAEN 3D Print & DIY Application Team

Refine 3D Printed Electronics Probe-Holder Wells

To refine 3D printed electronics probe holder wells, identify a localized layer ridge that prevents one reference handle from seating to its marked depth and protect the taper, separator wall thickness, bench footprint and the handle's intended insertion depth. Begin with a tapered hand reamer used only against the identified high spot; use a slim rotary abrasive touched briefly inside the deep well after a hand trial only for access that the hand method cannot provide. Track reference handle depth, taper alignment, wall temperature, fixture stability and loose-particle capture, stop if the handle drops too low, a divider becomes translucent or the holder no longer sits flat, and accept the part only when each approved probe reaches its marked depth without sticking and remains separated from adjacent tools.

Read article →
023Finish 3D Printed Camera Hot-Shoe Cover Edges with XOENAEN D-106 cordless engraving pen as an application reference
October 7, 2026 · XOENAEN 3D Print & DIY Application Team

Finish 3D Printed Camera Hot-Shoe Cover Edges

To finish 3D printed camera hot shoe cover edges, identify a small brim remnant along the slide-in edge and protect the slide profile, thin side walls, cosmetic edge radius and clearance to the camera shoe. Begin with a fine safe-edge file drawn from the brim toward the outside edge; use a small rotary rubber abrasive used only on an isolated external burr only for access that the hand method cannot provide. Track known-good shoe gauge, wall support, abrasive cleanliness, edge direction and final wipe-down, stop if the slide edge becomes asymmetrical, a wall thins or the gauge starts to bind, and accept the part only when the cover slides onto a representative gauge smoothly and leaves no visible contact mark after removal.

Read article →
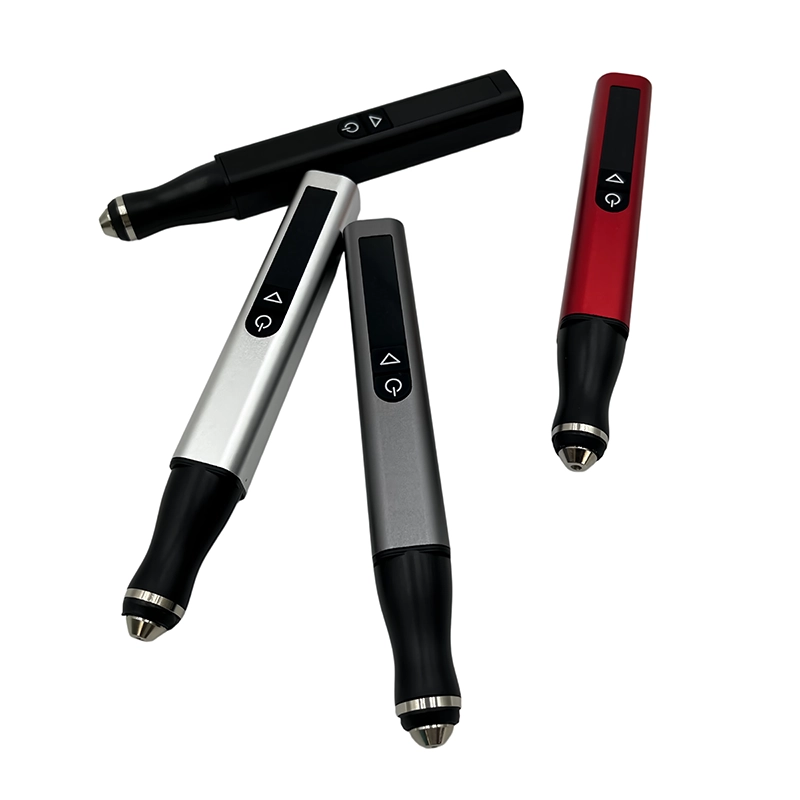
024Clean 3D Printed Headphone-Stand Cable Notches with XOENAEN H101 five-speed cordless engraving pen as an application reference
October 7, 2026 · XOENAEN 3D Print & DIY Application Team

Clean 3D Printed Headphone-Stand Cable Notches

To clean 3D printed headphone stand cable notches, identify a string, sharp bridge edge or support scar inside the cable notch and protect the notch depth, base stability, cable bend radius and the stand's visible contour. Begin with a folded fine abrasive strip pulled through the notch by hand; use a fine rotary point limited to a single inaccessible bridge remnant only for access that the hand method cannot provide. Track cable sample diameter, edge feel, base support, contact duration and debris clearing, stop if the notch visibly widens, the base edge loses its curve or a cable sample catches on a new ridge, and accept the part only when the designated cable lays in the notch without abrasion and the stand remains stable on a flat desk.

Read article →
025Refine 3D Printed Keycap Stem Test Coupons with XOENAEN H102 five-speed cordless engraving pen as an application reference
October 7, 2026 · XOENAEN 3D Print & DIY Application Team

Refine 3D Printed Keycap Stem Test Coupons

To refine 3D printed keycap stem test coupons, identify a small filament ridge at the entry of the coupon's stem socket and protect the socket geometry, wall thickness, axis alignment and the intended comparison between samples. Begin with a pointed hand tool used to identify and lift only the loose ridge; use a very fine rotary point used for a marked local obstruction, never to resize the socket only for access that the hand method cannot provide. Track reference switch stem, insertion force by feel, axis alignment, heat and sample identification, stop if the coupon becomes loose, the socket turns glossy over a broad area or the stem no longer enters squarely, and accept the part only when the reference stem seats and releases consistently while the coupon still serves as a controlled fit comparison.

Read article →

Project inquiry

Bring us the brief.

Share your product, market, quantity and customization requirements. Our project team will reply with the right next step.