Product knowledge

Useful decisions. Better tool projects.

Practical product, OEM/ODM and quality guidance grounded in the tools and project work shown across this site.

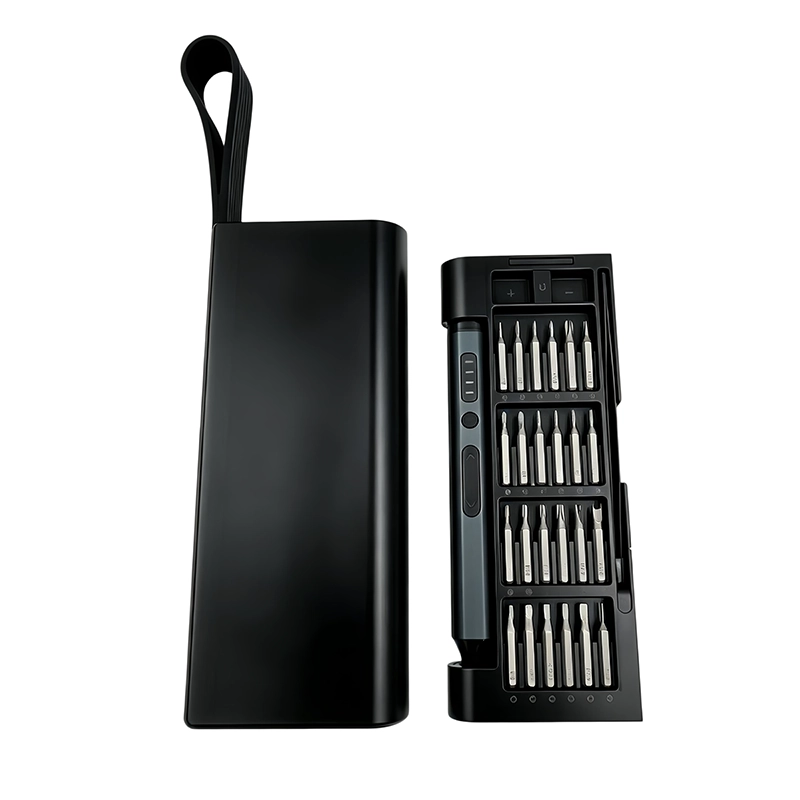
Electric Screwdriver Spare Parts Service Plan; XOENAEN 53-in-1 precision electric screwdriver set shown as a product configuration referenceOctober 30, 2026Electric Screwdriver Spare Parts Service PlanRead article →
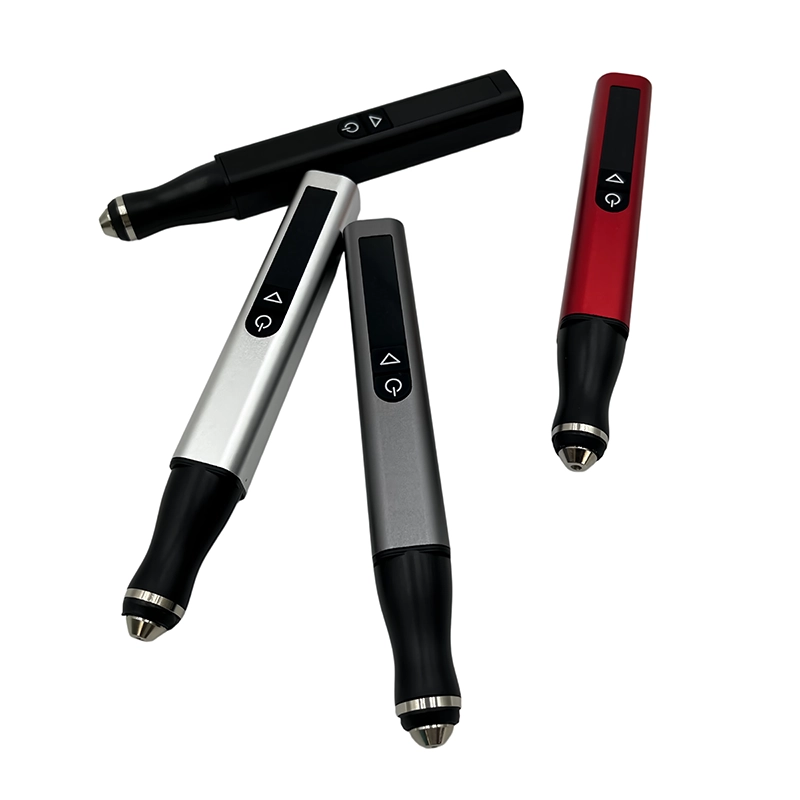
032Finishing 3D Printed Paint-Rack Hook Slots Without Cracks with XOENAEN D-104 cordless engraving pen as an application reference
September 28, 2026 · XOENAEN 3D Print & DIY Application Team

Finishing 3D Printed Paint-Rack Hook Slots Without Cracks

For finish 3D printed paint rack hook slots, first identify a brim remnant or fused strand at a hook-slot entrance and protect slot neck width, hook shoulder, layer direction and the rack's supported load path. Start with a safe-edge needle file worked from the entry toward the opening; use a small rotary detail accessory limited to a marked entrance burr only when access requires it. Control slot gauge, local heat, layer orientation, backing contact and inspection after each pass. Stop when a shoulder becomes shiny, the slot widens asymmetrically or a stress line appears. Release the part only when the approved hook enters and carries the stated noncritical workshop load without slot distortion.

Read article →
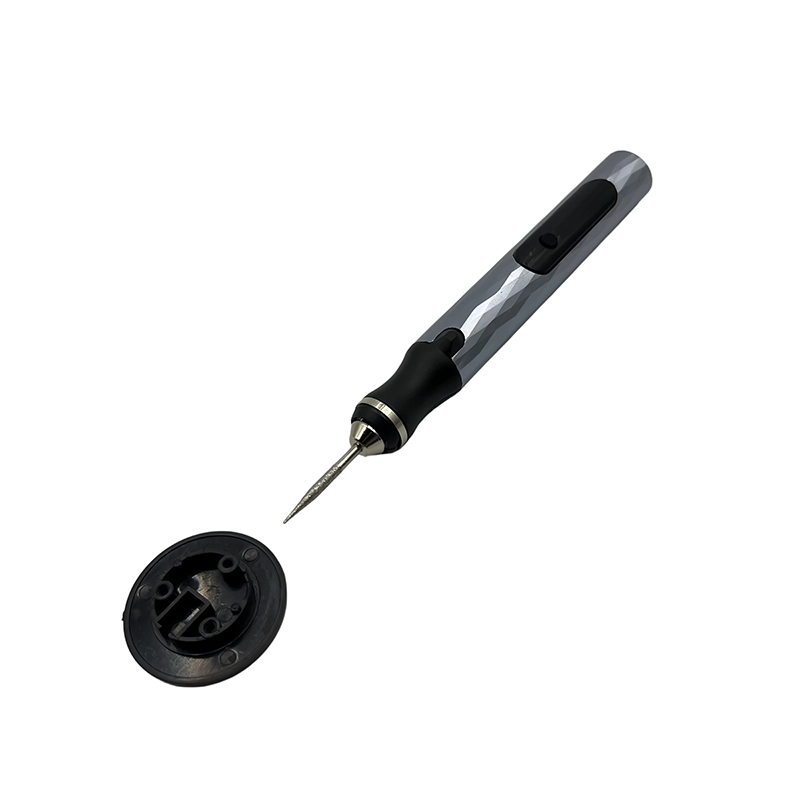
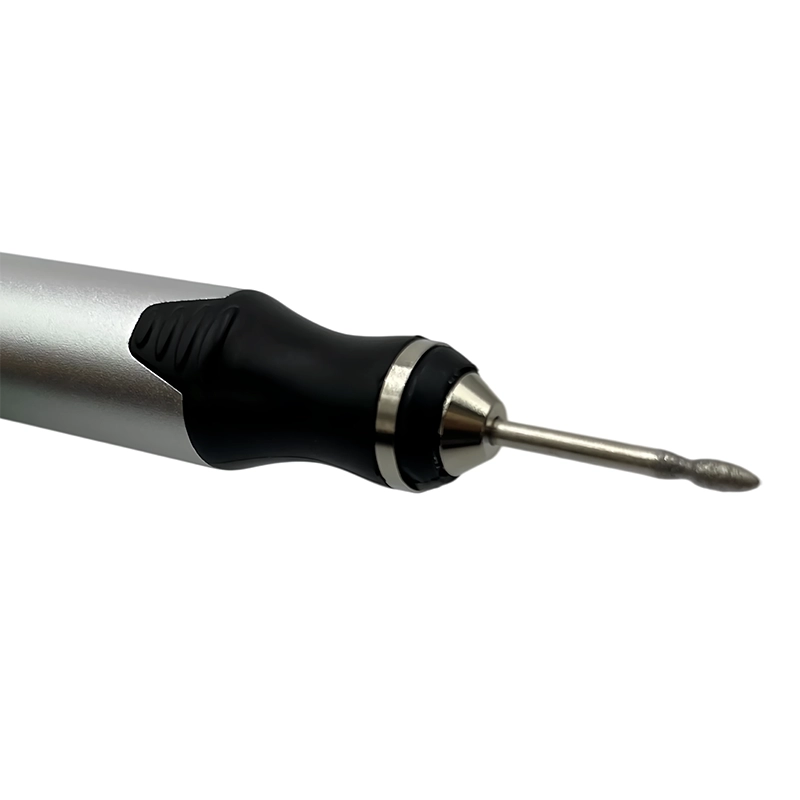
033Refining 3D Printed Board-Game Token Trays Without Soft Edges with XOENAEN D-106 cordless engraving pen as an application reference
September 28, 2026 · XOENAEN 3D Print & DIY Application Team

Refining 3D Printed Board-Game Token Trays Without Soft Edges

For refine 3D printed board game token trays, first identify a seam ridge or support nub in a visible pocket corner and protect divider height, pocket outline, stack fit and the crisp visible edge of each compartment. Start with a micro scraper followed by a hard-backed abrasive; use a fine rotary abrasive for one local defect at the pocket floor only when access requires it. Control pocket depth, divider stiffness, abrasive loading, lighting angle and debris removal. Stop when a divider flexes, a pocket edge rolls over or the floor develops a hollow. Release the part only when tokens stack and lift normally while the organizer's compartment lines remain crisp under raking light.

Read article →
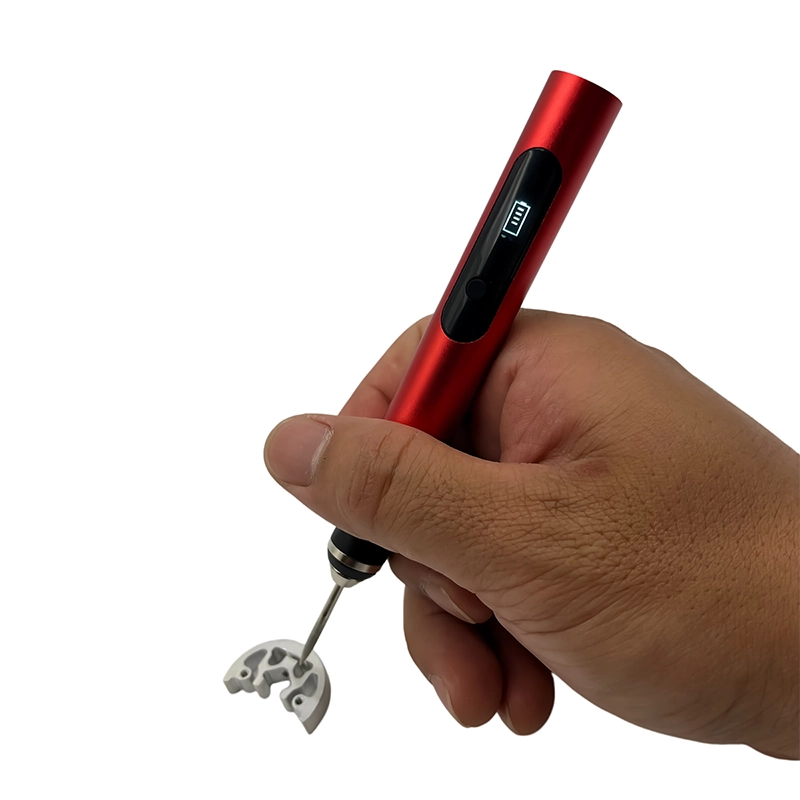
034Clearing 3D Printed Seedling-Pot Drain Holes Without Tearing with XOENAEN H101 five-speed cordless engraving pen as an application reference
September 28, 2026 · XOENAEN 3D Print & DIY Application Team

Clearing 3D Printed Seedling-Pot Drain Holes Without Tearing

For clear 3D printed seedling pot drain holes, first identify strings or a thin bridge skin closing part of a drainage opening and protect hole diameter, base thickness, surrounding ribs and the pot's flat standing surface. Start with a correctly sized pin or hand reamer guided through the existing opening; use a narrow rotary point used only to release a visible surface skin only when access requires it. Control hole size, base support, tool axis, material tear-out and removal of loose debris. Stop when a rib whitens, two holes begin to join or the base no longer sits flat. Release the part only when every specified drain opening is clear and the pot remains flat, intact and easy to clean.

Read article →
035Finishing 3D Printed Armor Strap Slots Without Fraying with XOENAEN H102 five-speed cordless engraving pen as an application reference
September 28, 2026 · XOENAEN 3D Print & DIY Application Team

Finishing 3D Printed Armor Strap Slots Without Fraying

For finish 3D printed armor strap slots, first identify a sharp bridge edge, support witness or local stringing inside the slot and protect slot width, panel curvature, strap bearing edge and the visible outer finish. Start with a rounded hand file and folded abrasive strip; use a fine rotary point for a small interior burr after the edge radius is marked only when access requires it. Control strap width, edge radius, panel support, heat and comparison with a real strap sample. Stop when the slot length grows, a corner thins or the outside panel surface becomes flat. Release the part only when the specified strap passes freely with no snagging while the panel retains its planned contour.

Read article →
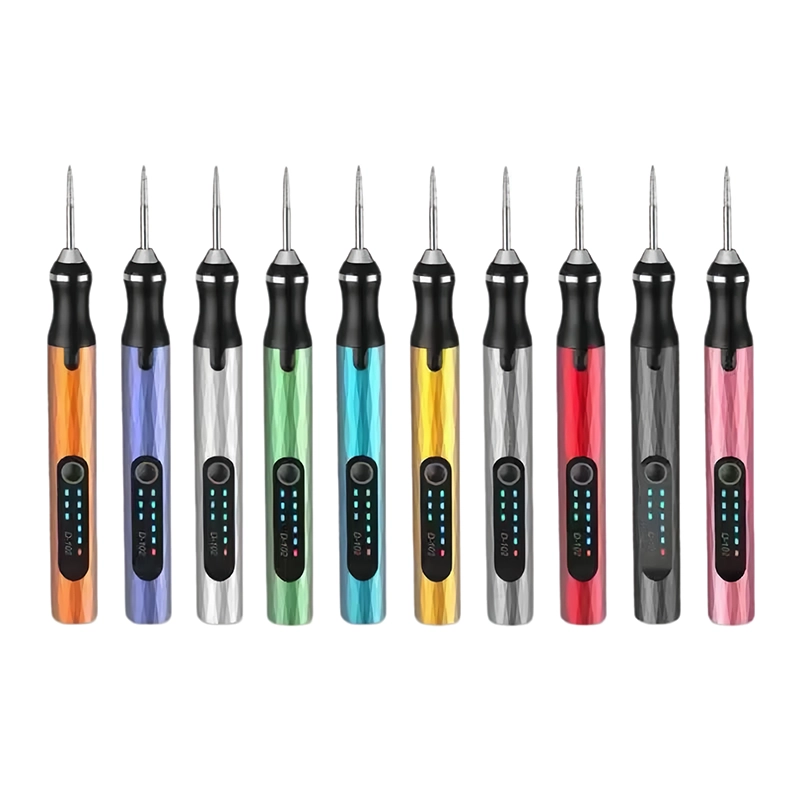
036Cleaning a 3D Printed Camera Cable Strain-Relief Channel with XOENAEN D-102 cordless engraving pen as an application reference
September 28, 2026 · XOENAEN 3D Print & DIY Application Team

Cleaning a 3D Printed Camera Cable Strain-Relief Channel

For clean 3D printed camera cable strain relief, first identify a bridge ridge or support scar at the channel entry and protect cable bend radius, insulation clearance, retaining tabs and mounting-hole alignment. Start with a narrow safe-edge scraper and a backed abrasive strip; use a slim rotary point used only at a mapped internal high spot only when access requires it. Control cable diameter, bend radius, wall thickness, tool approach and contamination control. Stop when a retaining tab flexes, a channel wall thins or the cable reference begins to bind. Release the part only when the specified cable routes without abrasion, holds under the intended light service load and clears all hardware.

Read article →
037Smoothing 3D Printed Tabletop Miniature Bases With Detail Intact with XOENAEN D-104 cordless engraving pen as an application reference
September 28, 2026 · XOENAEN 3D Print & DIY Application Team

Smoothing 3D Printed Tabletop Miniature Bases With Detail Intact

For smooth 3D printed tabletop miniature bases, first identify a gate pad or isolated support nub on an accessible, noncritical texture field and protect rim profile, embossed text, base flatness and intentionally sculpted surface texture. Start with a sharp scraper and fine needle file; use a very fine rotary point used only on the identified gate pad only when access requires it. Control detail scale, accessory cleanliness, lighting, contact duration and base flatness. Stop when texture becomes shiny and flat, lettering loses a corner or the base rocks on a flat reference. Release the part only when the base sits flat and retains its sculpted detail while the unwanted witness is no longer visually dominant.

Read article →

Project inquiry

Bring us the brief.

Share your product, market, quantity and customization requirements. Our project team will reply with the right next step.