Product knowledge

Useful decisions. Better tool projects.

Practical product, OEM/ODM and quality guidance grounded in the tools and project work shown across this site.

Precision screwdriver supplier evaluation scorecard reviewed beside product and quality recordsSeptember 1, 2026How Should Buyers Score Precision Screwdriver Suppliers?Read article
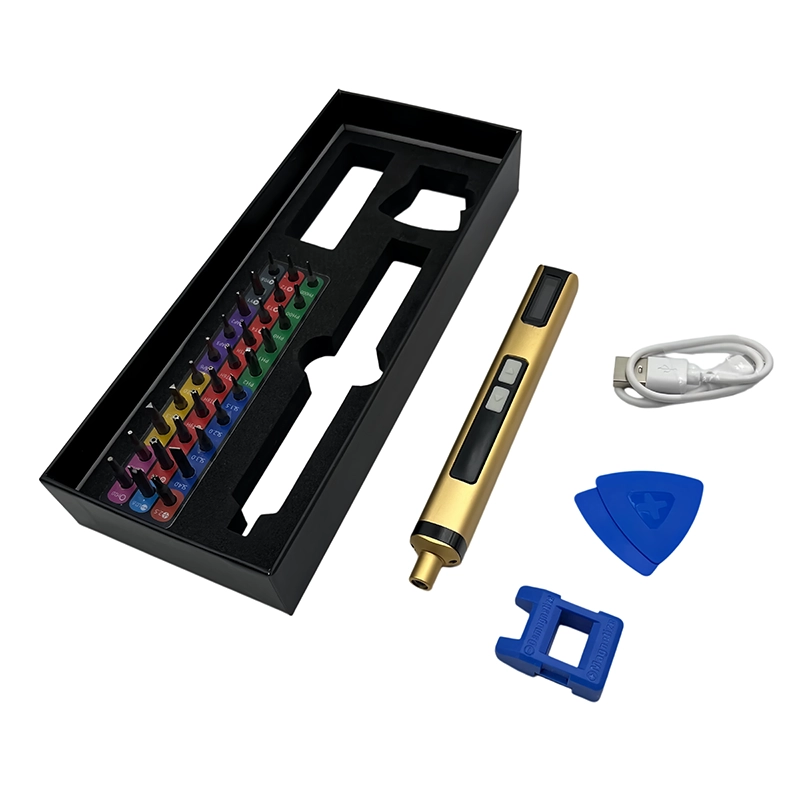
530XOENAEN rotary tool pen used for local preparation and refinishing of a cracked 3D printed part
August 18, 2026 · XOENAEN Repair Application Team

Can a cracked 3D print be repaired? A practical workflow

Repair a cracked 3D printed part only after deciding whether failure could create a safety or functional hazard. Identify the material and crack cause, unload and clean the part, preserve alignment references, and prepare only the joint area required by the chosen compatible repair process. Replace rather than repair critical or uncertain parts. After curing, inspect alignment and verify the part under a suitable controlled condition.

Read article
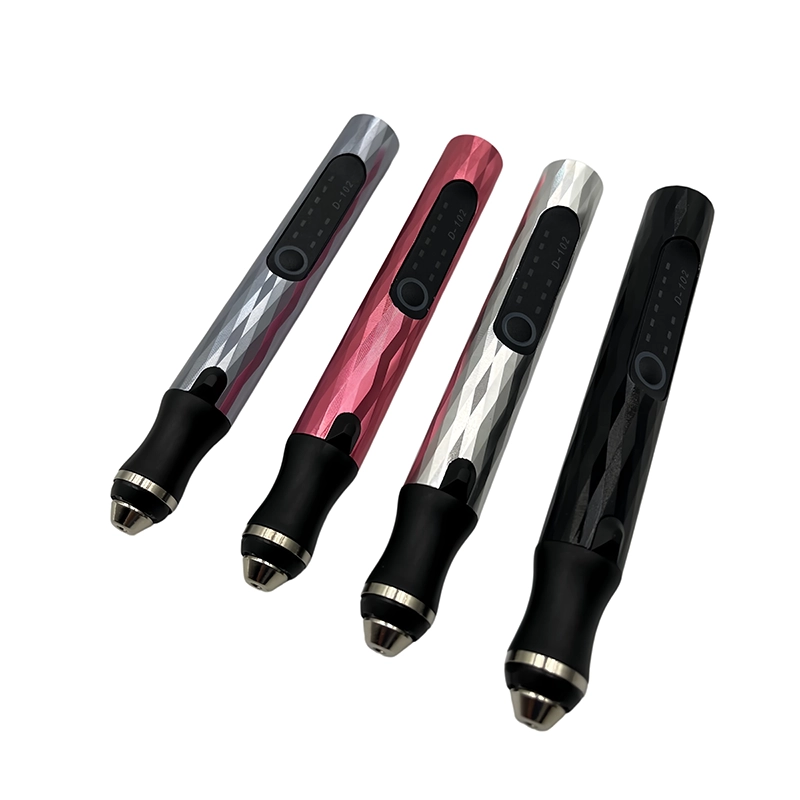
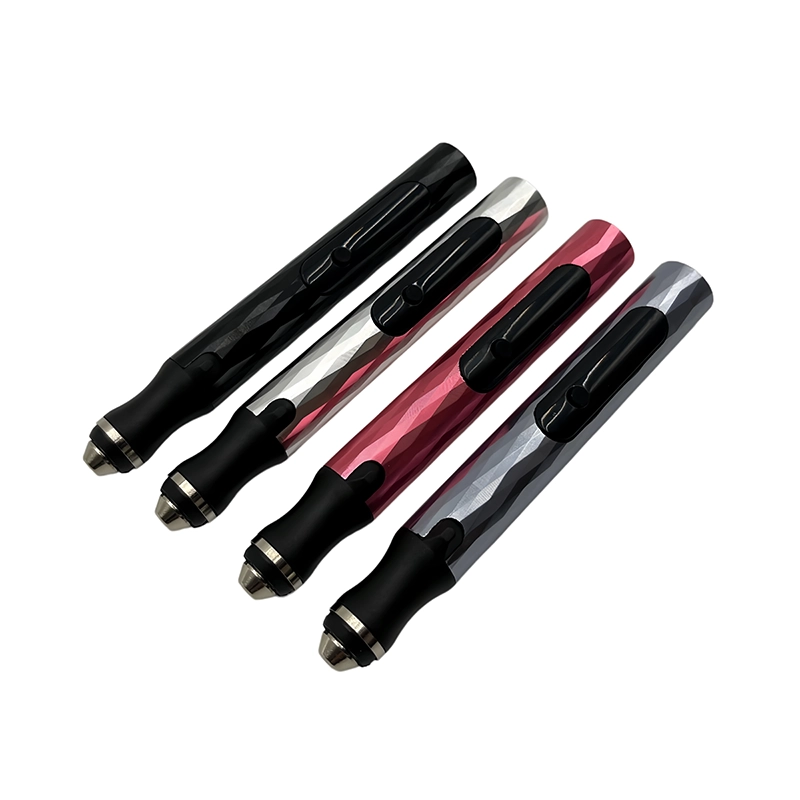
532XOENAEN D-102 mini rotary pen positioned for local cleanup of holes and slots in a 3D printed component
August 18, 2026 · XOENAEN Product Application Team

How to clean 3D printed holes, slots and mating surfaces

Clean a 3D printed hole, slot or mating surface by first identifying the intended fit and measuring the printed feature. Remove loose support and obvious high spots before using any powered accessory. Work in short, even passes, keep the tool aligned with the feature, and check frequently with a gauge or mating part. Stop as soon as the interface fits; extra smoothness can turn a controlled fit into looseness.

Read article
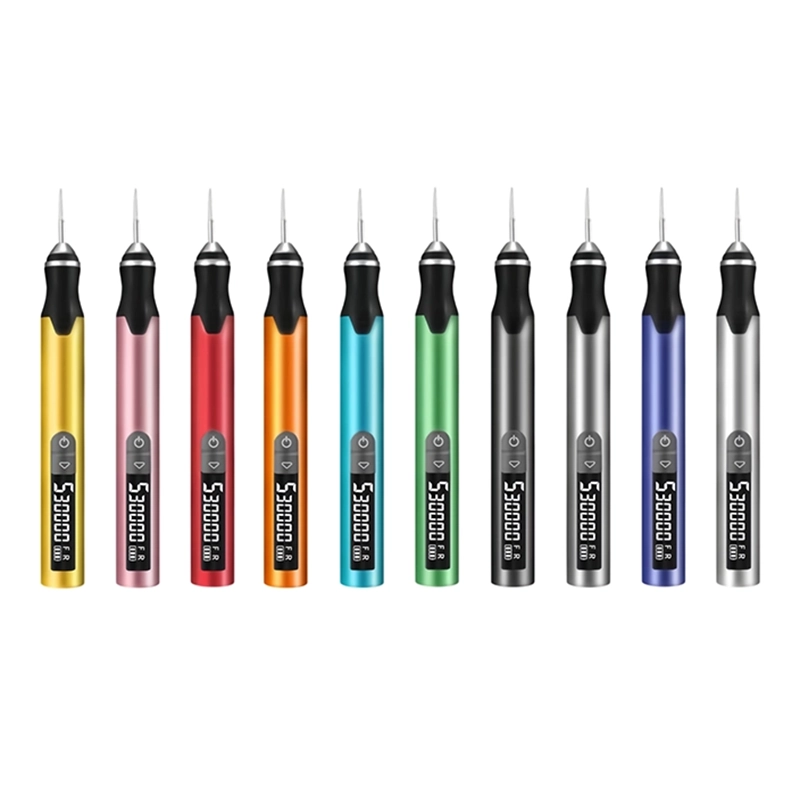
534XOENAEN H101 five-speed rotary engraving pen for controlled PLA PETG ABS and cured resin finishing tests
August 18, 2026 · XOENAEN Application Test Team

Rotary tool speed for PLA, PETG, ABS and resin prints

There is no single safe rotary-tool speed for every PLA, PETG, ABS or resin print. Begin conservatively on a scrap coupon with the intended accessory, light pressure and short contact. Watch for melting, smearing, glazing, chipping or dust behaviour, then adjust one variable at a time. Feature thickness, accessory diameter and support change the result, so record a material-and-task-specific window instead of a universal number.

Read article
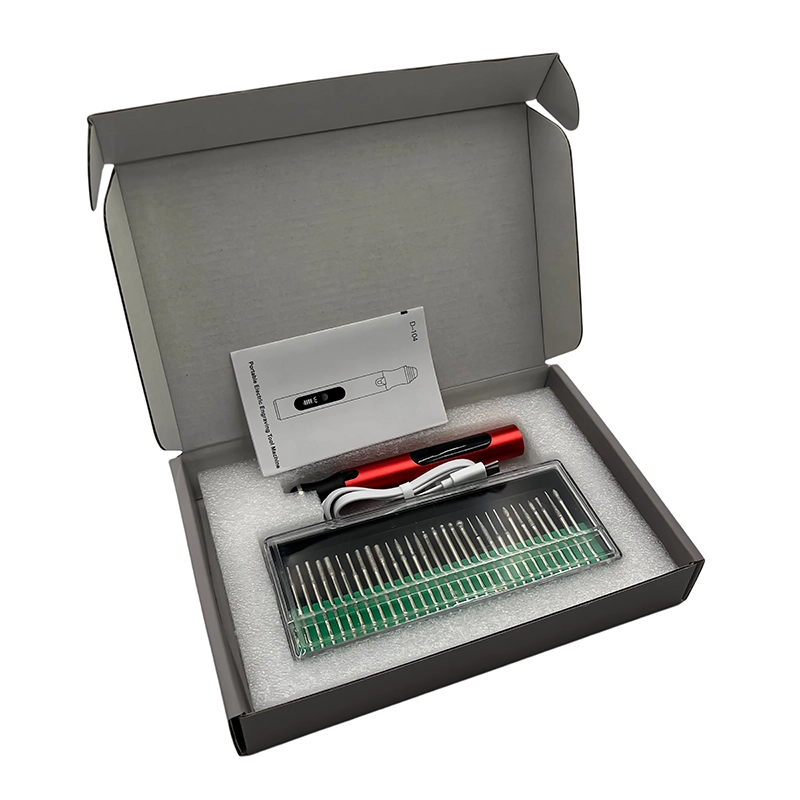
535XOENAEN 104 compact rotary engraving pen used for precise removal of support marks on a 3D printed part
August 18, 2026 · XOENAEN 3D Print Application Team

How to remove support marks from 3D printed parts

Remove support marks in stages. First separate the support without levering against fragile walls, then trim only material that remains proud of the intended surface. Refine the witness mark with a controlled abrasive or suitable accessory, inspecting under side light after short passes. Protect edges and thin features. Stop when the contour is level; continued sanding can create a depression that is harder to correct.

Read article

Project inquiry

Bring us the brief.

Share your product, market, quantity and customization requirements. Our project team will reply with the right next step.